I have had trouble working out how to write about the time we spent fitting out the UniMog. It turned out to be quite difficult to make fourteen weeks of hard work, detailed build, plumbing and cabling sound interesting!
For us, seeing it coming together bit by bit was satisfying, although when things went wrong, needed re-working or just took longer than expected, that satisfaction was replaced with frustration and, at times, giving up all hope that we would ever travel again.
But all those ups and downs, successes and frustrations, do not translate into exciting written stories, much as I tried.
There have been more than a few of you who have asked me for photos and updates on the build and many more who have made me promise to write about it in detail so that you can get pointers.
So having mulled it over for a while I have decided to do this as a photo montage rather than a chronological description – hopefully it will satisfy most people without boring too many!
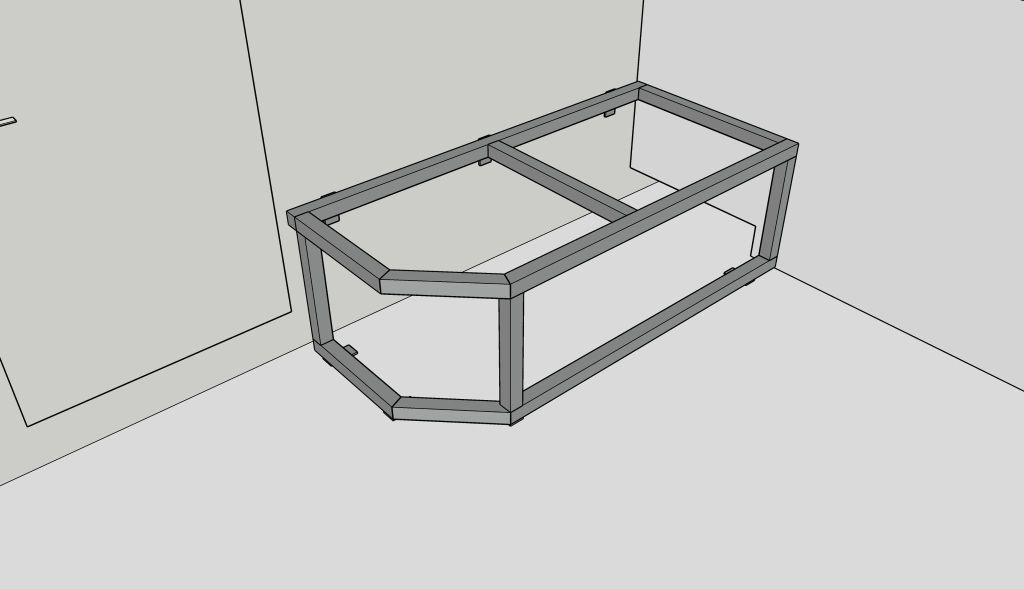
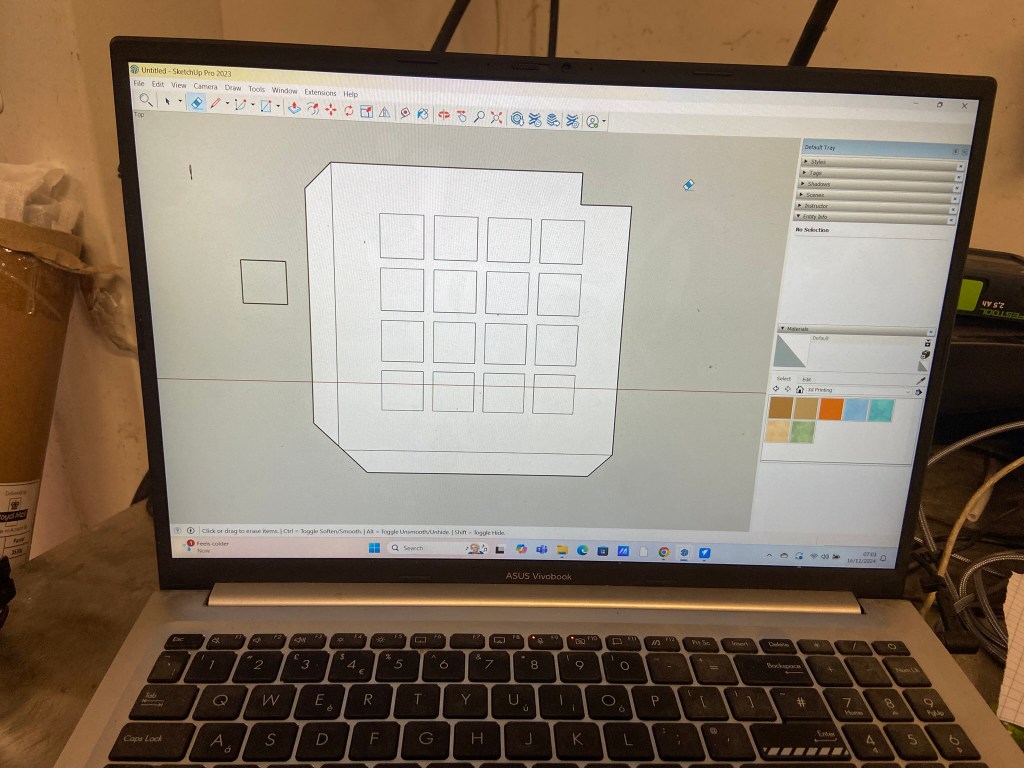
As we went along, everything that we did was first designed and put into CAD to ensure it was a perfect fit. From the layout of the solar panels on the roof, to the Victron solar installation in the garage to the bed frame and the seating area, nothing was left to chance

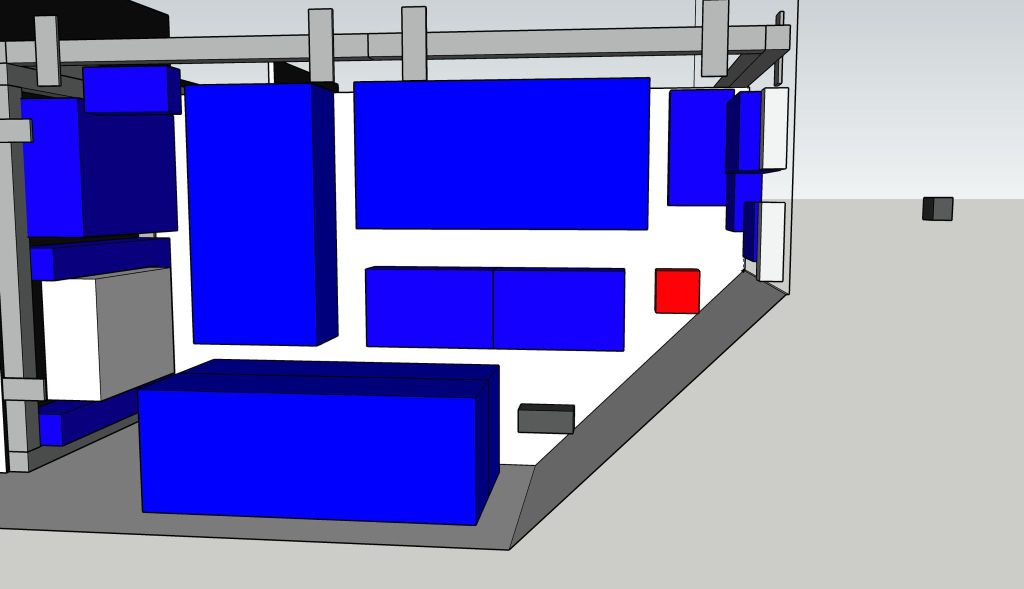
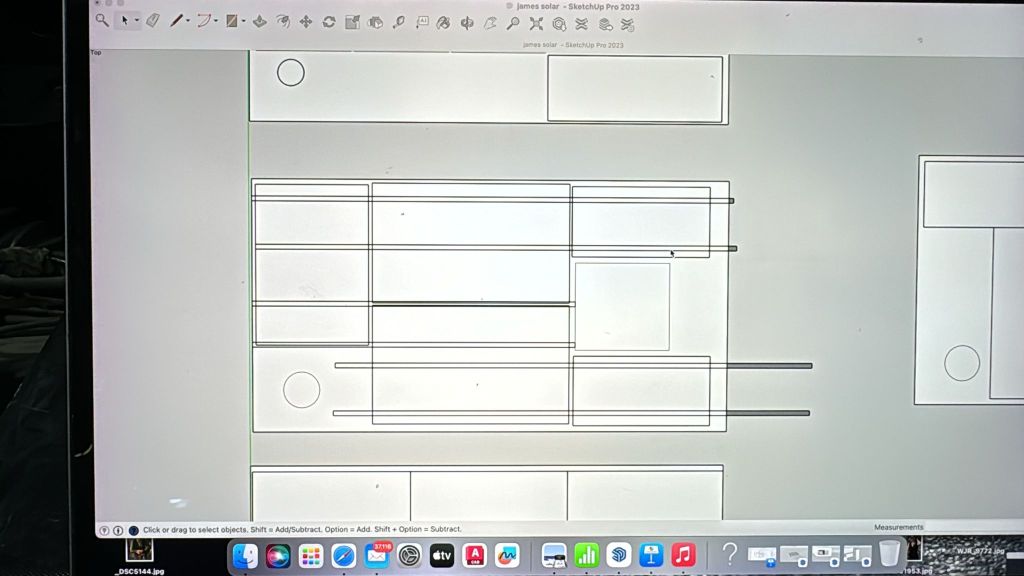
It was fascinating to then see the designs slowly become reality…
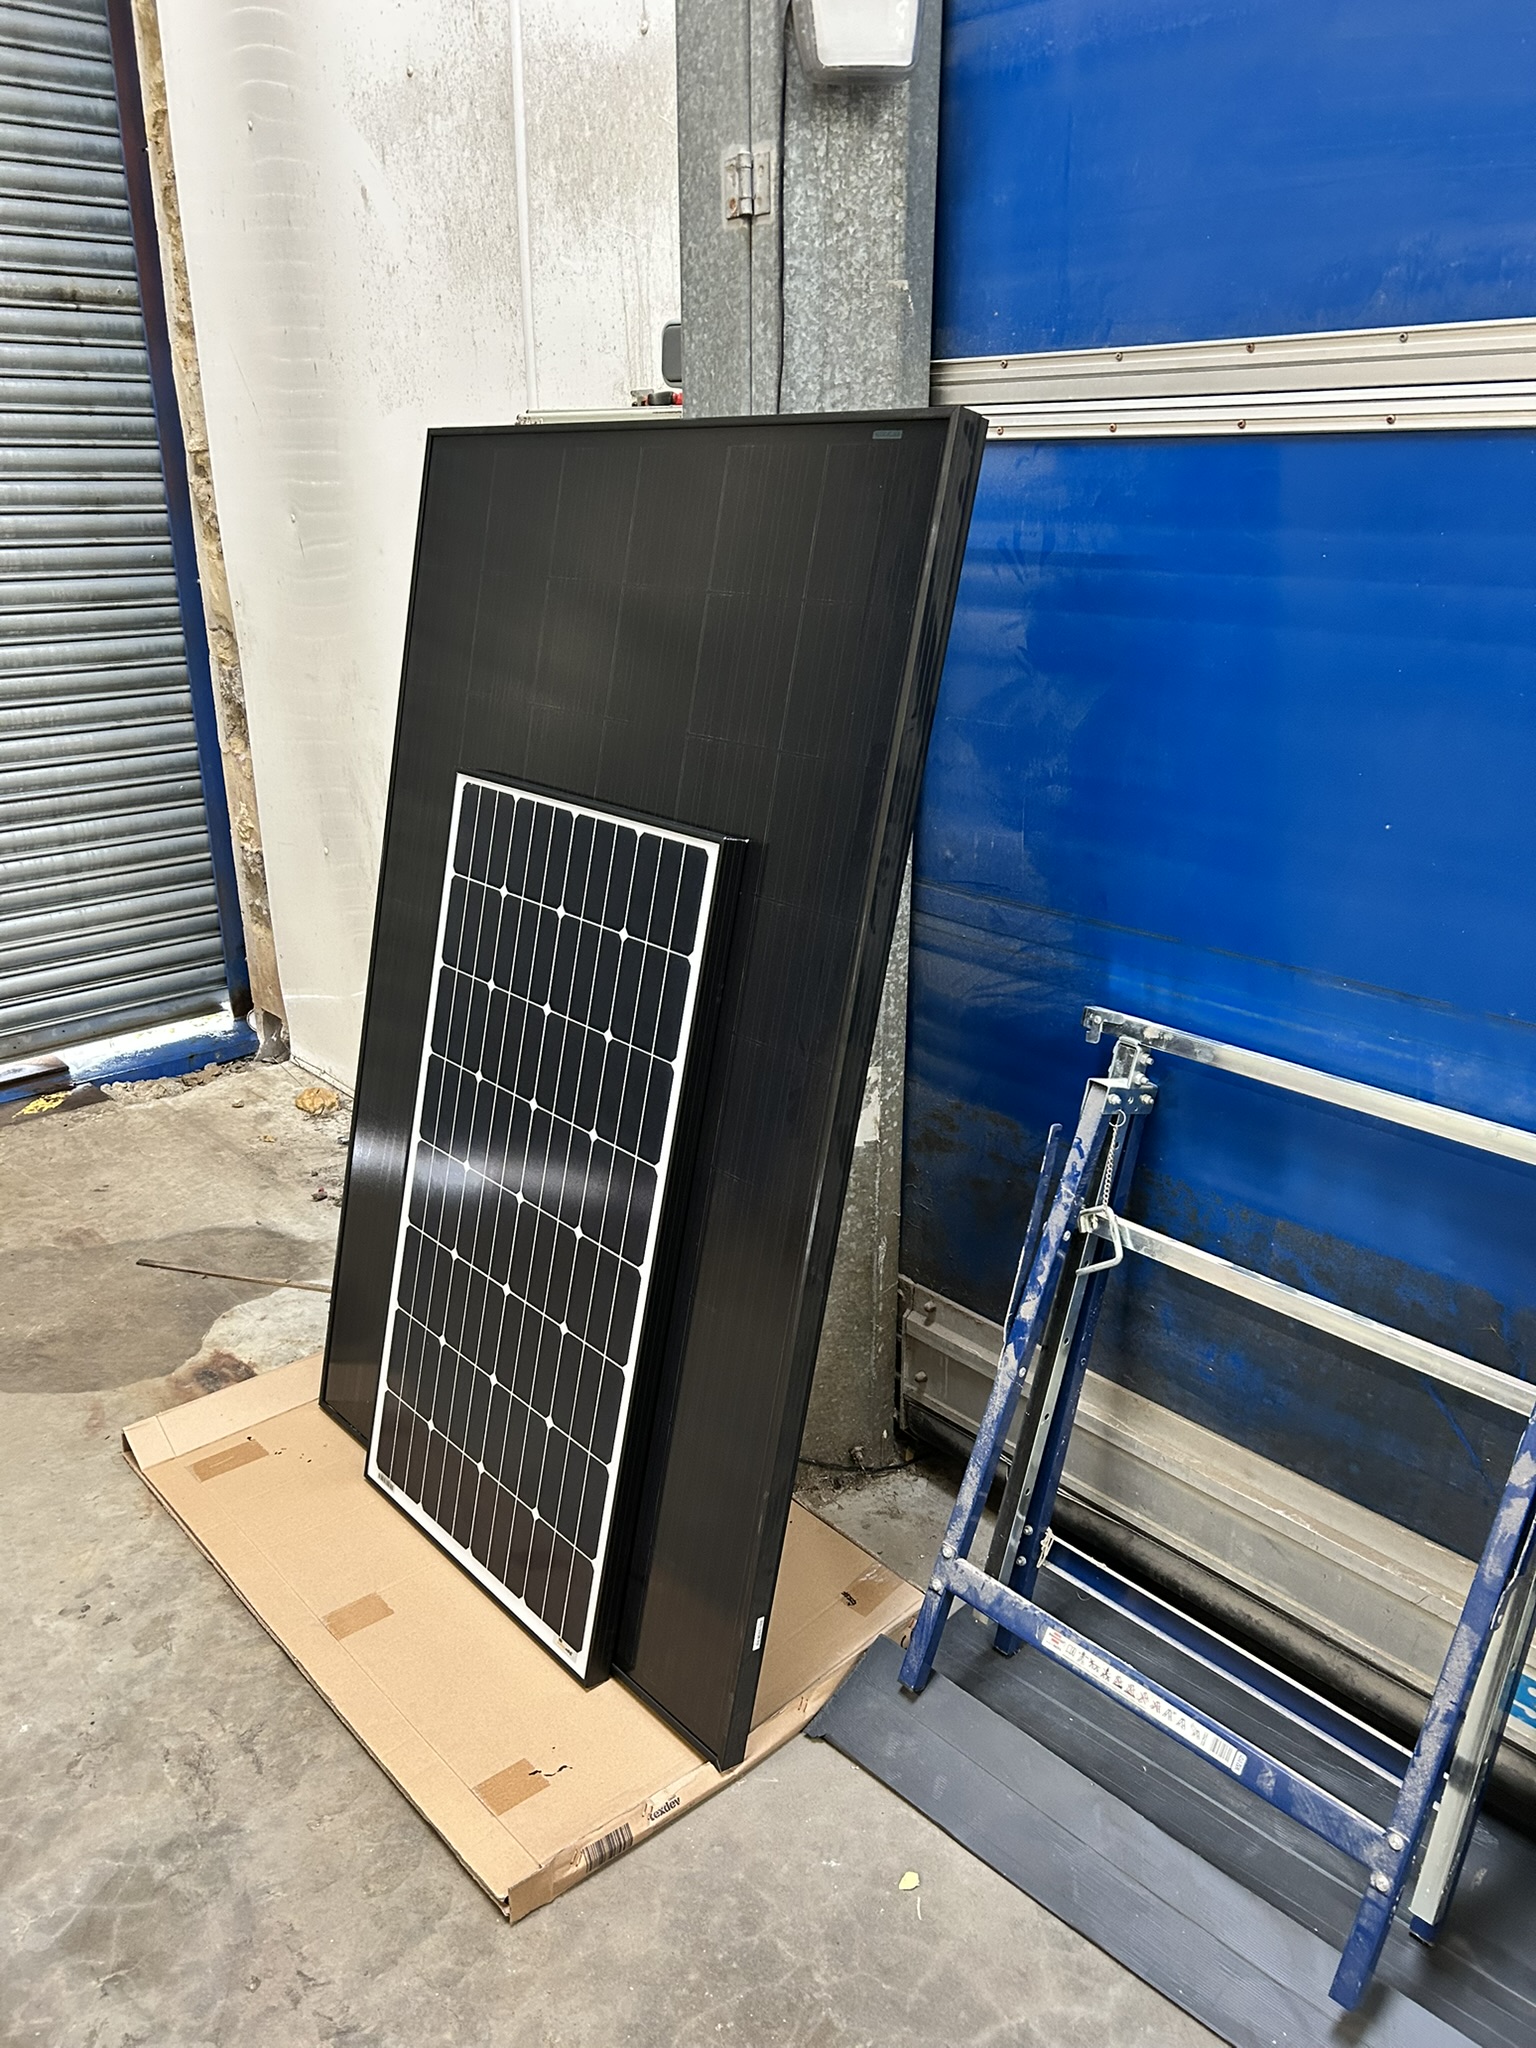

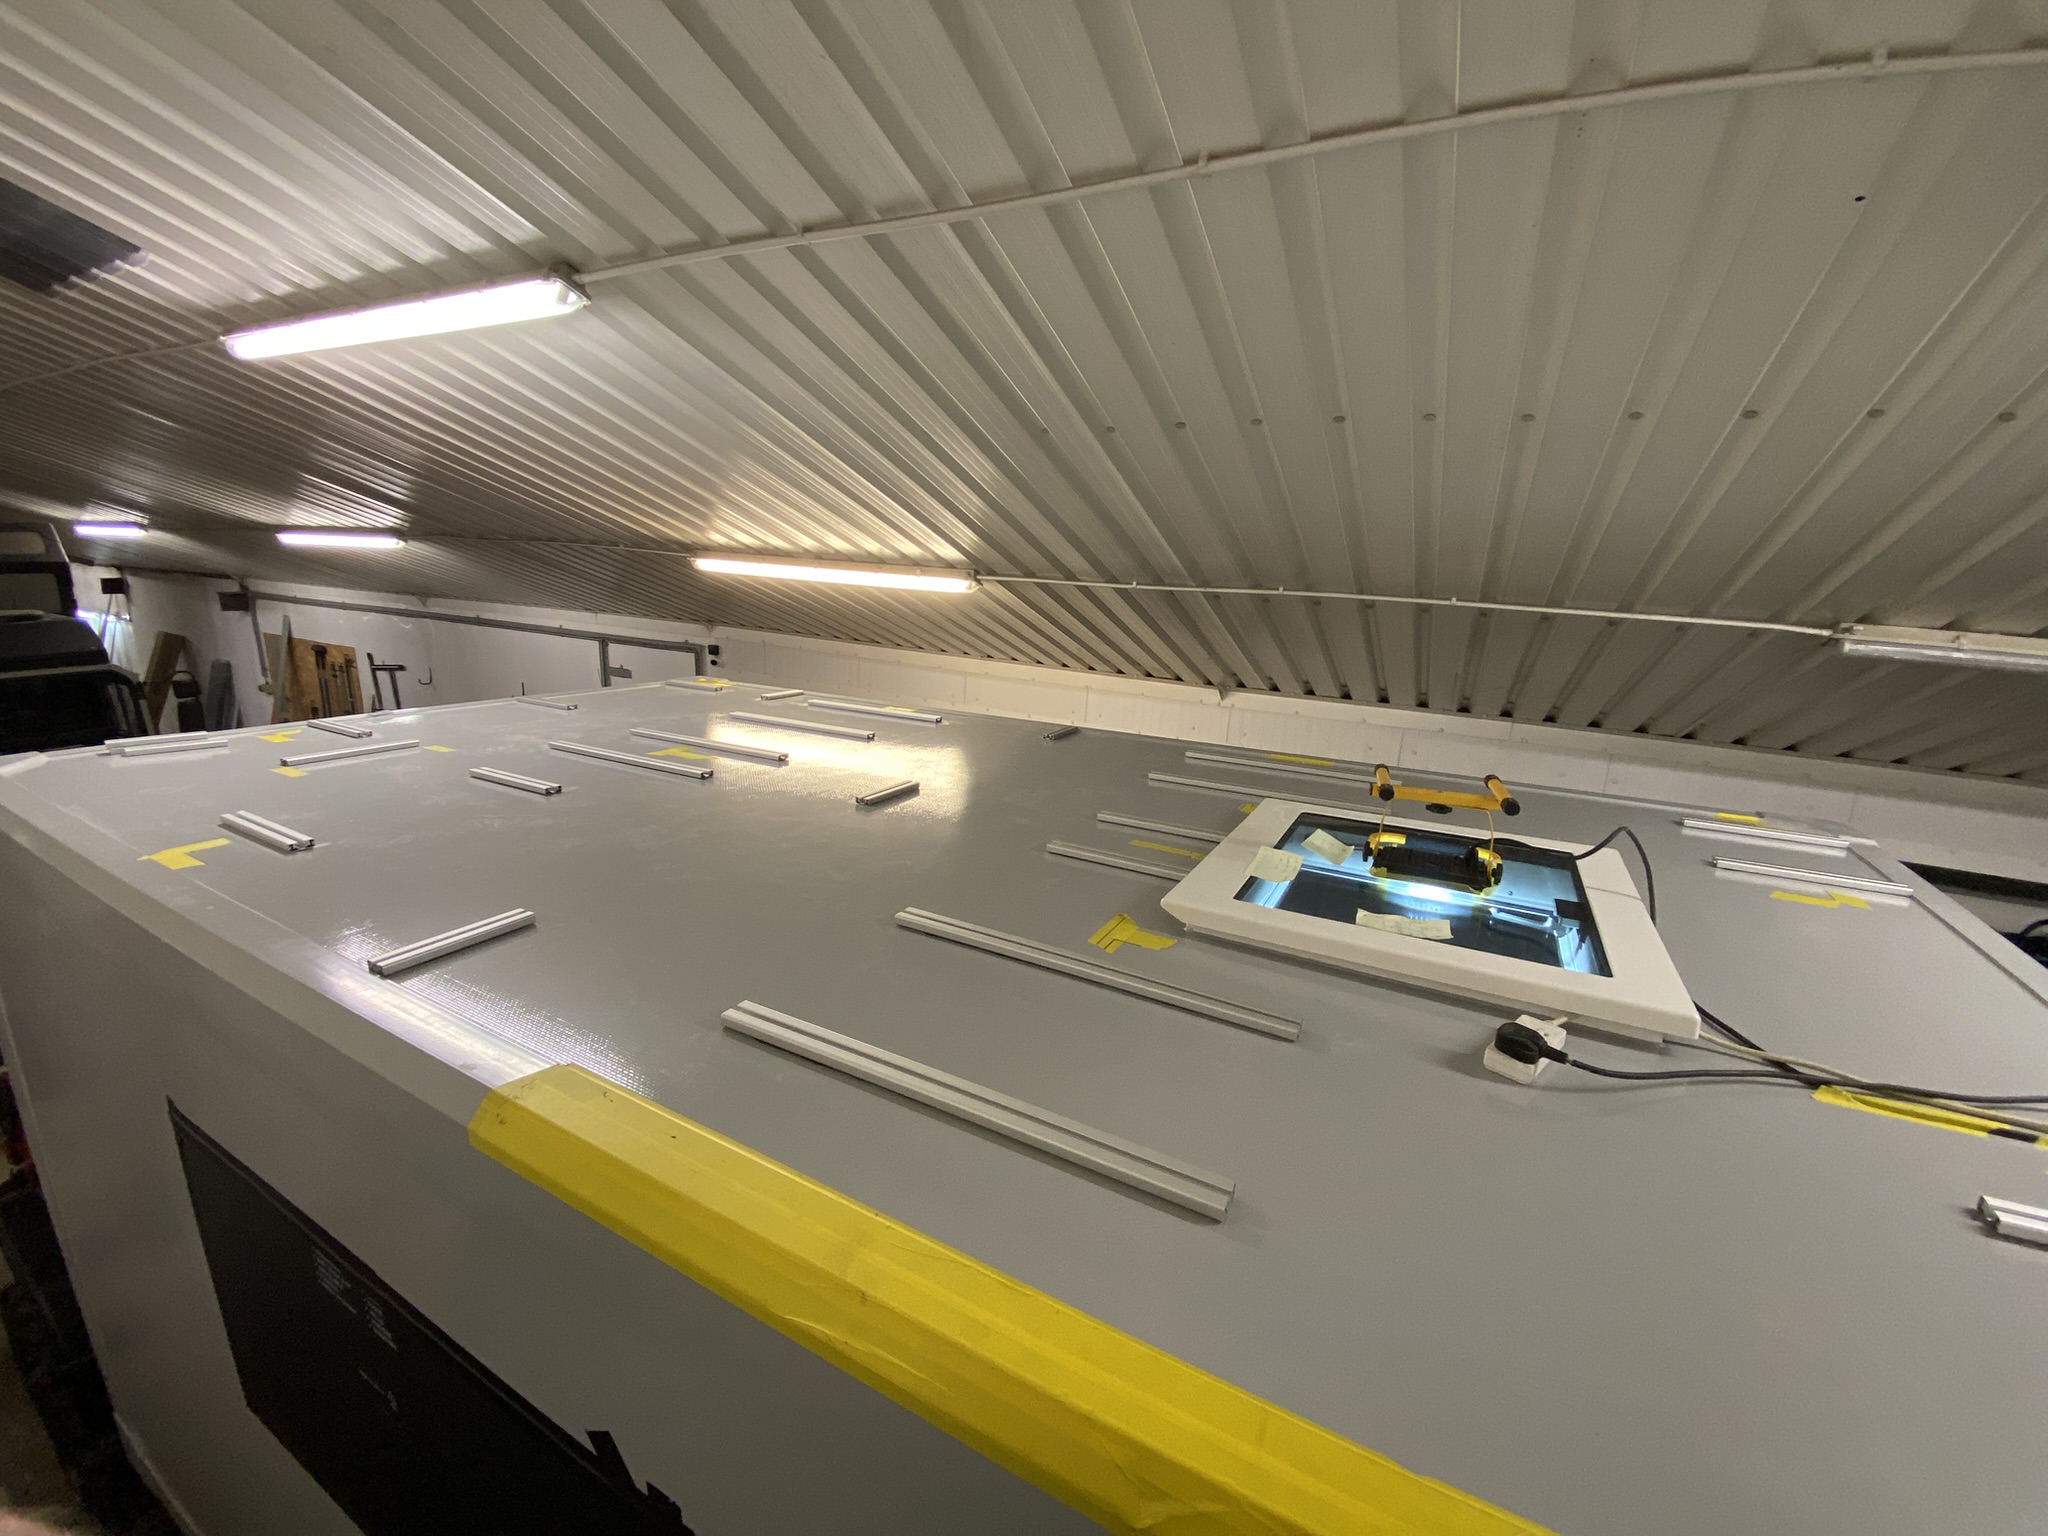
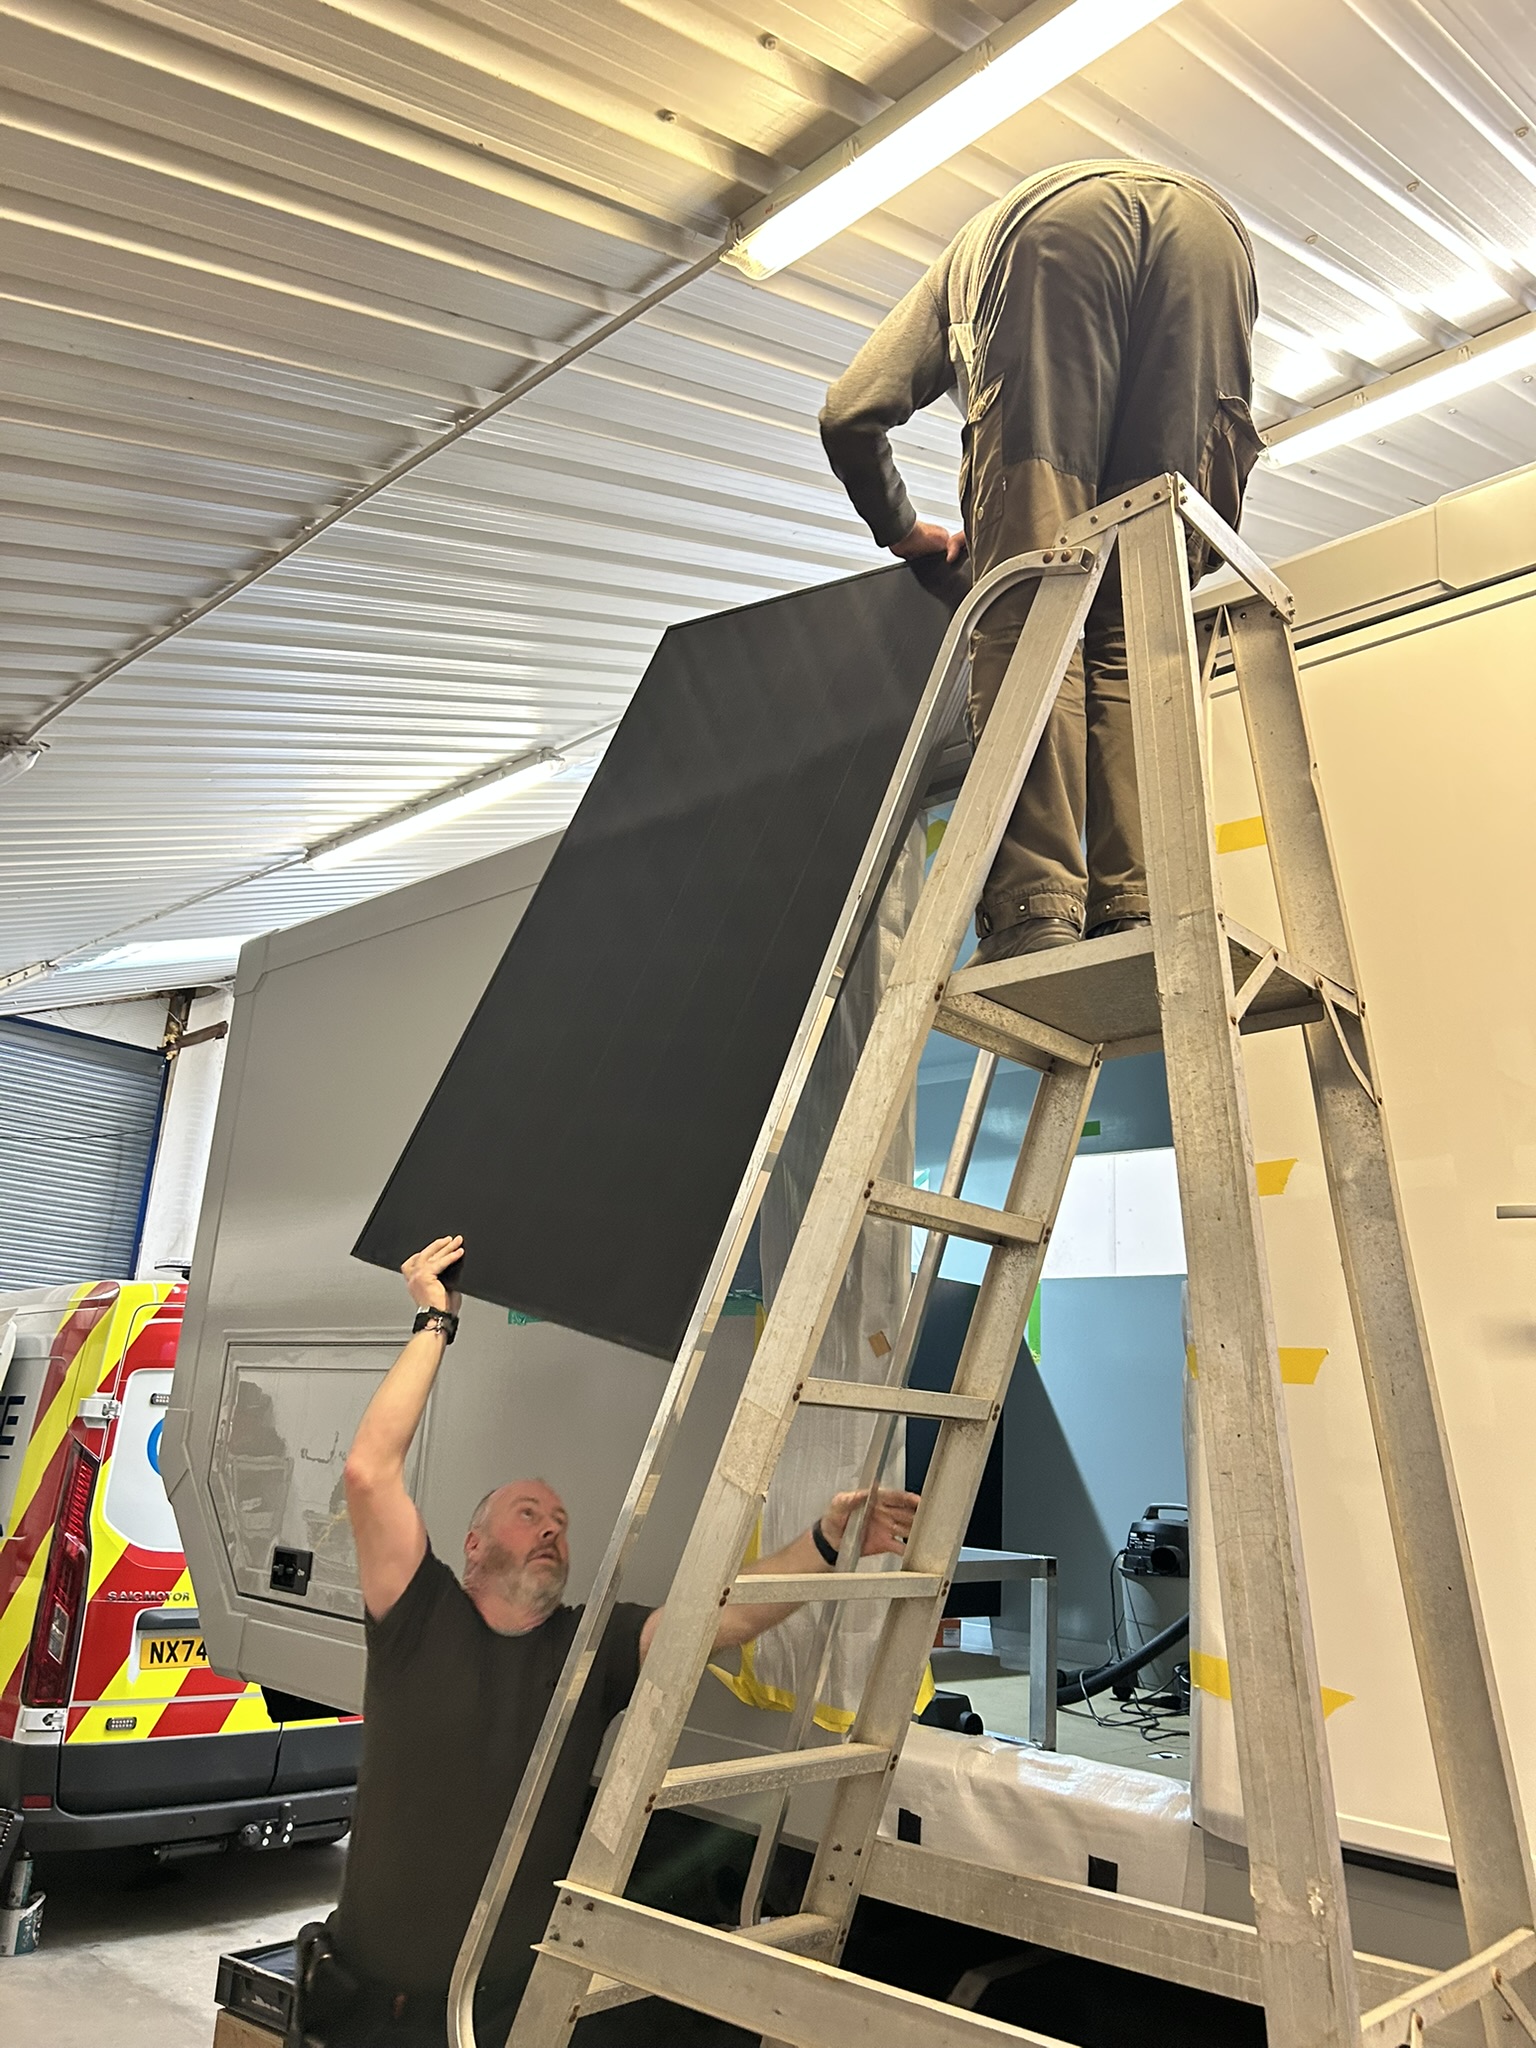
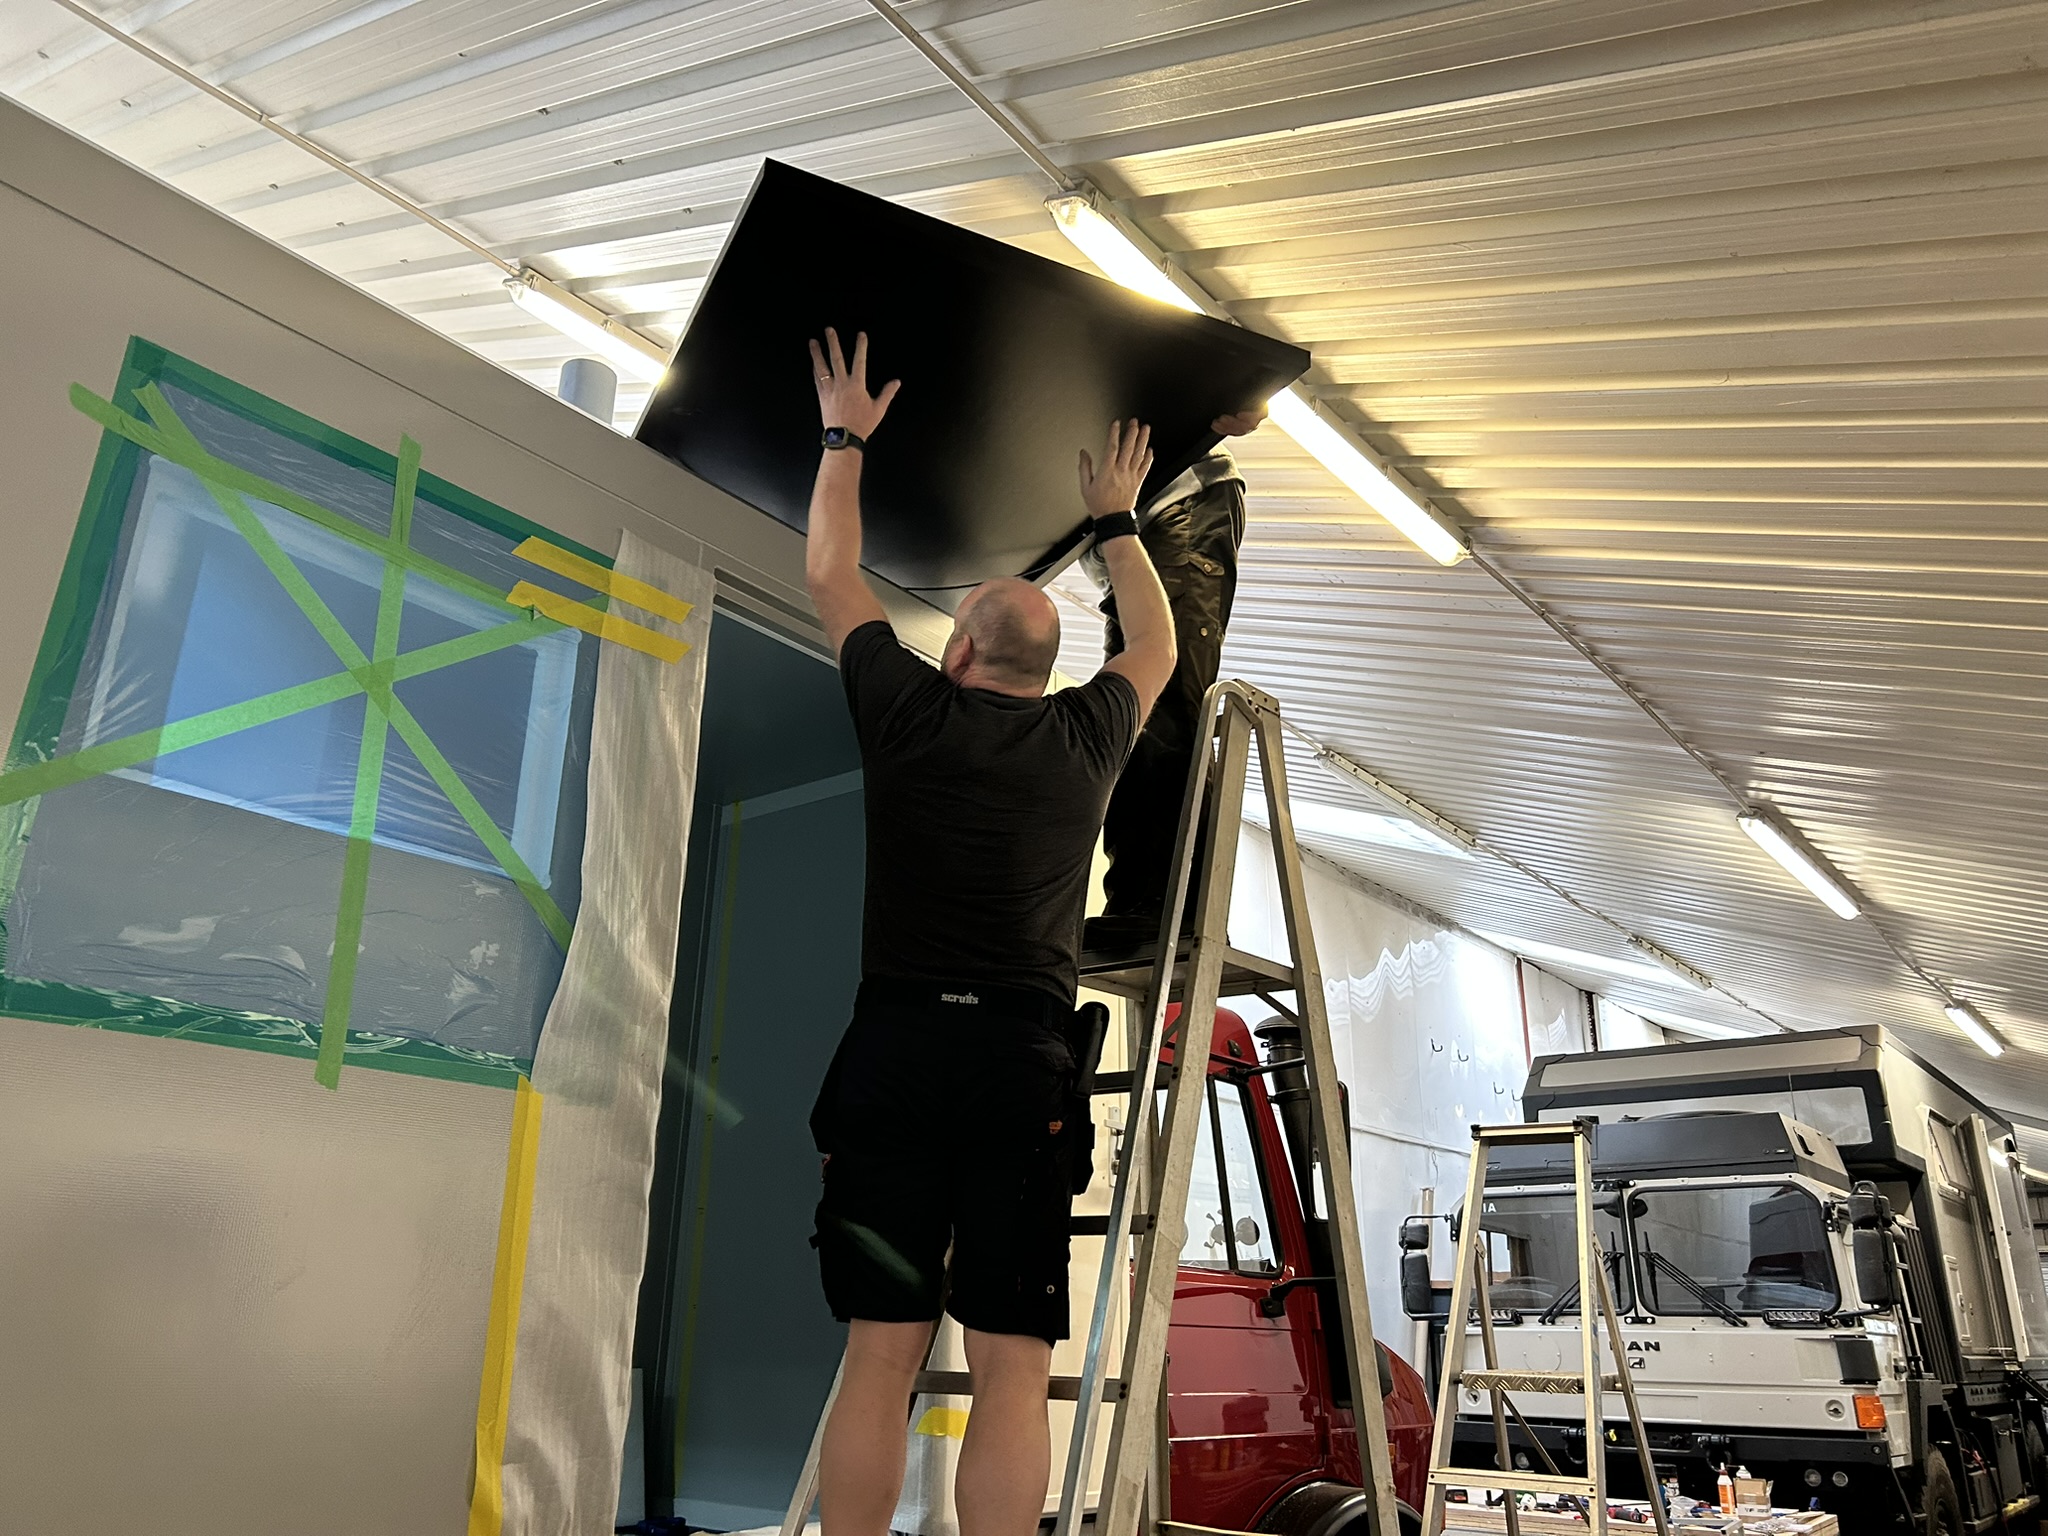
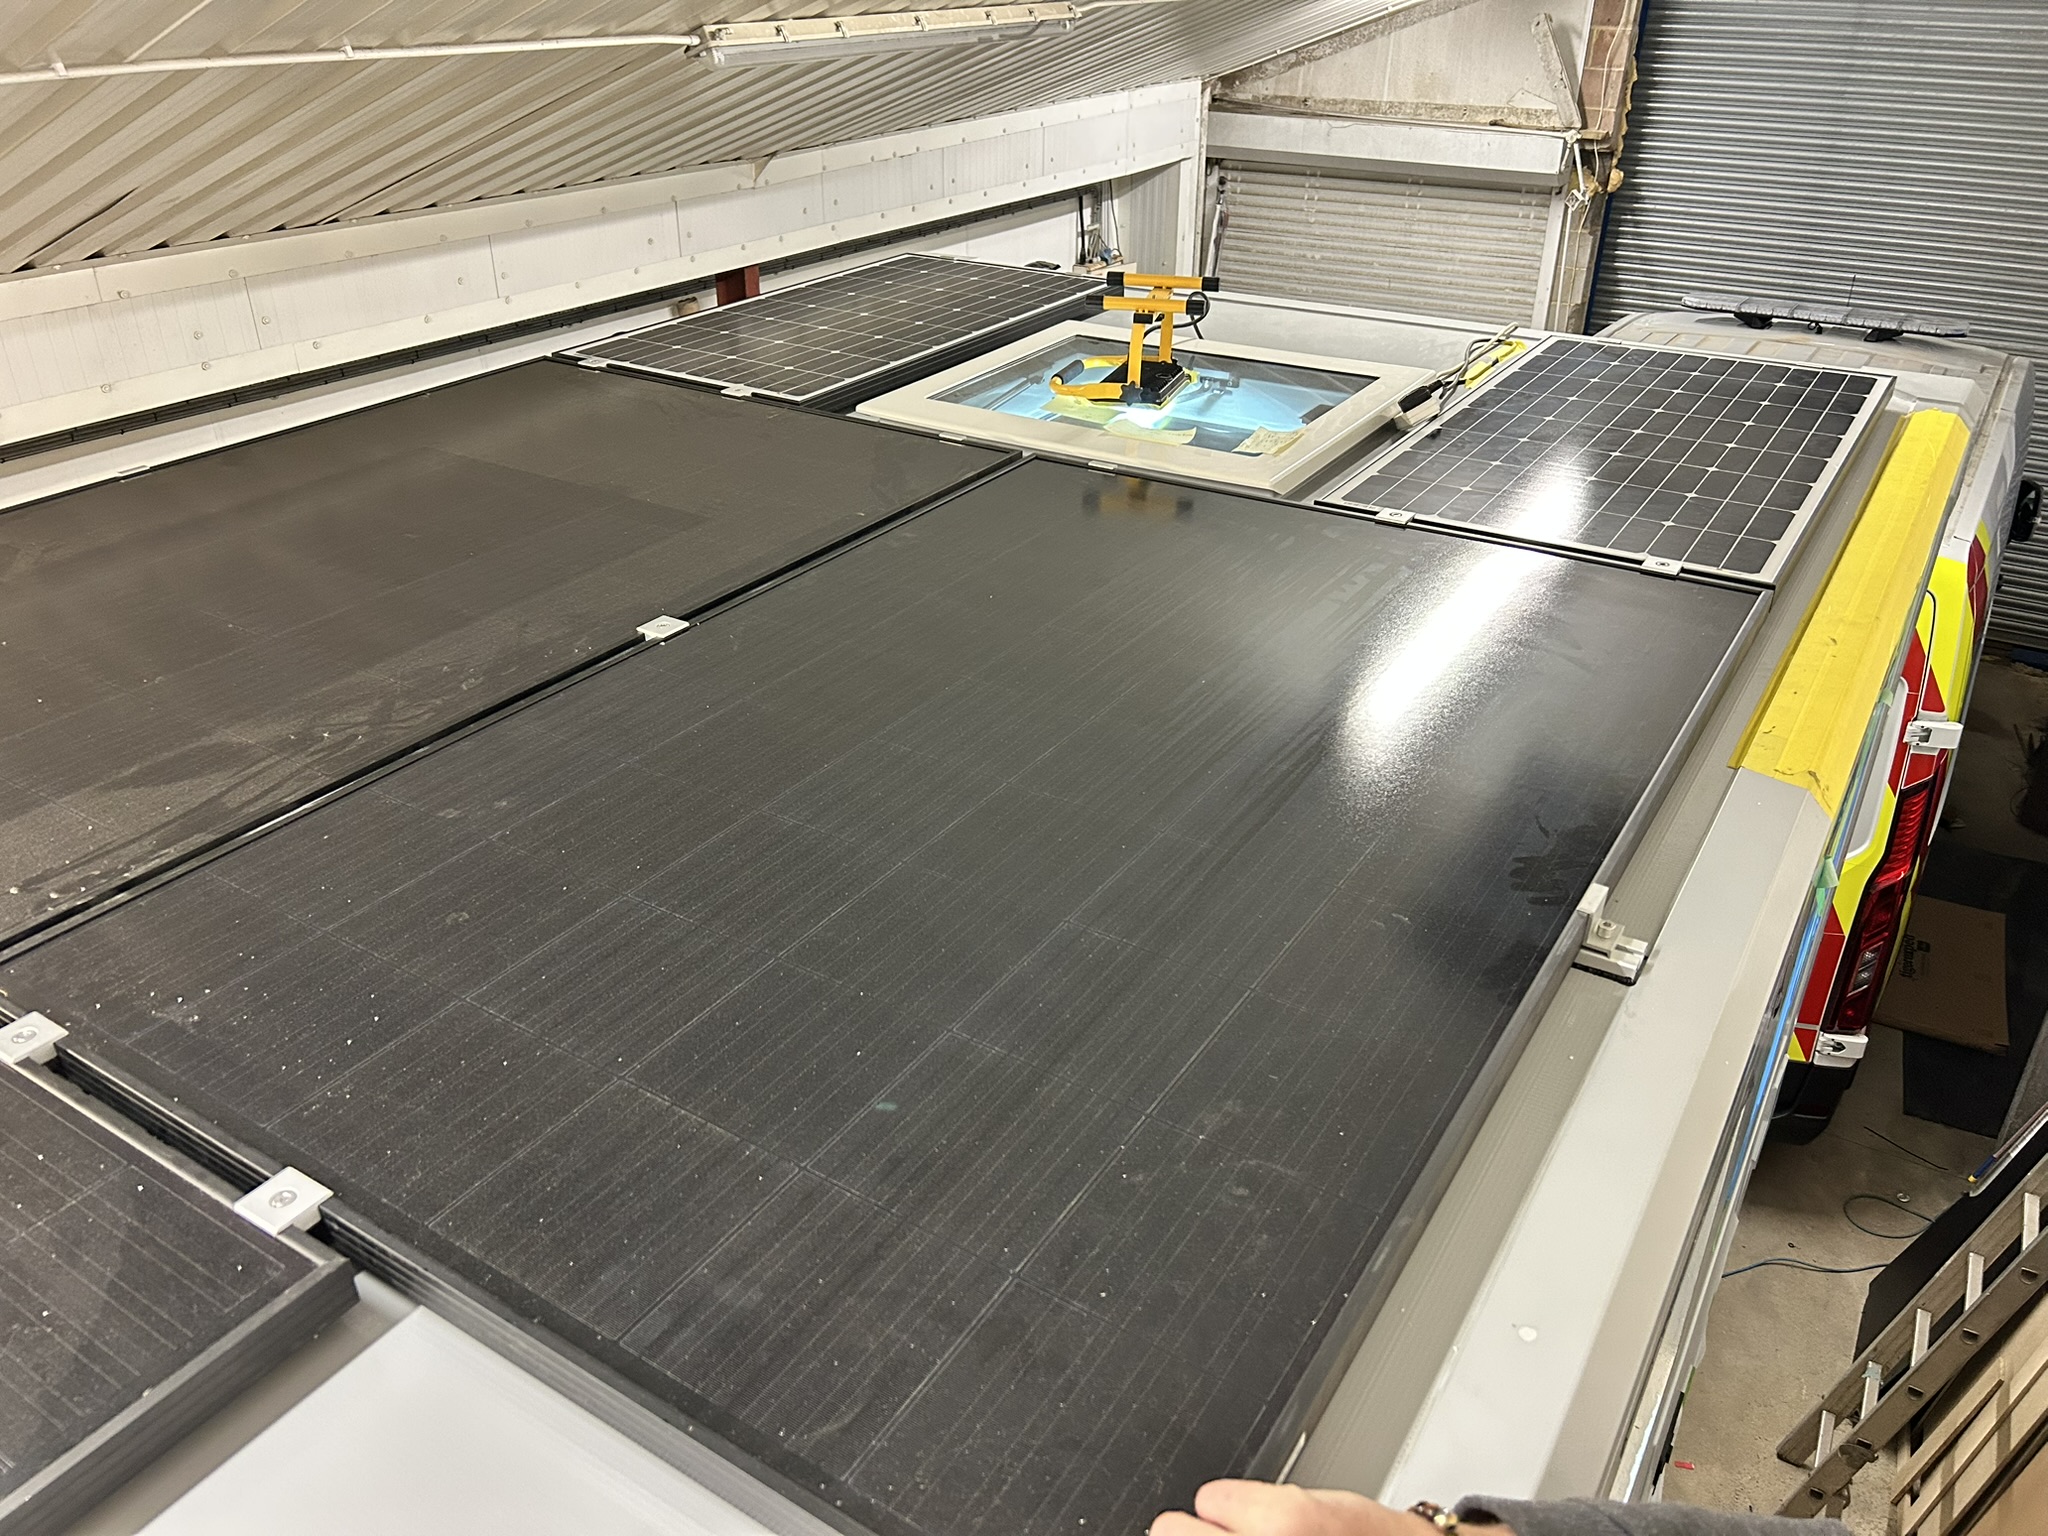
The first big job was to install the 1.2KW of solar panels on the roof. James painstakingly set it all out, keyed the roof panel then bonded down the mounting bars. This was two day’s work but by day three Lewis and John were helping hand up the panels ready to be fixed. There was hardly an inch of space left visible on the roof – it takes a lot to power a UniMog!
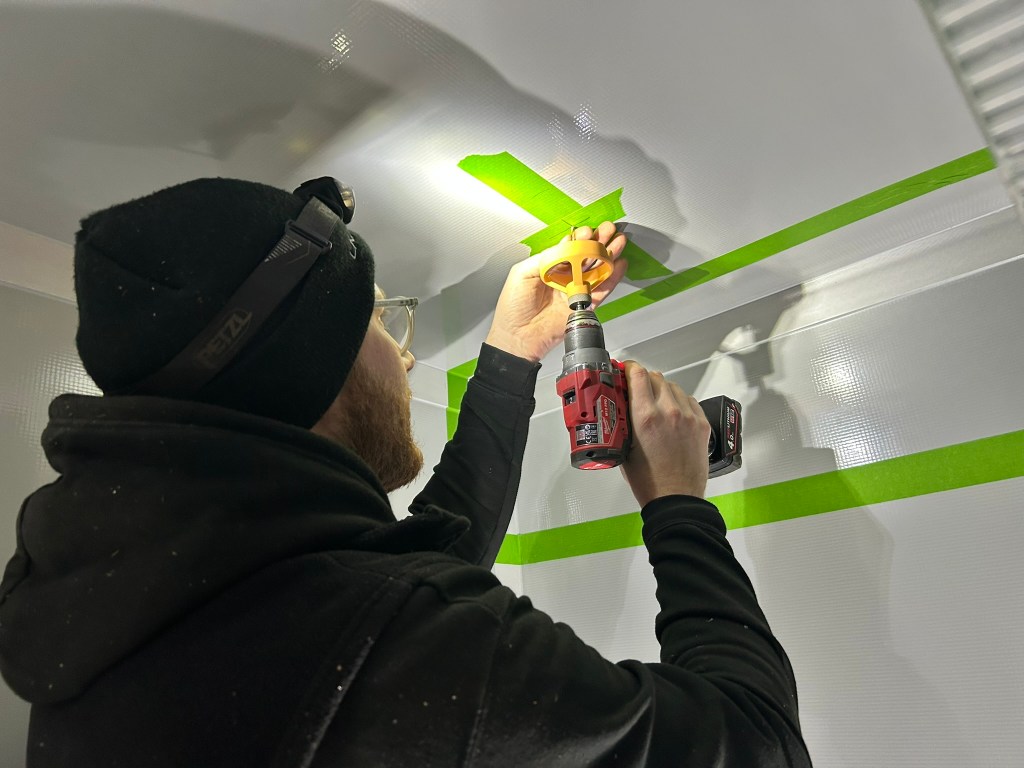
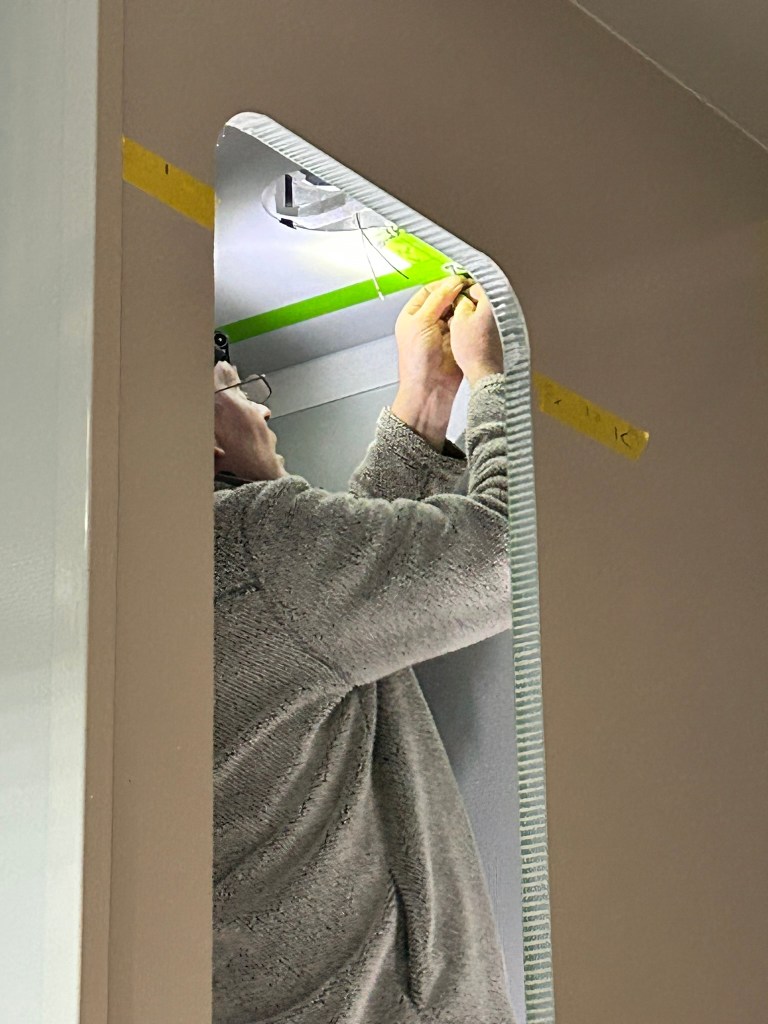
Lewis wanted to be the first to cut into the box. We didn’t mind and James stepped aside to let him loose with the drill, cutting a large hole in the roof for the extractor fan in the wet room which James then wired up ready for when we had some power
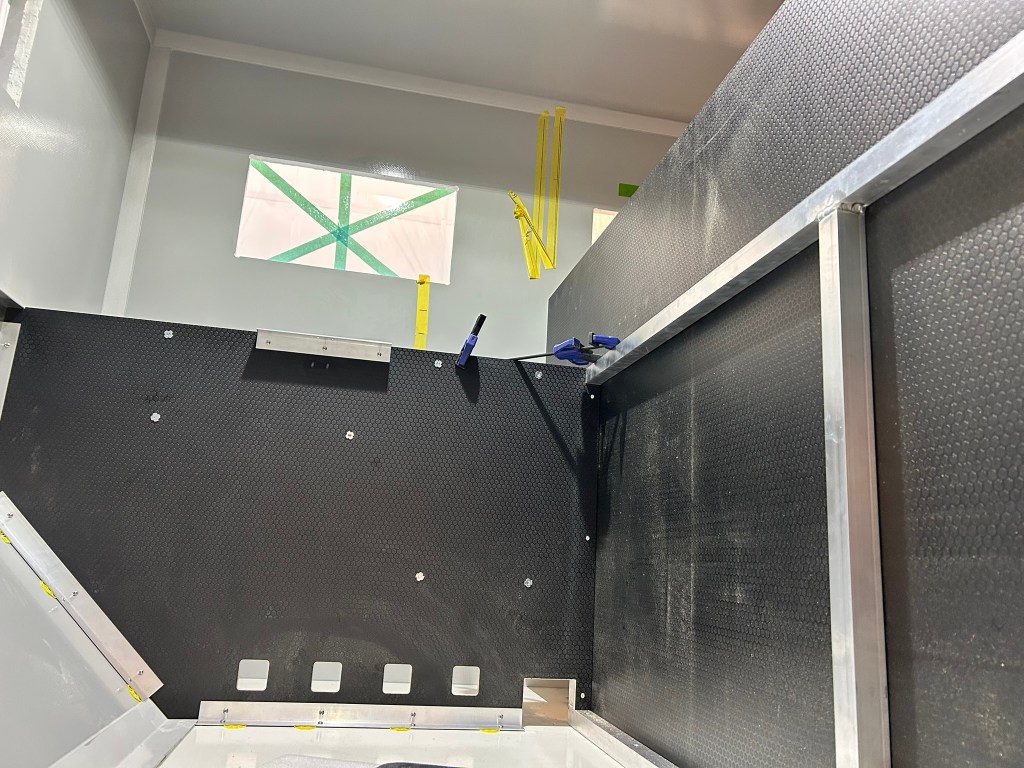
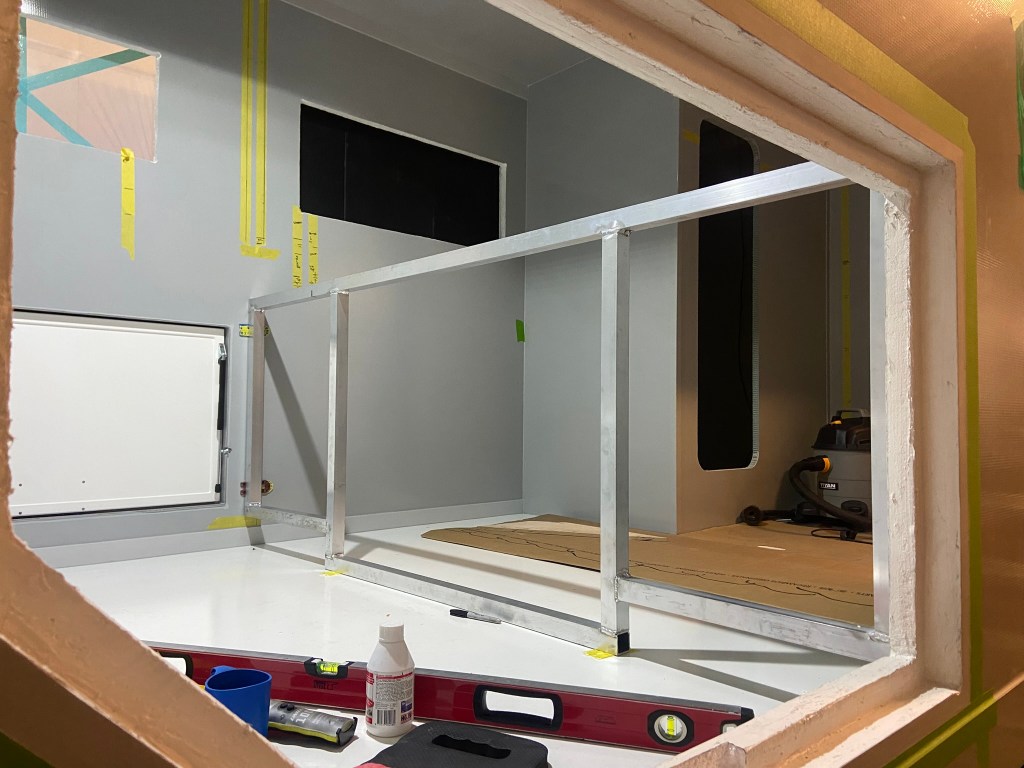
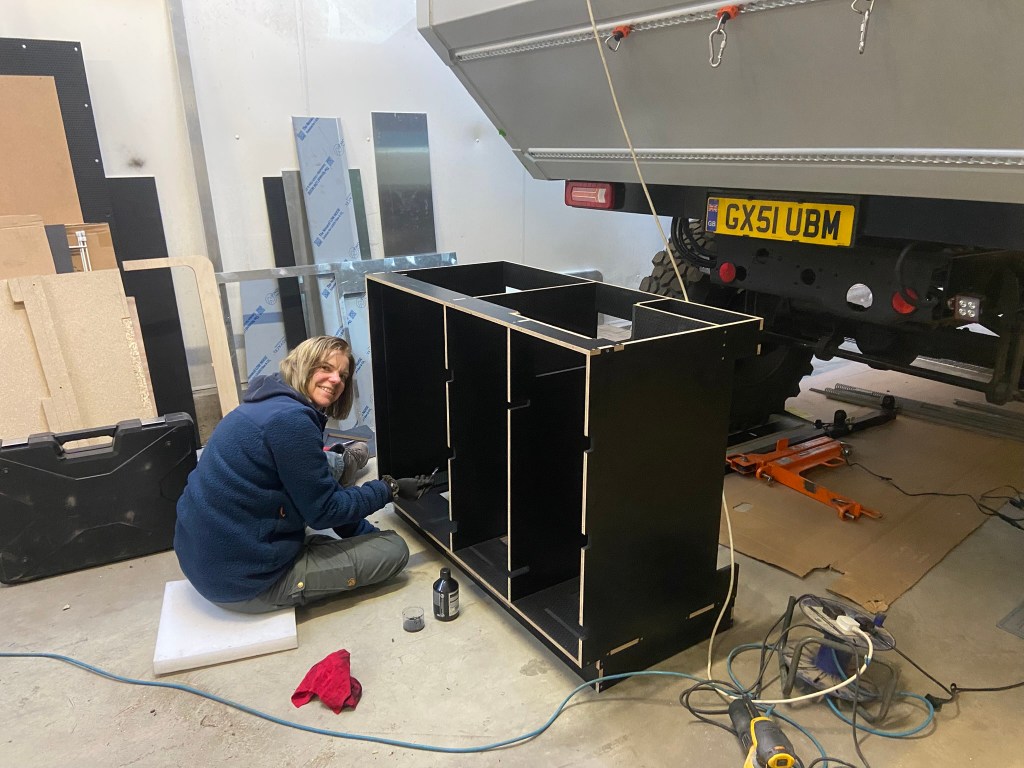
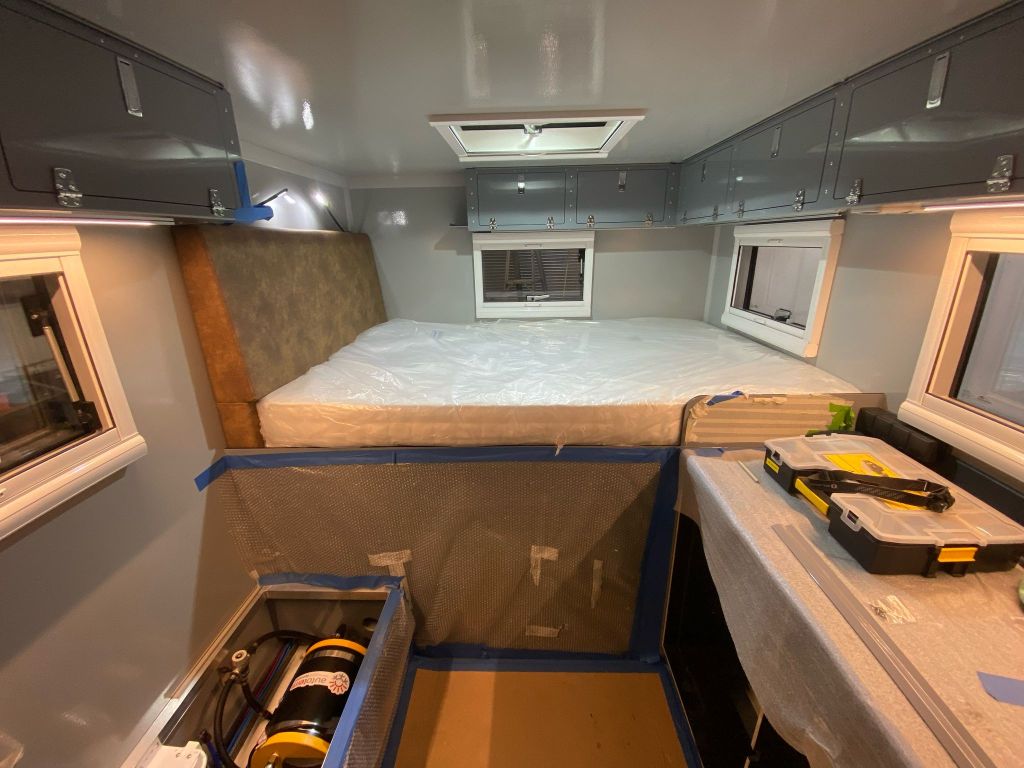
Our design had one third of the garage containing all the solar panel controllers, batteries, fuse boxes and a multitude of other boxes and switches that would control our entire electric system. The rest of the garage would be shelved out to hold tools, spare parts, camping equipment and anything else bulky. So the next step was to fit a partition wall to the bed frame and another between the two sides of the garage
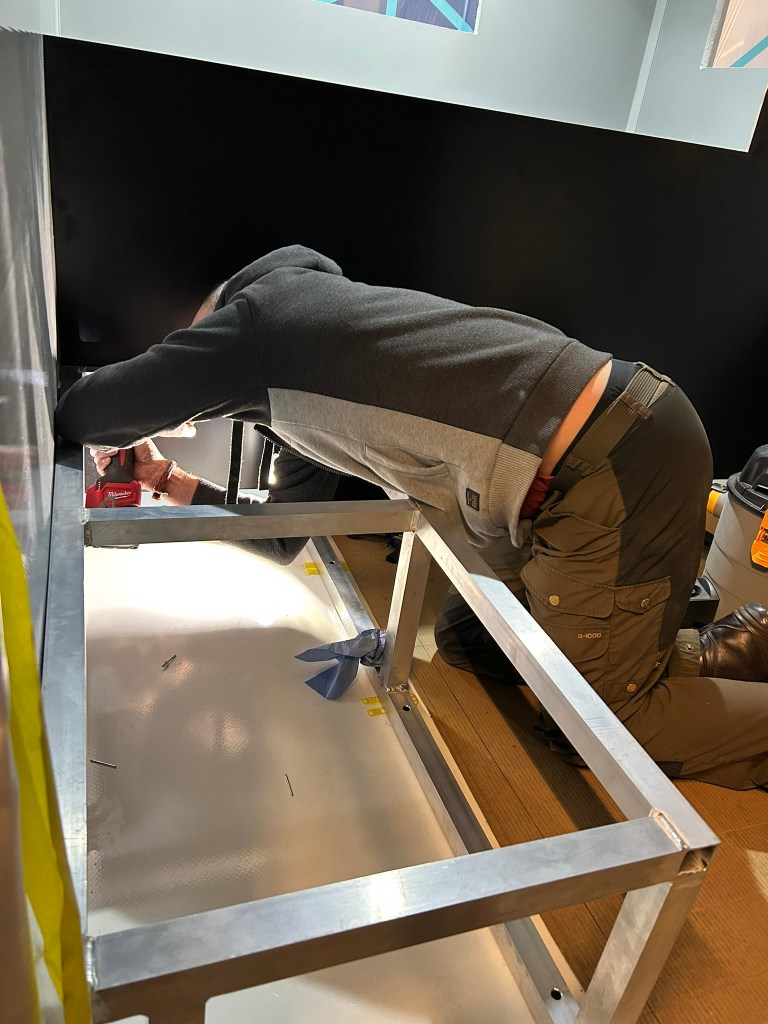

With the bed frame in place we were able to do the detailed measurements of the spaces left between the bed and the wet room wall and the bed and the entrance door. Armed with these measurements the next task was making the seat frame. Again, Dick welded it all together and when it was put in place it fitted perfectly

With the solar panels fixed, we turned our attention to the inside of the box. It was all looking very bare and not at all like a home.
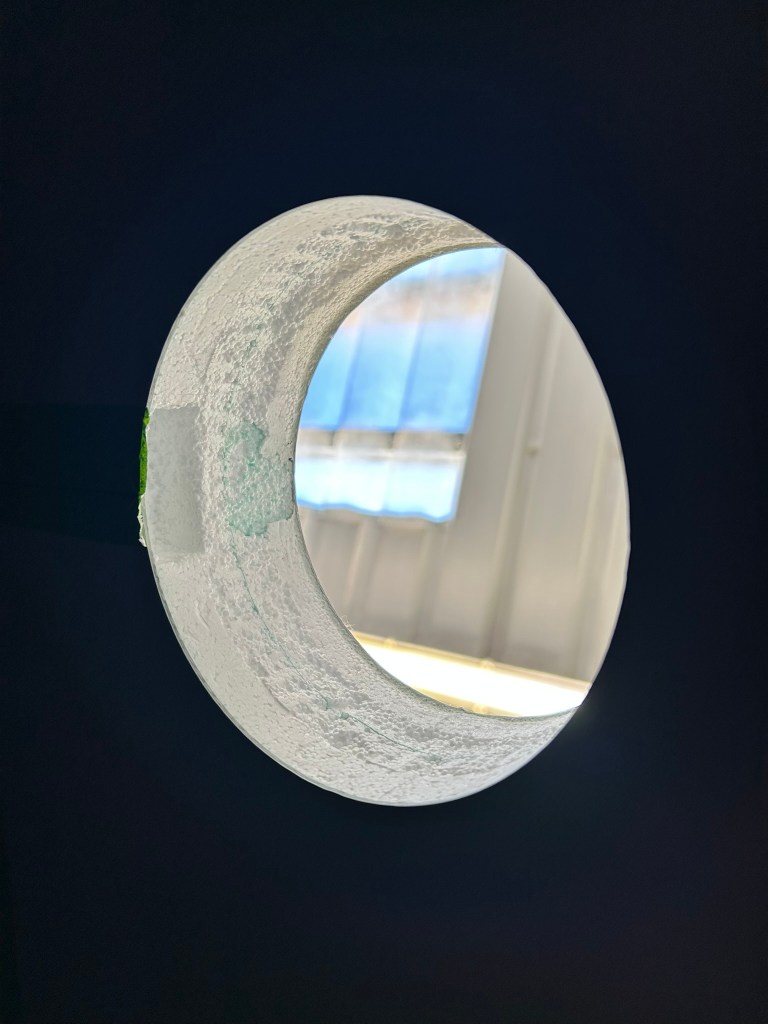
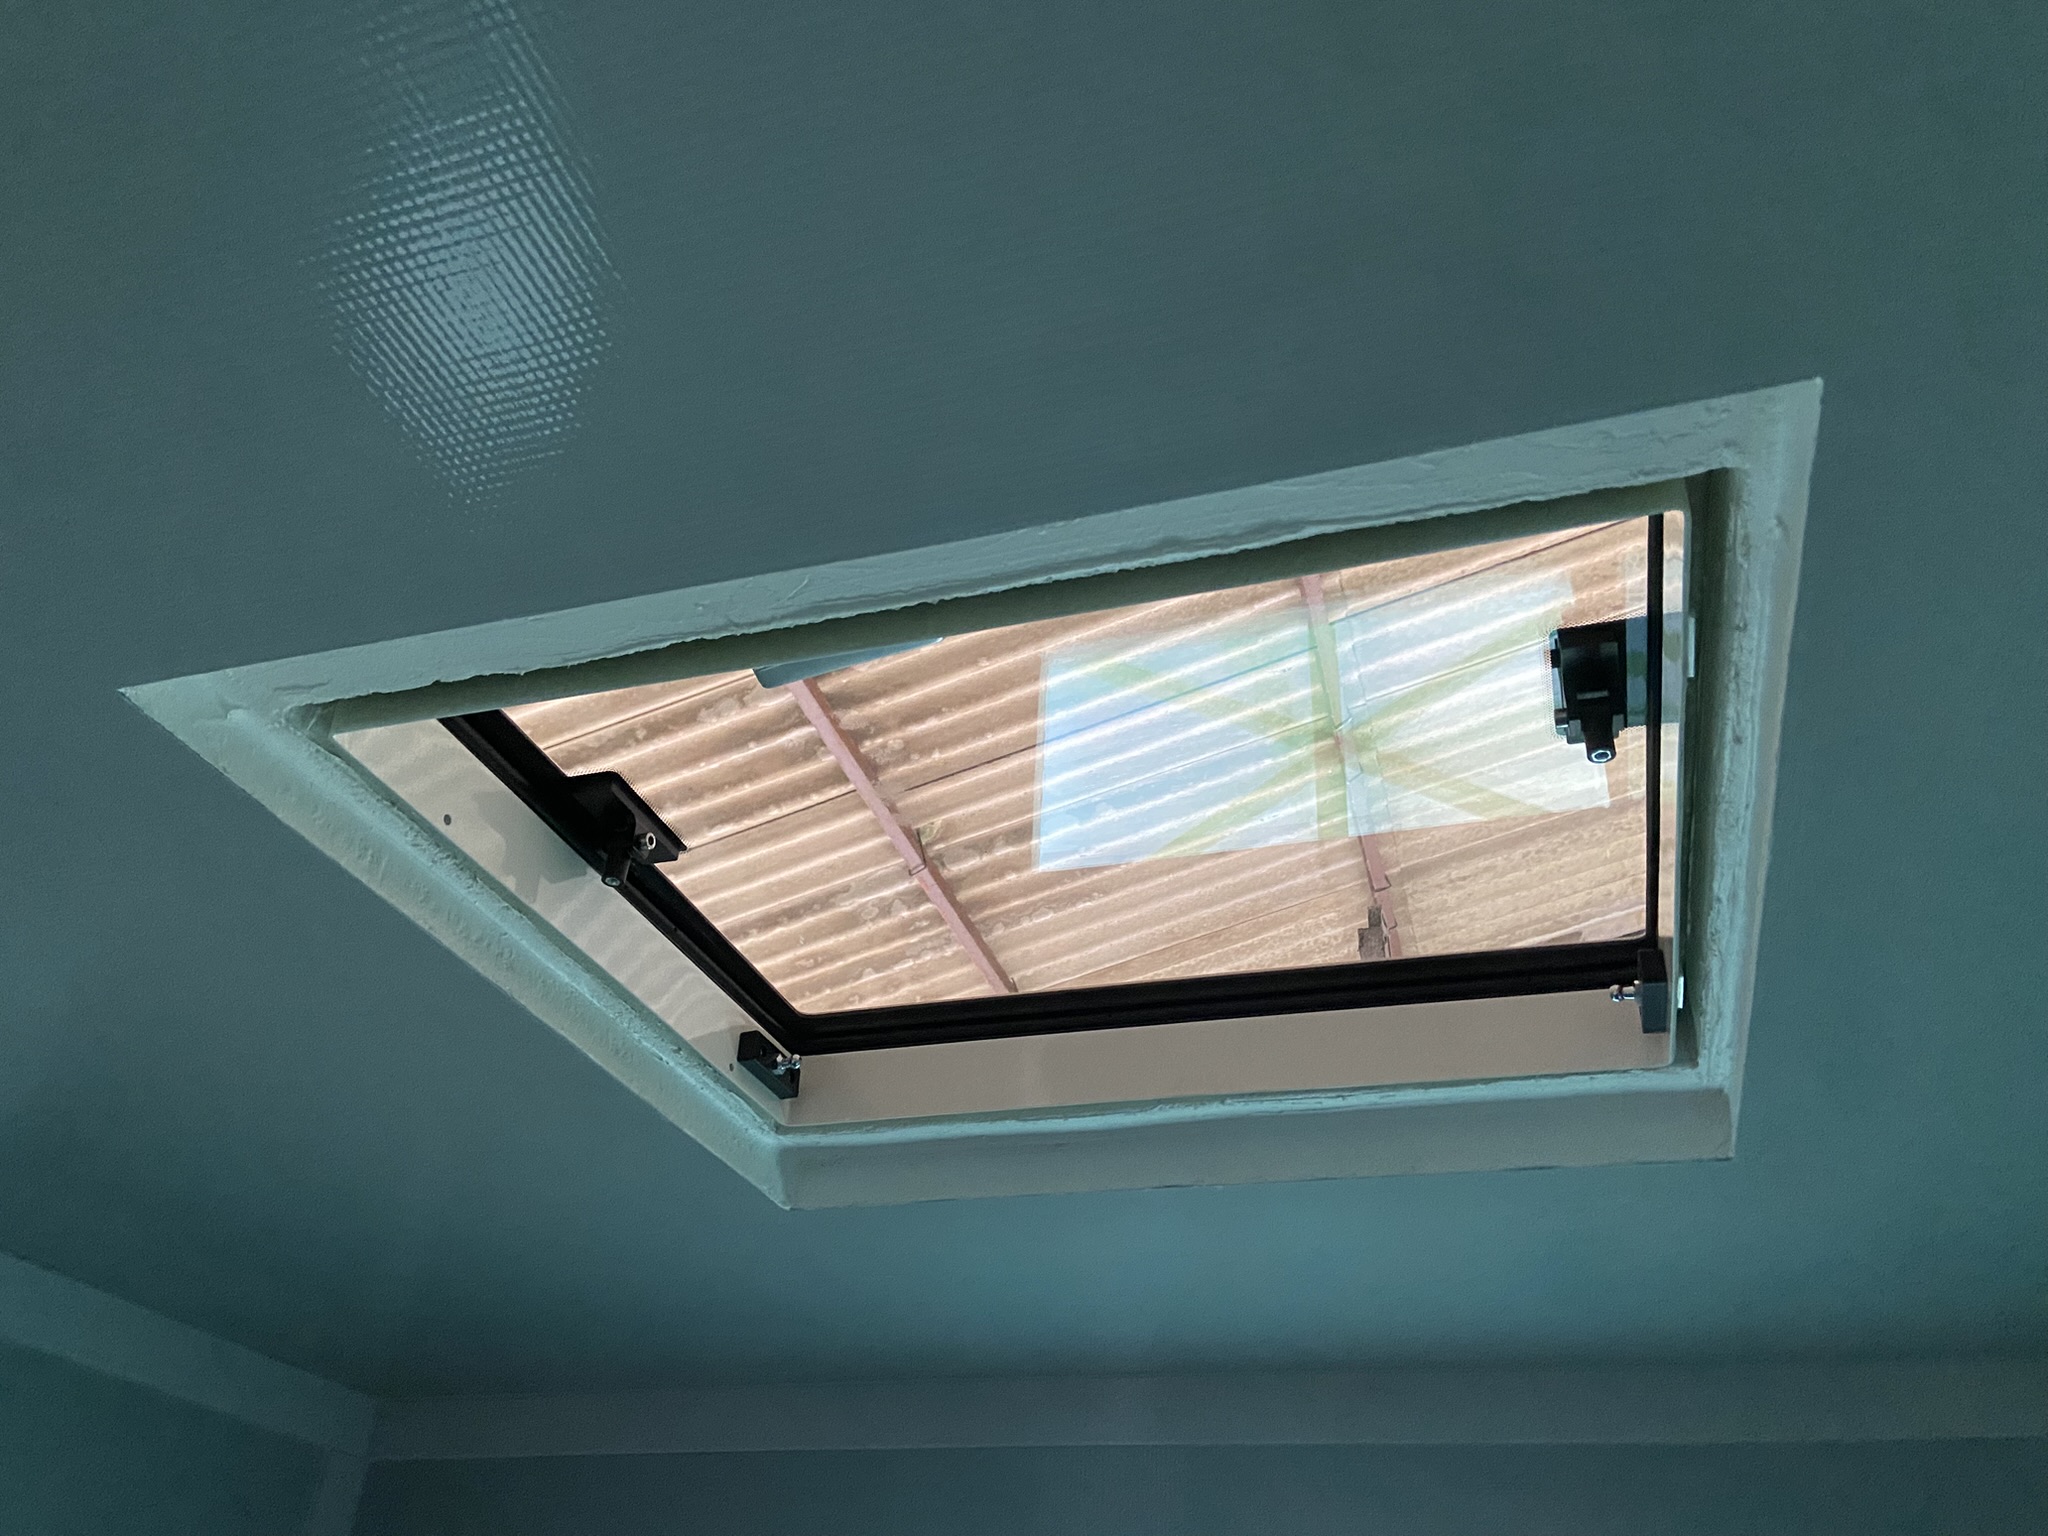
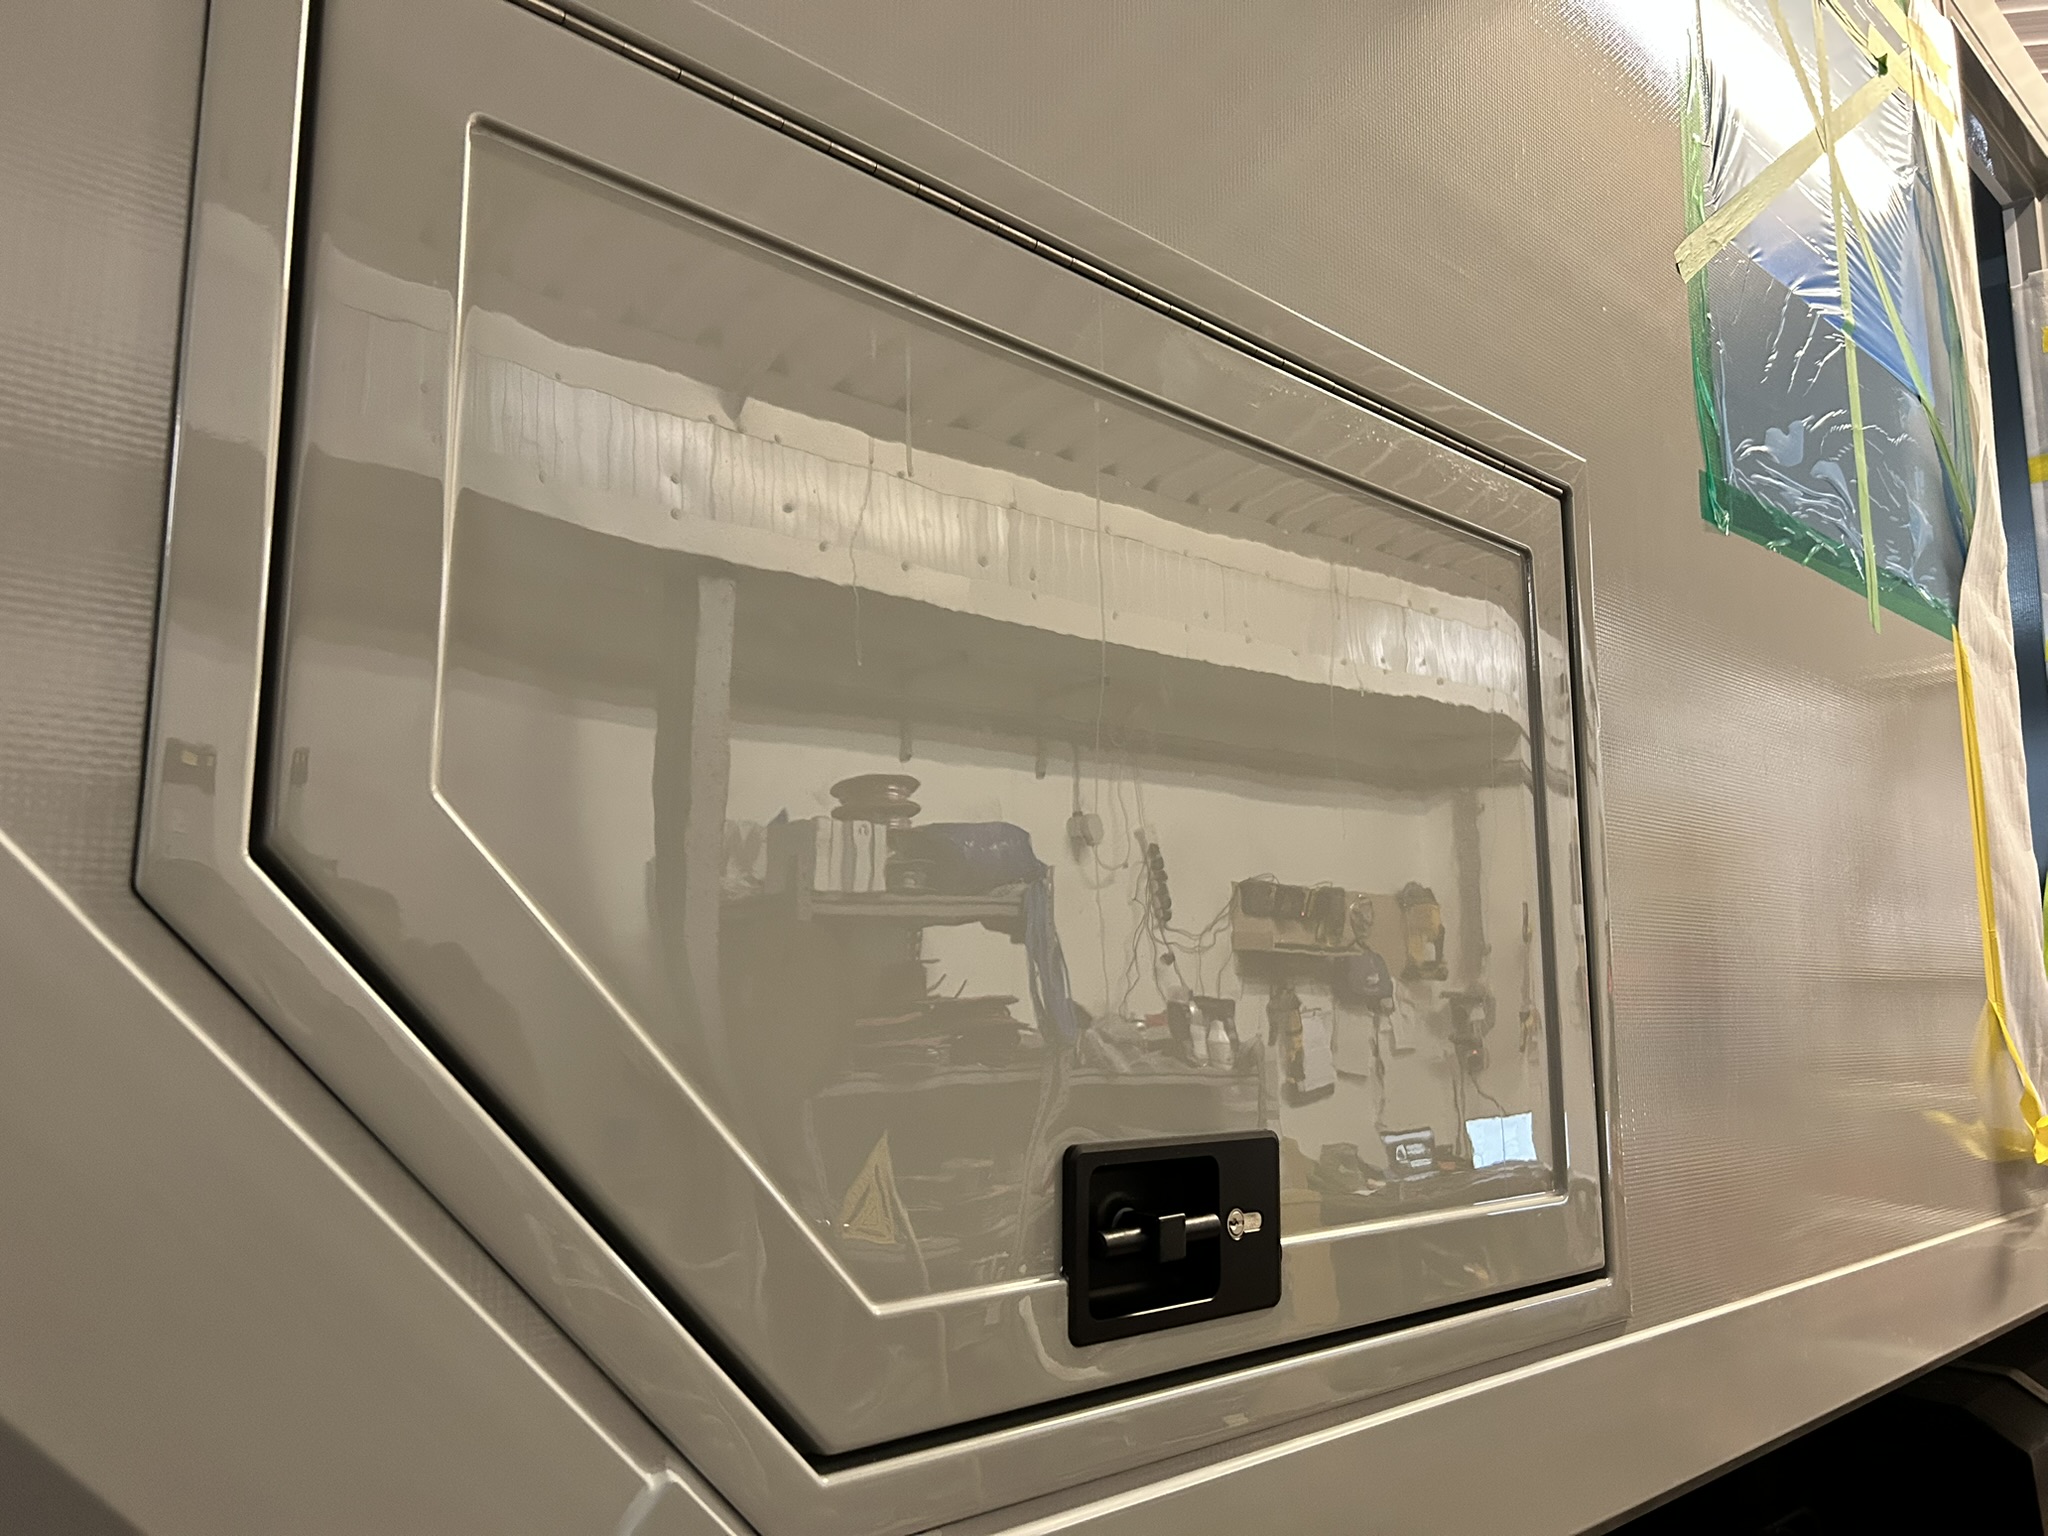
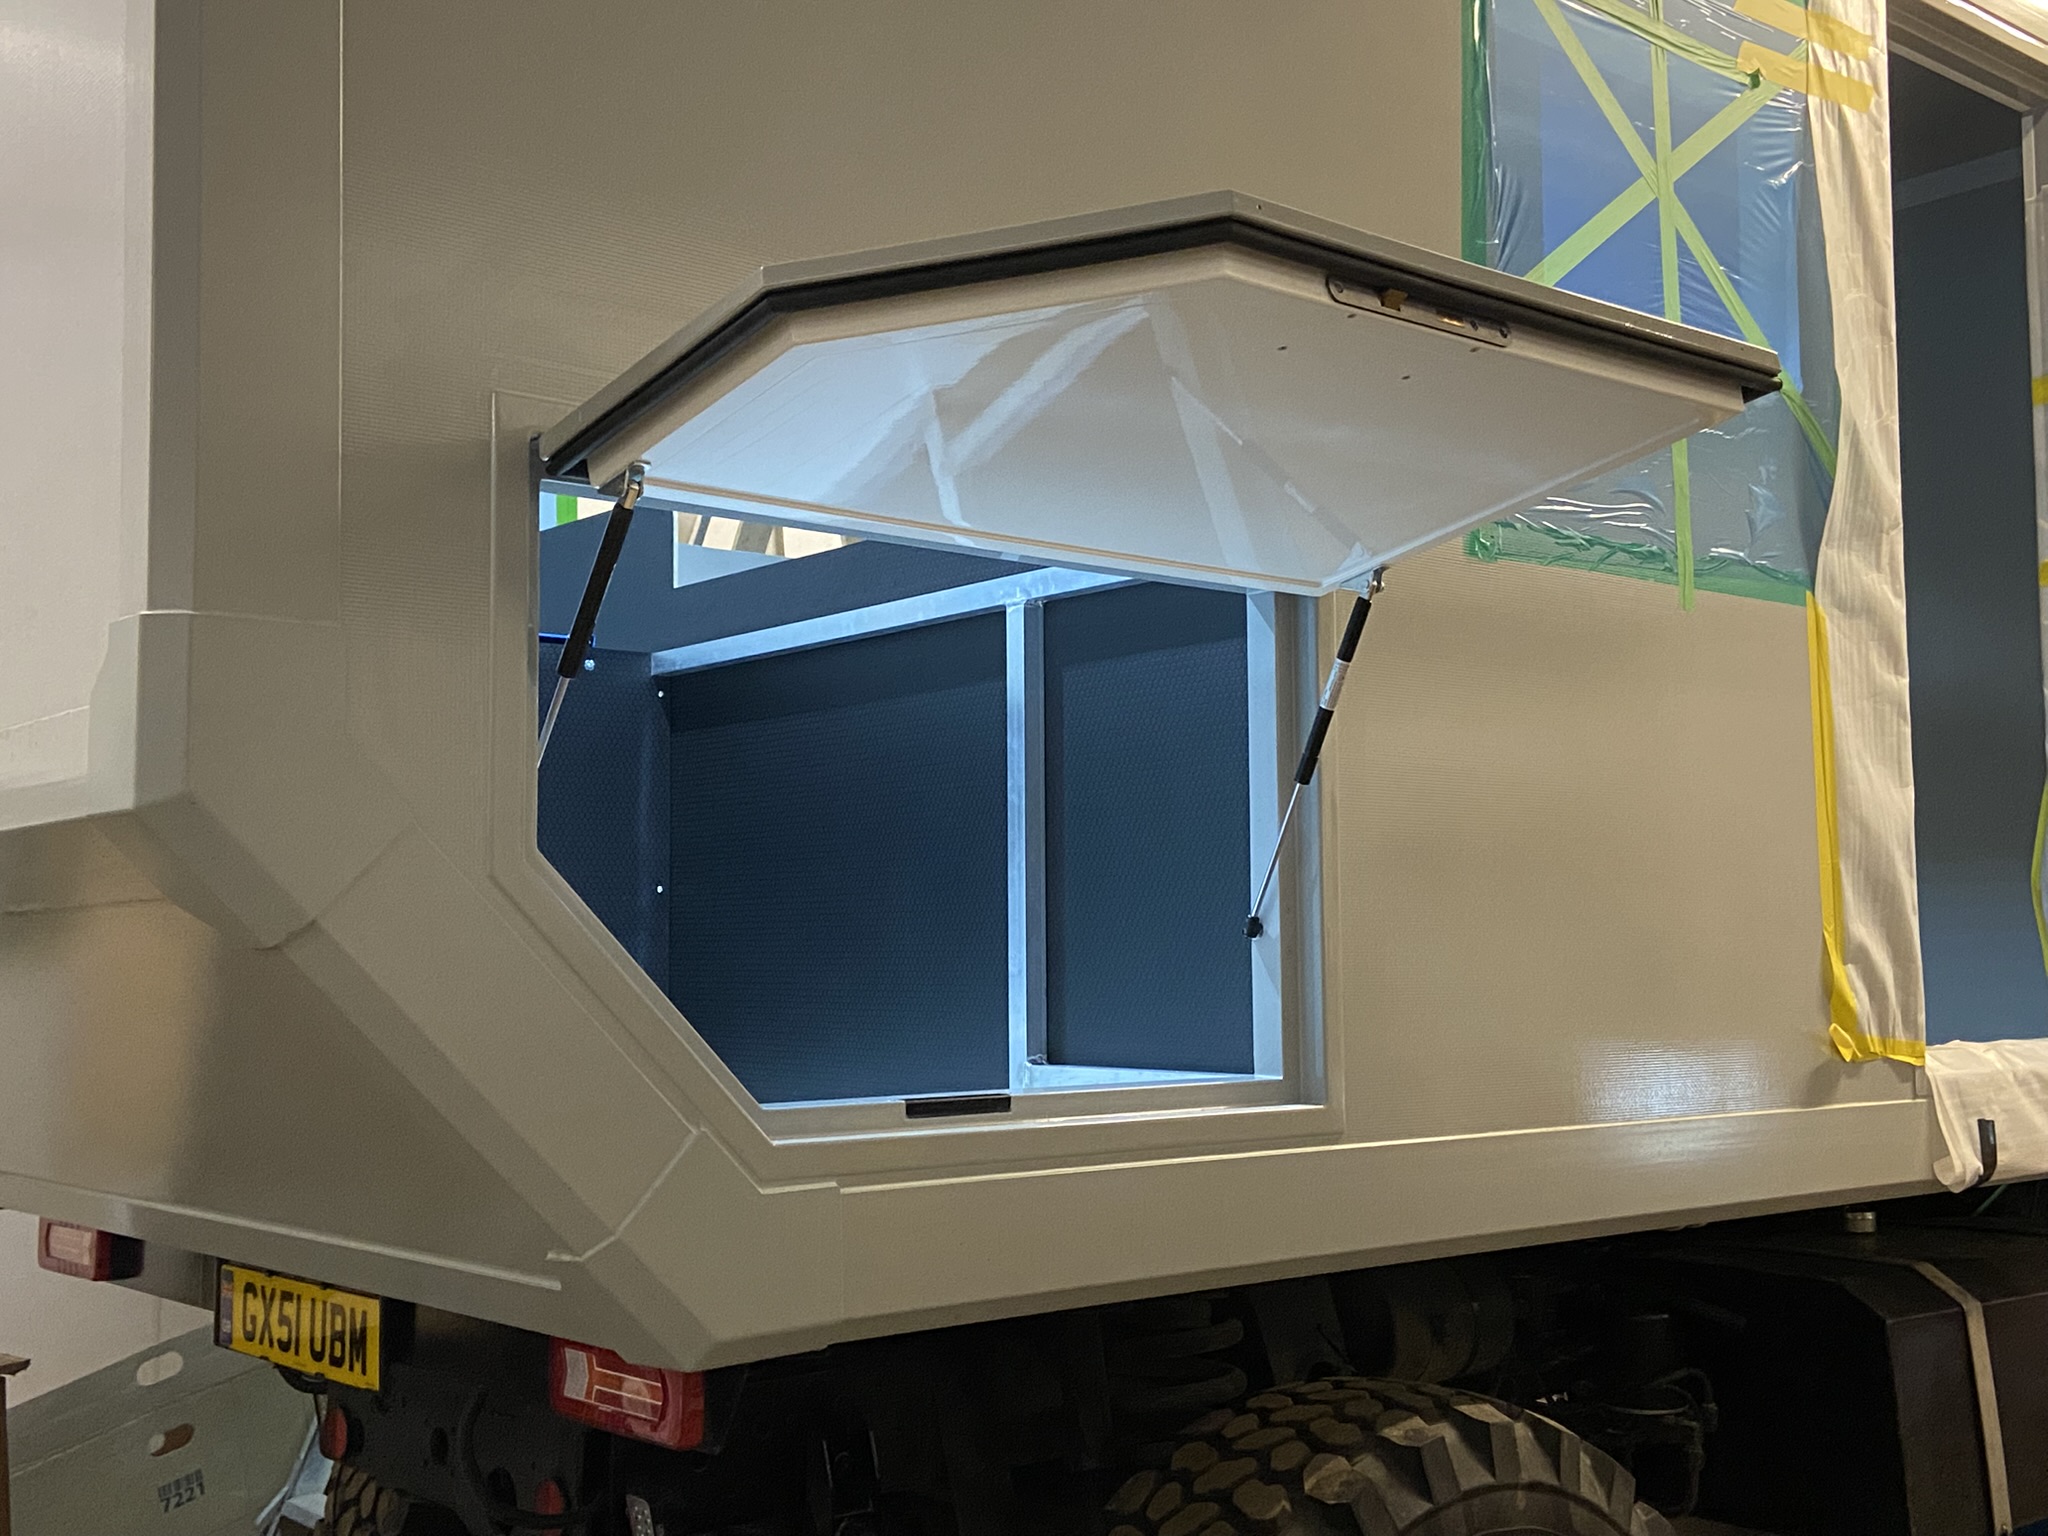
James had already installed the roof light and door but we had no windows yet. He was able to install one of the hatches but the other had to wait as it would be in the way of the solar installation work later on
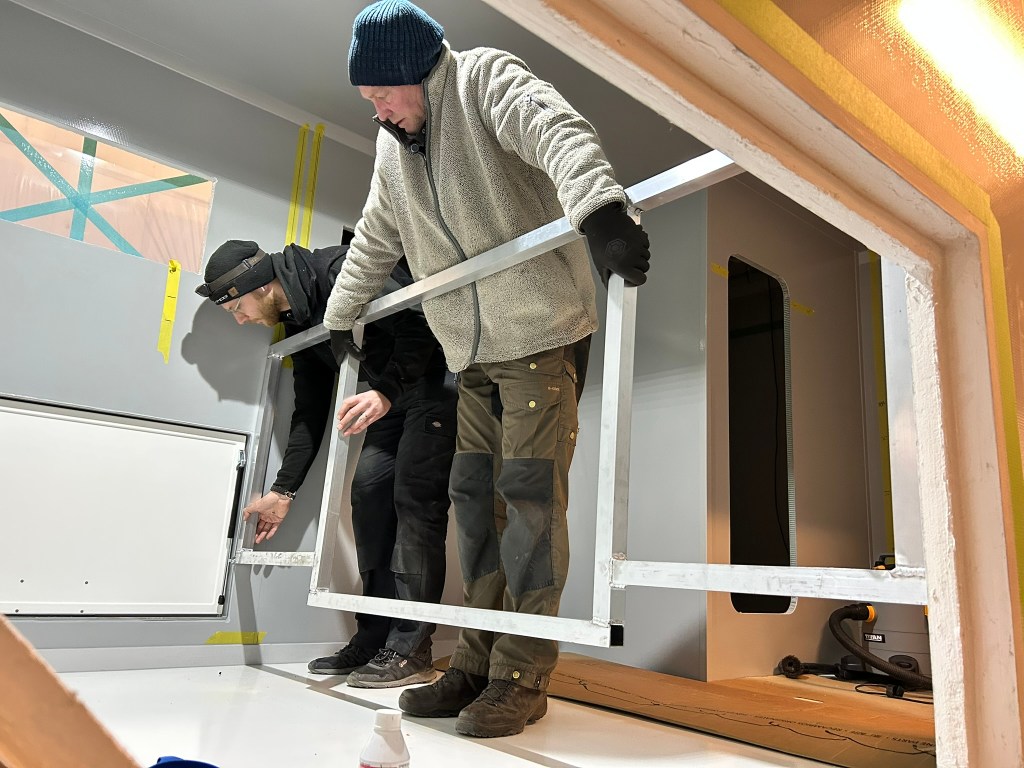


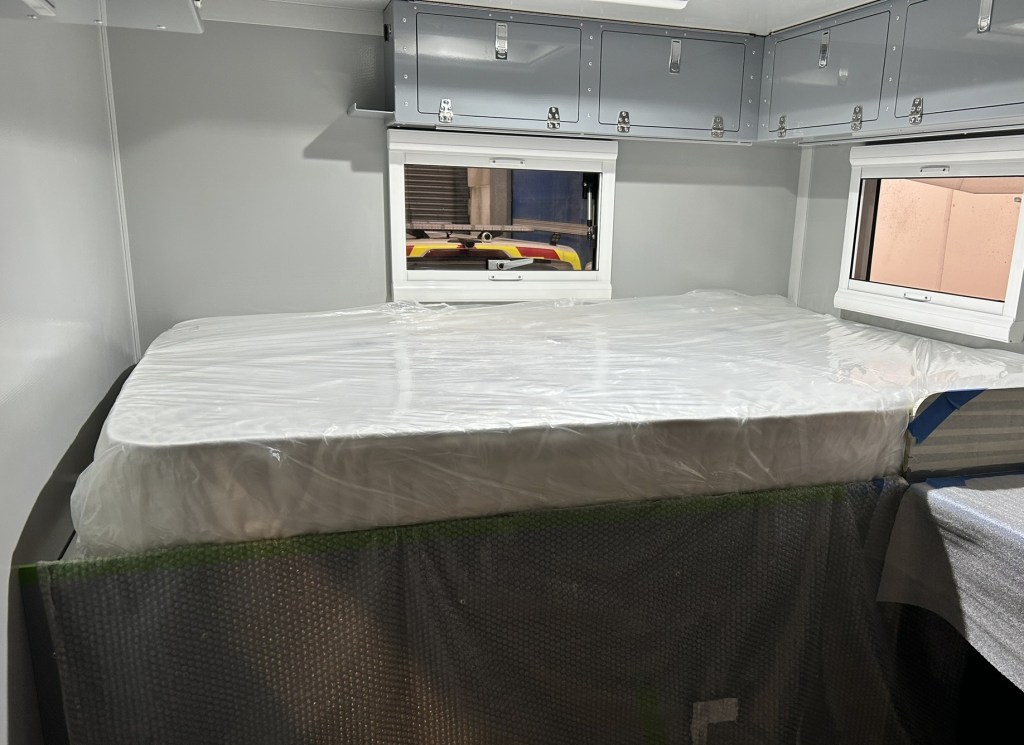
We built the bed frame next as so many other things were dependent on its exact position. The frame was in two parts, the side panel – which also formed the side of the garage – and the top which held the slats and mattress. Both parts were fabricated by a wonderful local welder called Dick who became a good friend over the time we were there.
James then spent a couple of hours keying the floor and walls and then he and Lewis carefully lifted the frame into place before James set about bonding and fixing it.
The top part was made but wouldn’t be installed for some time yet as there was too much to do underneath first.
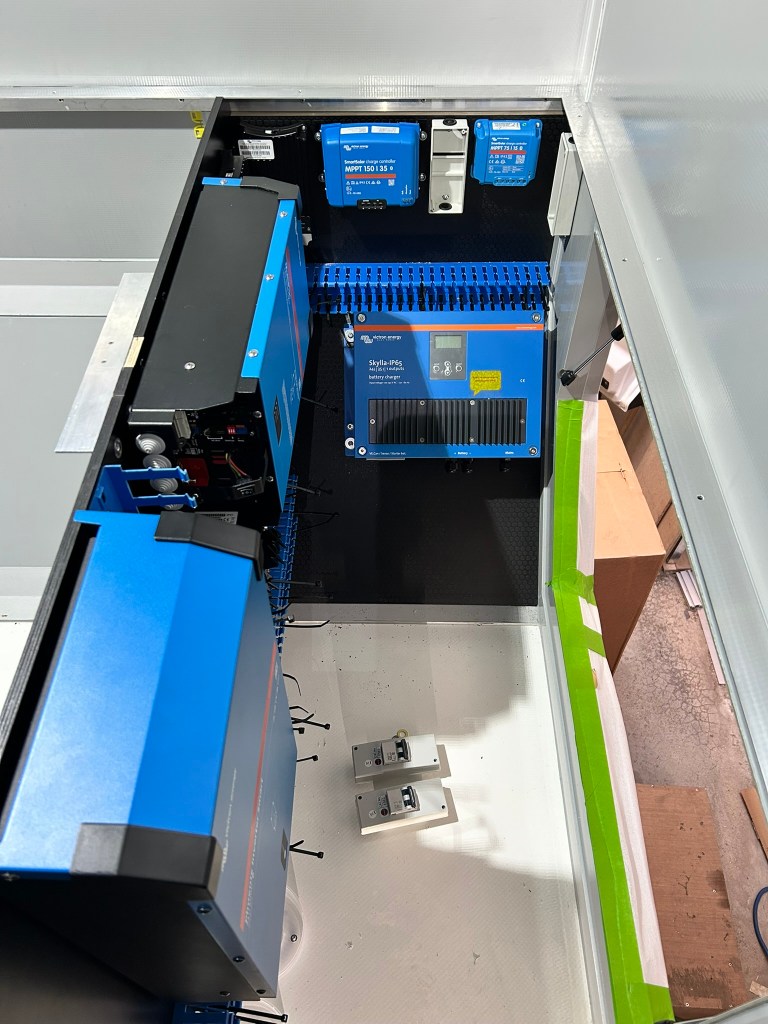
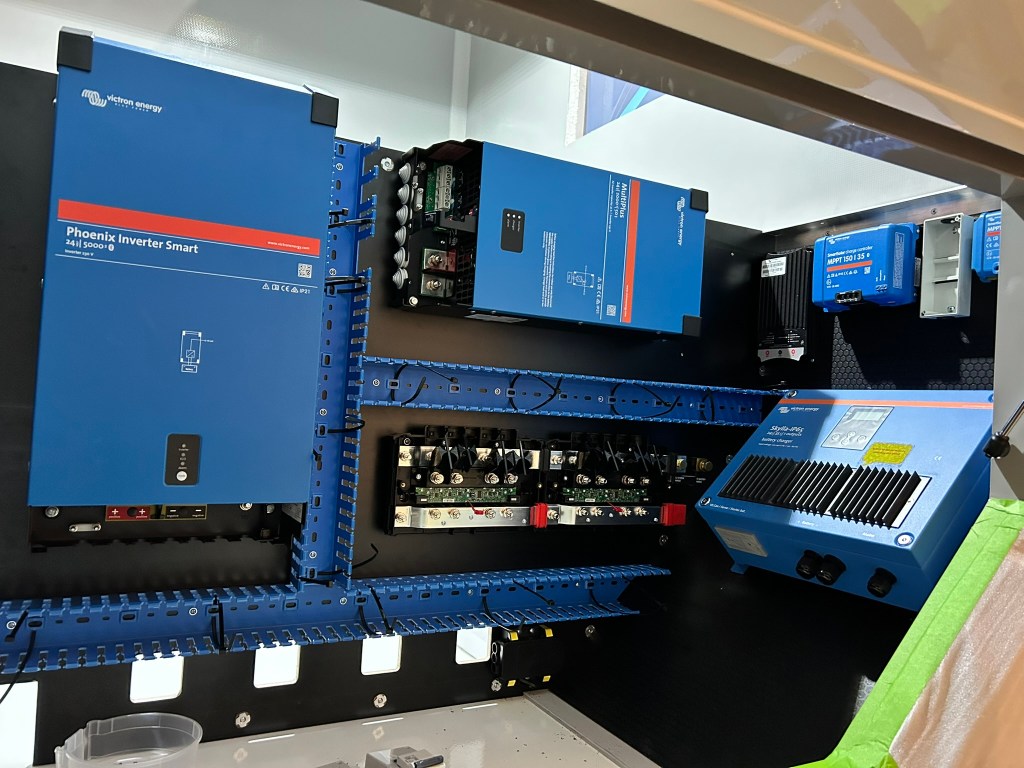


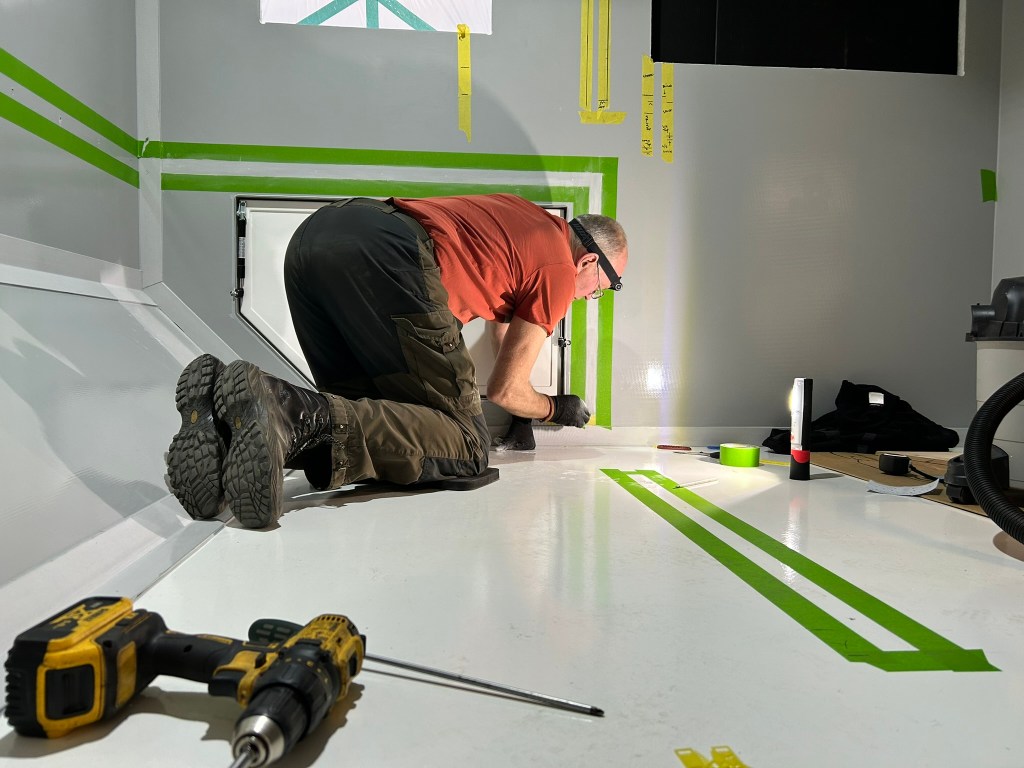
Lewis and his Dad, John, are experts in electrics and they spent half a day deciding how all the boxes and switches would have to be placed before James did the work to install them. Doing all the wiring took him weeks on and off, it was a huge task. We can power the batteries through the solar panels, the alternator as we drive or – if all else fails and we can find a campsite with power – we can use hookup


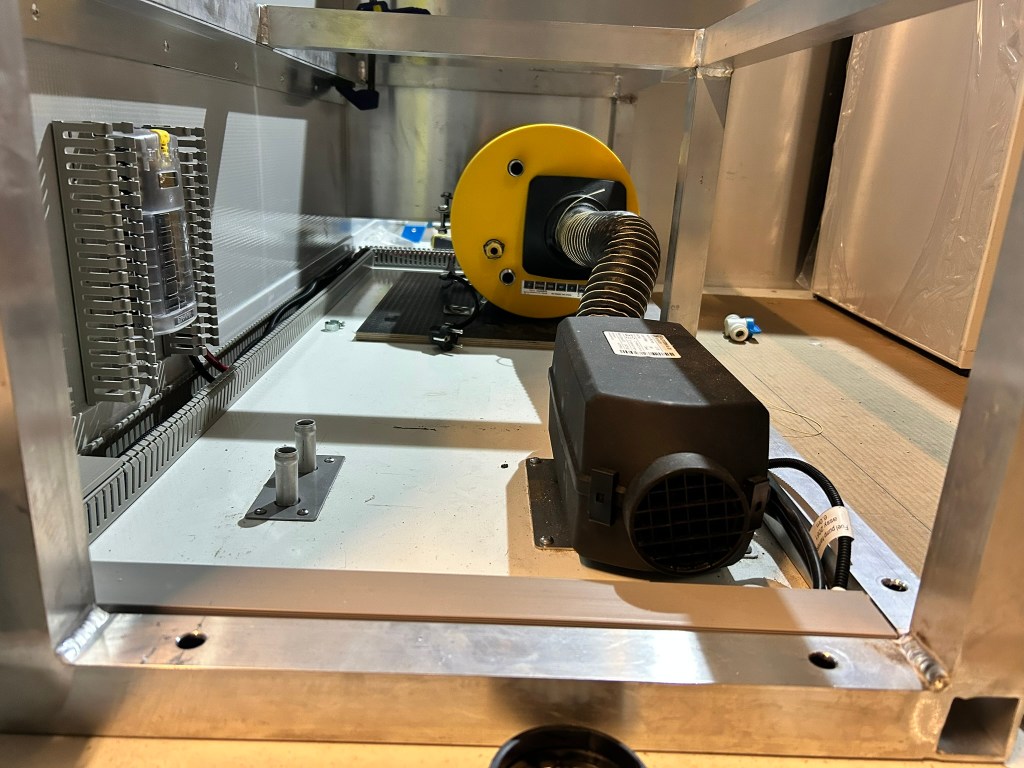
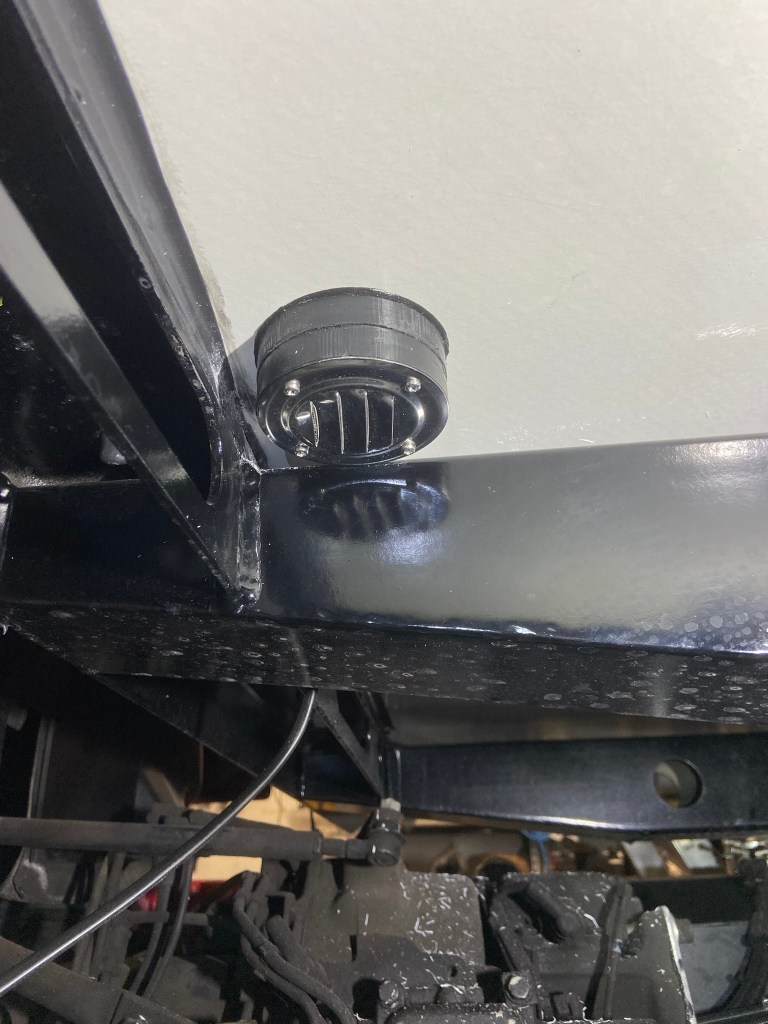
More holes needed to be cut for the air intake to the diesel heater. James found that the floor of our beautiful box was made of tough stuff – it took over an hour to cut through it, starting from the inside and finishing it from the outside, keeping our fingers tightly crossed that the two holes met up in the middle. Of course with James on the job it all went smoothly and after two or three hours we had the manifold in place and the diesel heater was installed
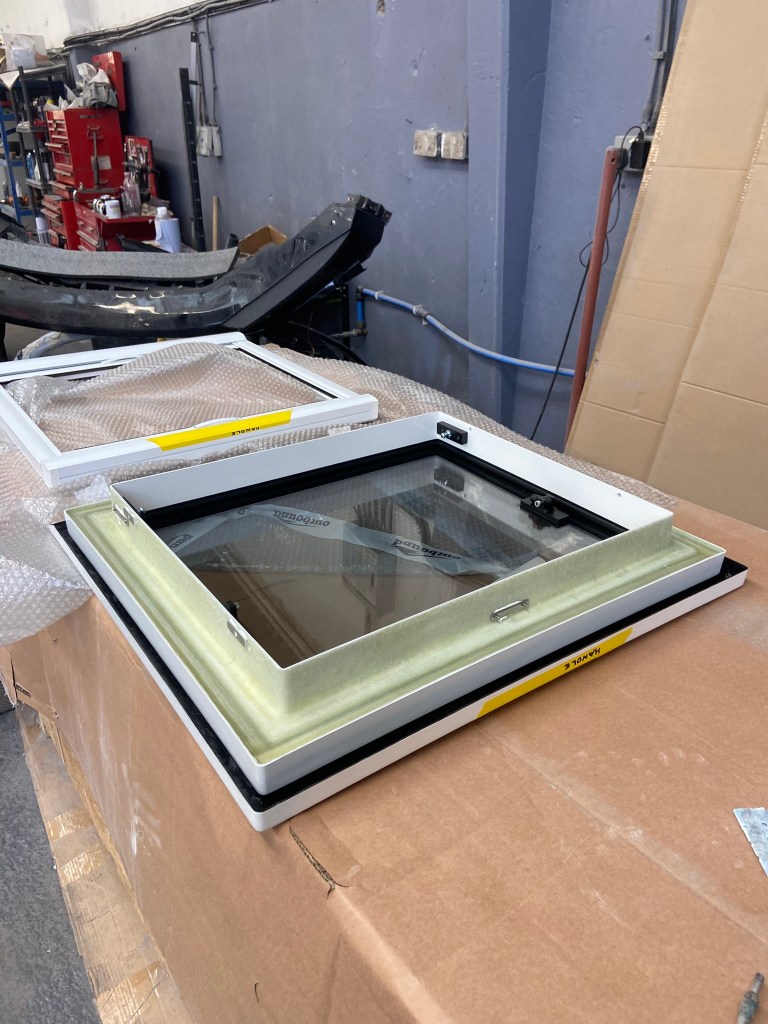
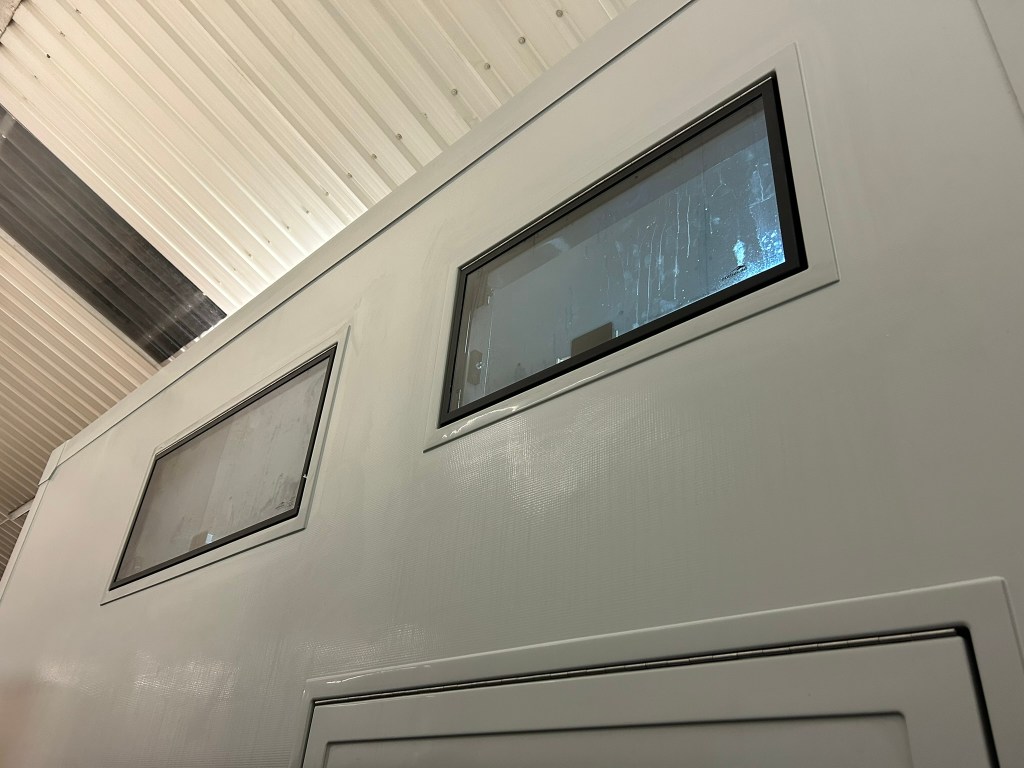
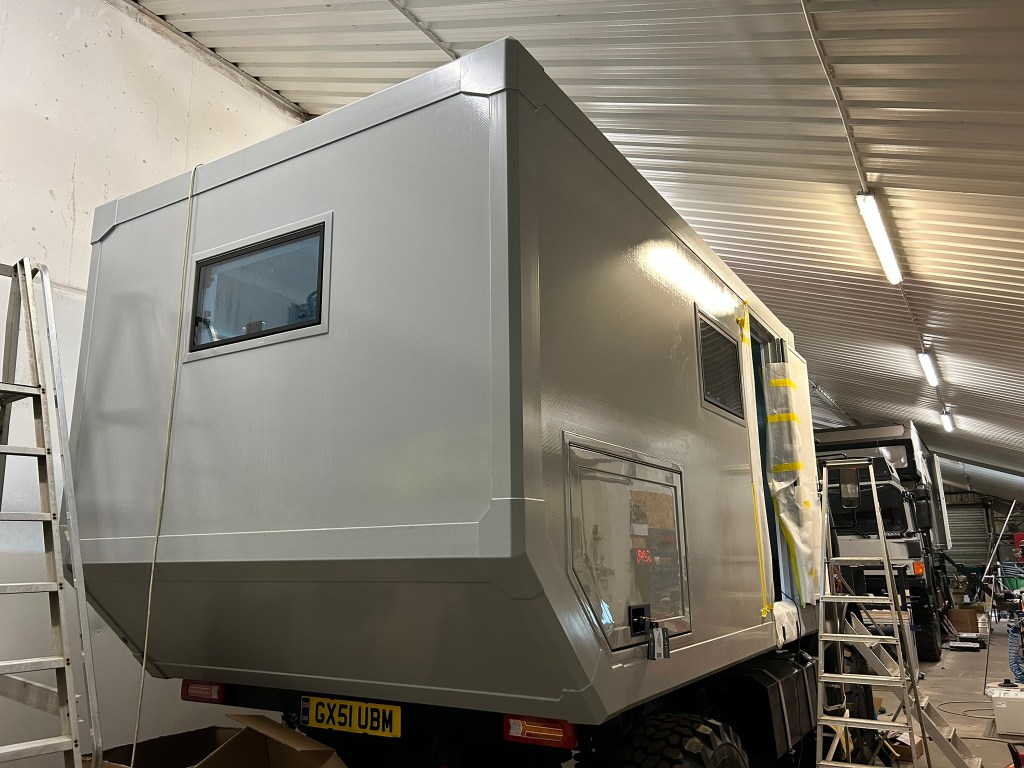
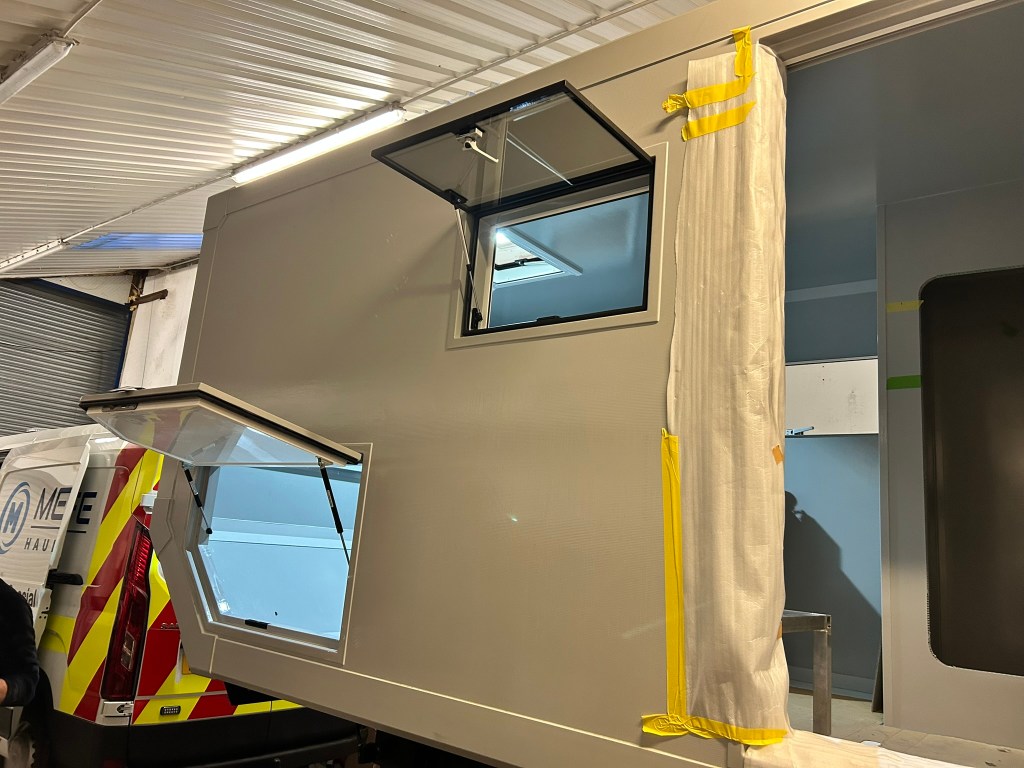
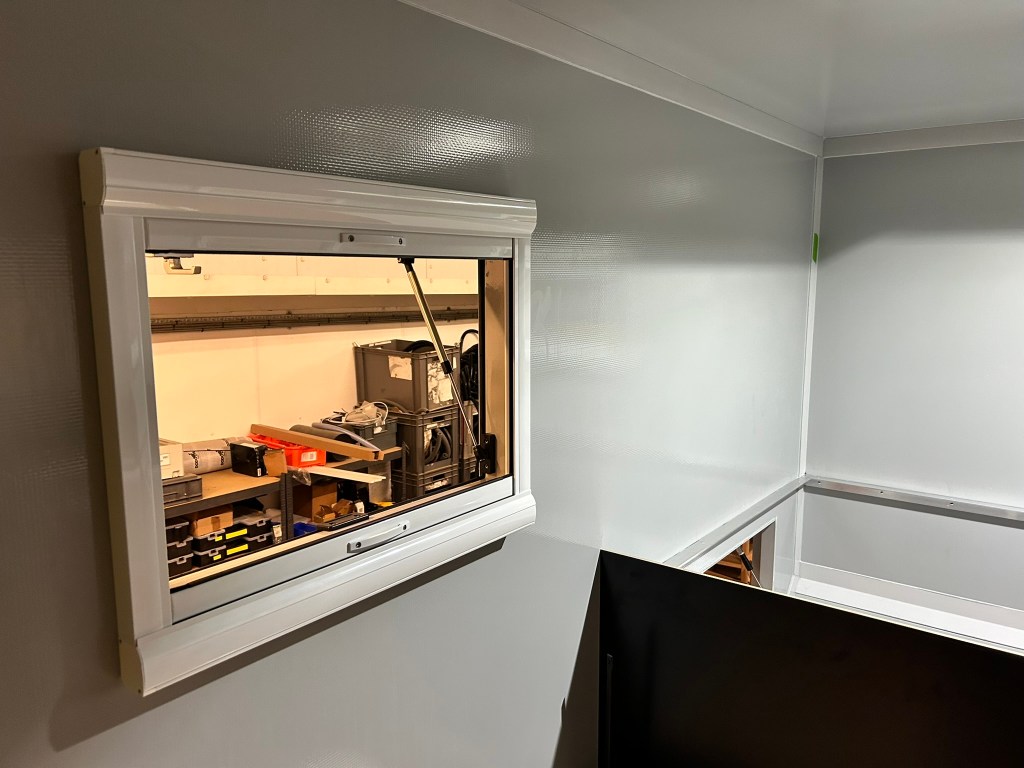
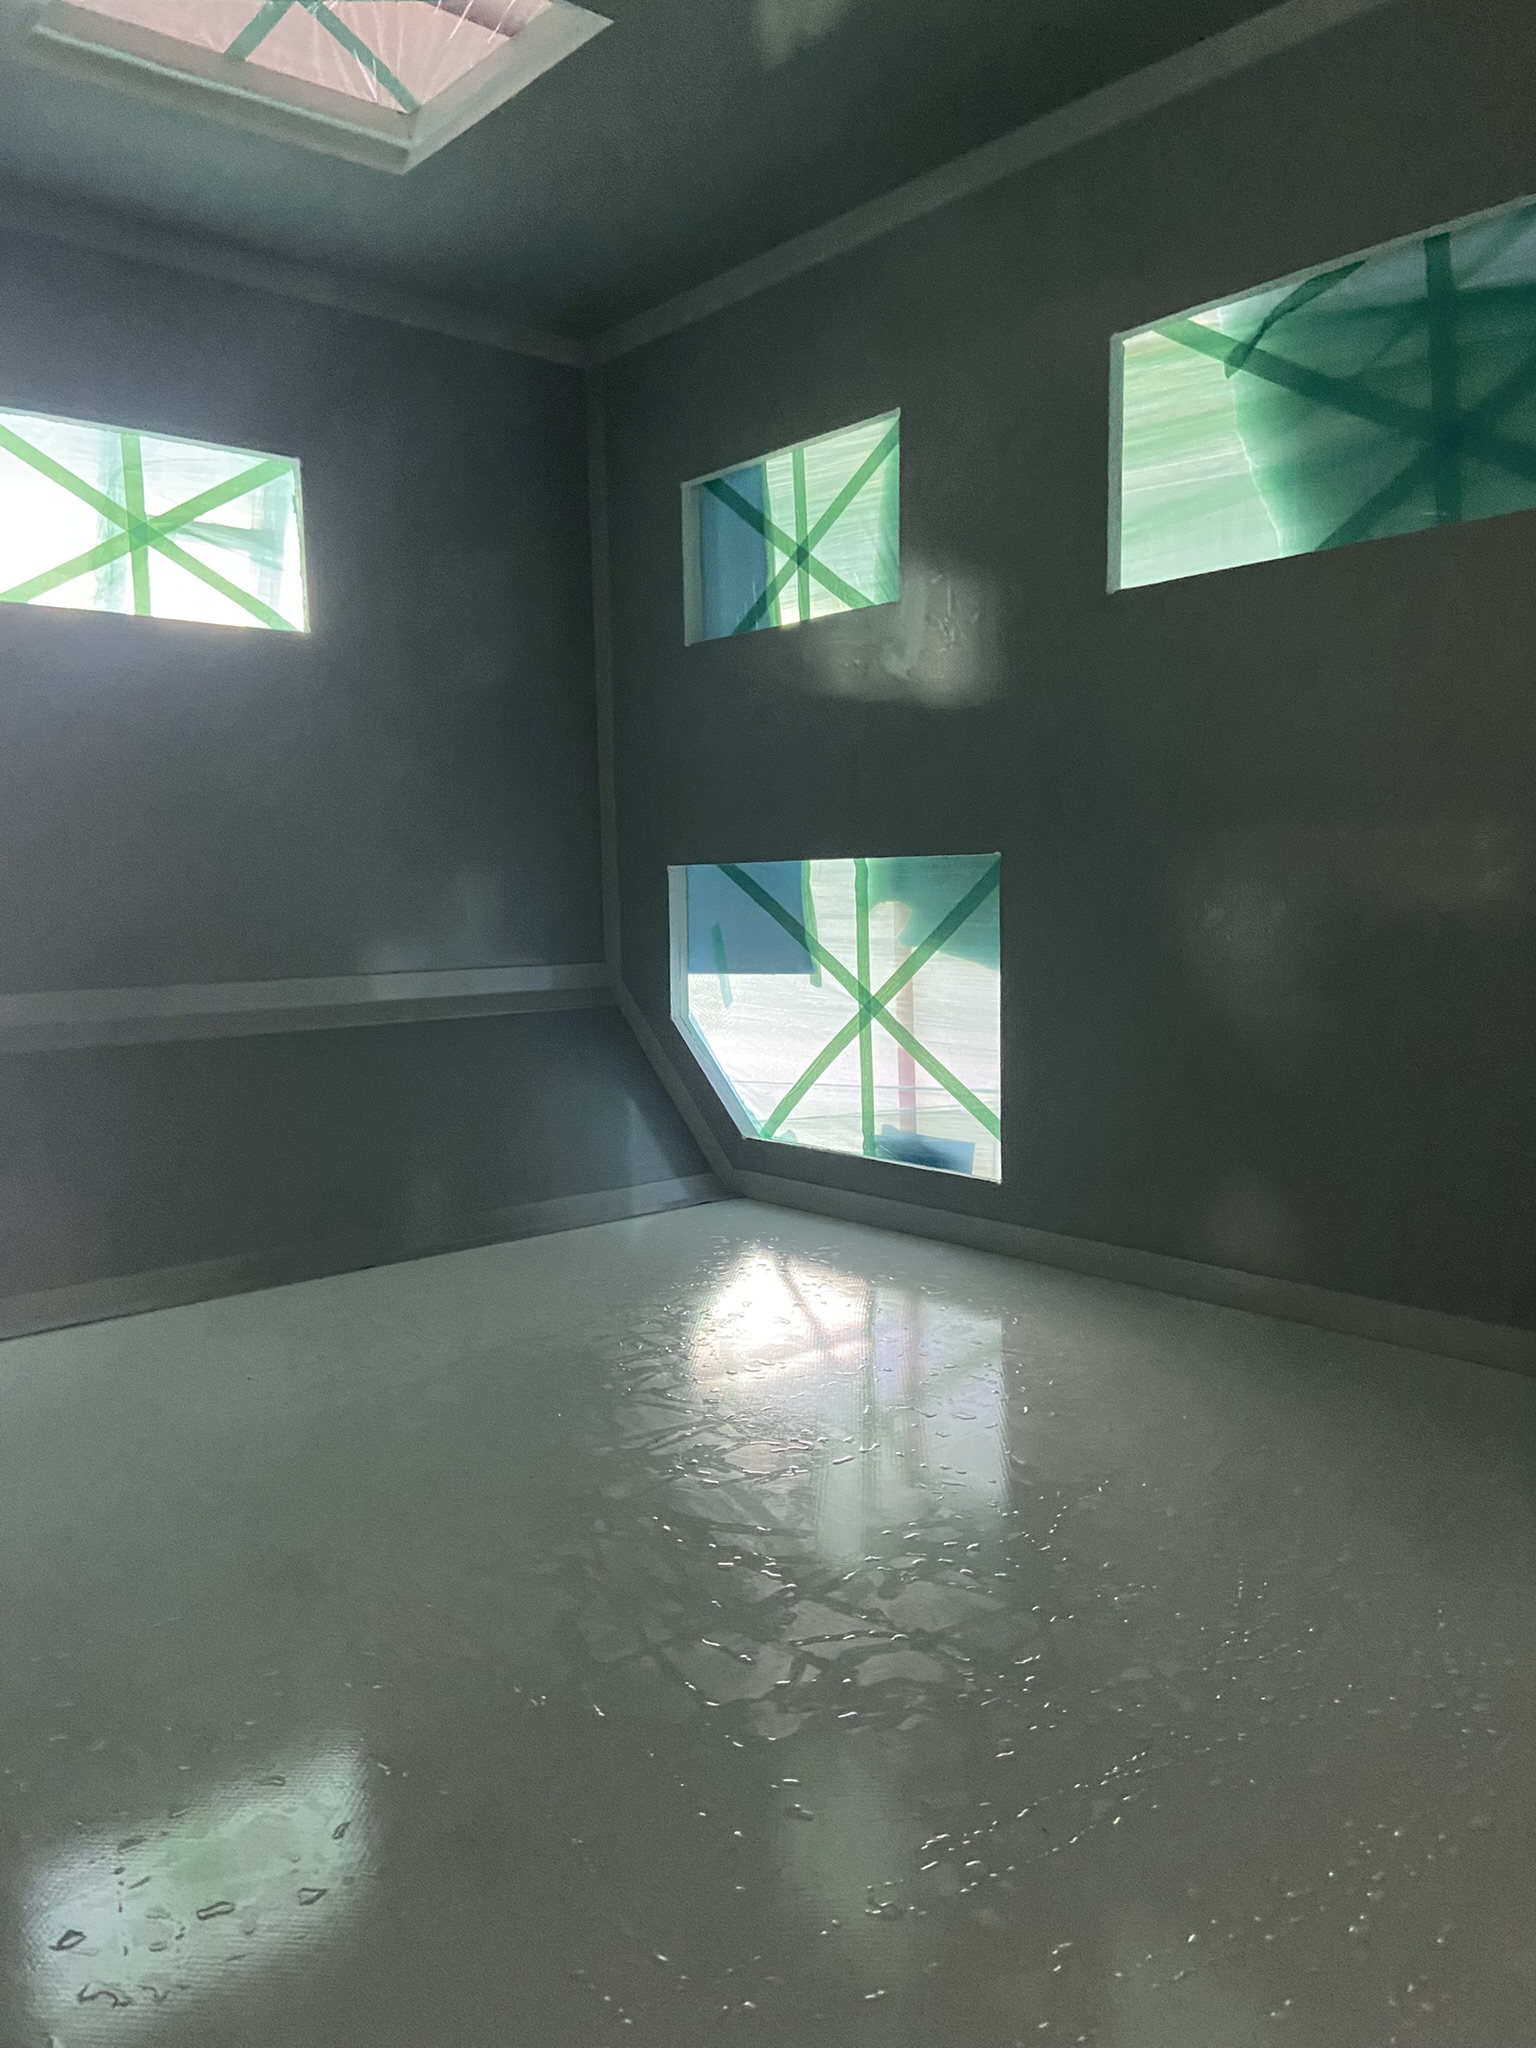
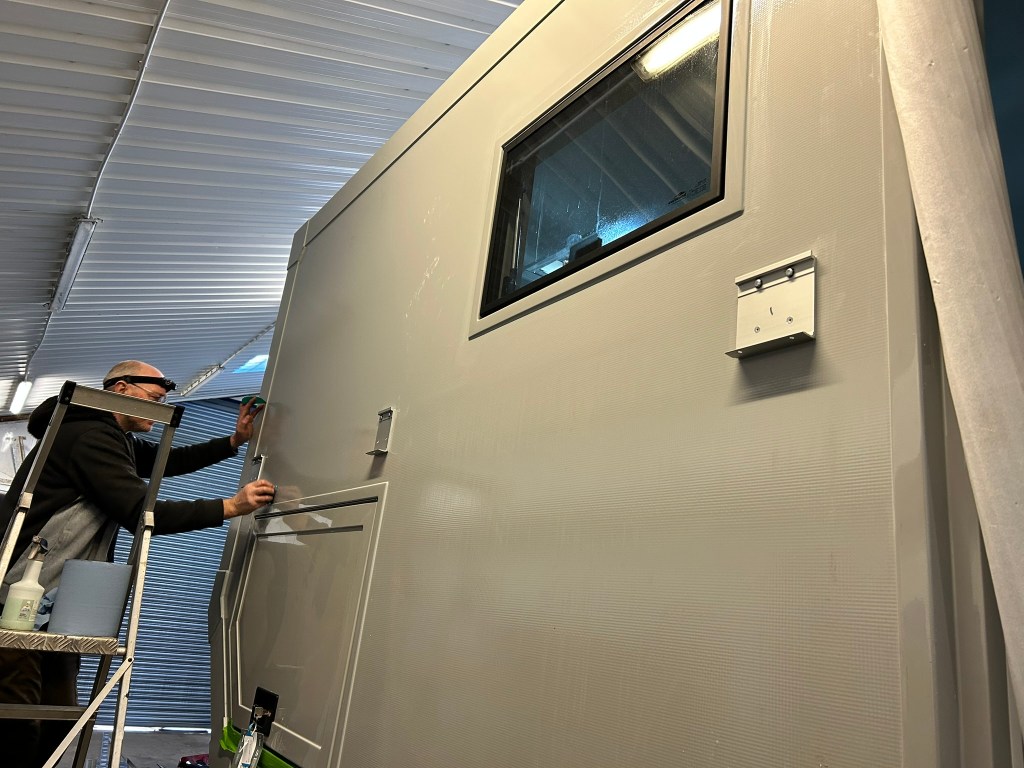
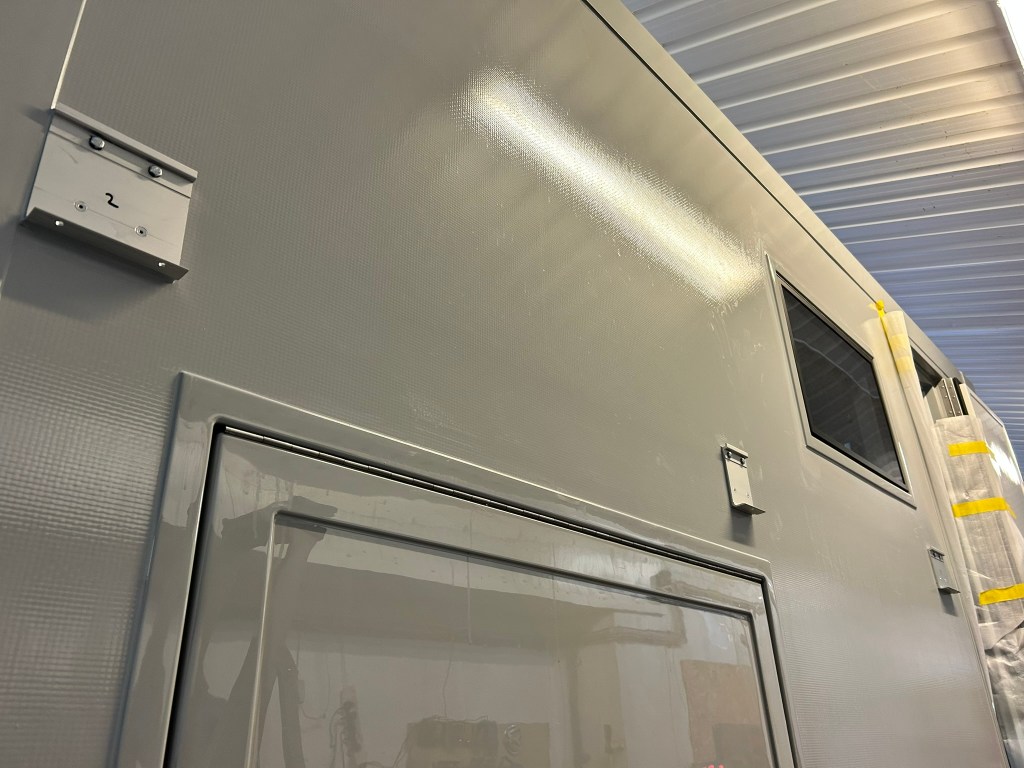
Two weeks had gone by and the new windows had arrived. James spent a couple of days installing them and it changed the look and feel of the box completely, it suddenly felt more like a little house

It looked a little anti-climactic sitting there on the floor by itself, you would never have guessed how much work went into putting it there! But a few weeks later the whole area under the seat was full of heaters, boilers, wiring and plumbing

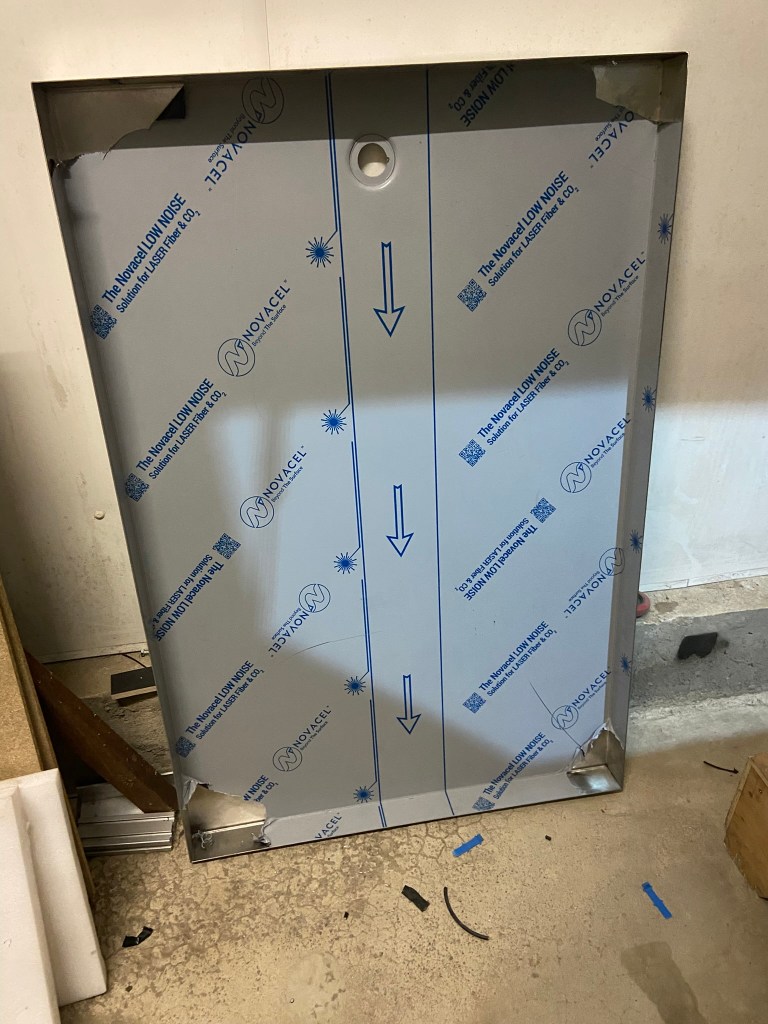


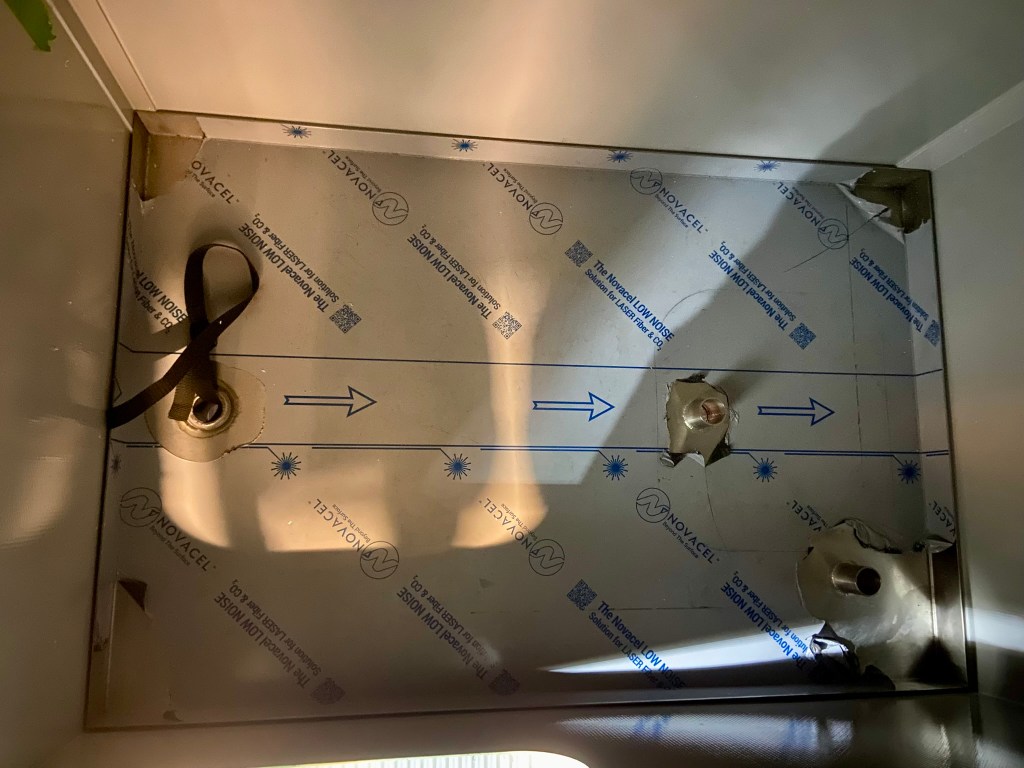
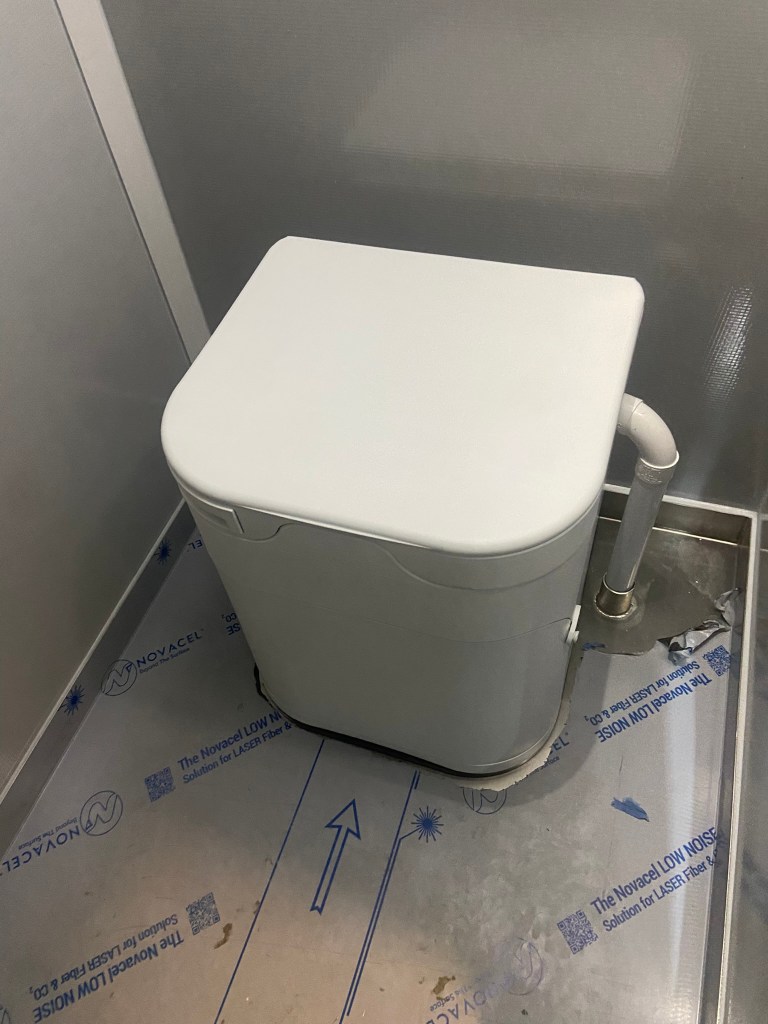
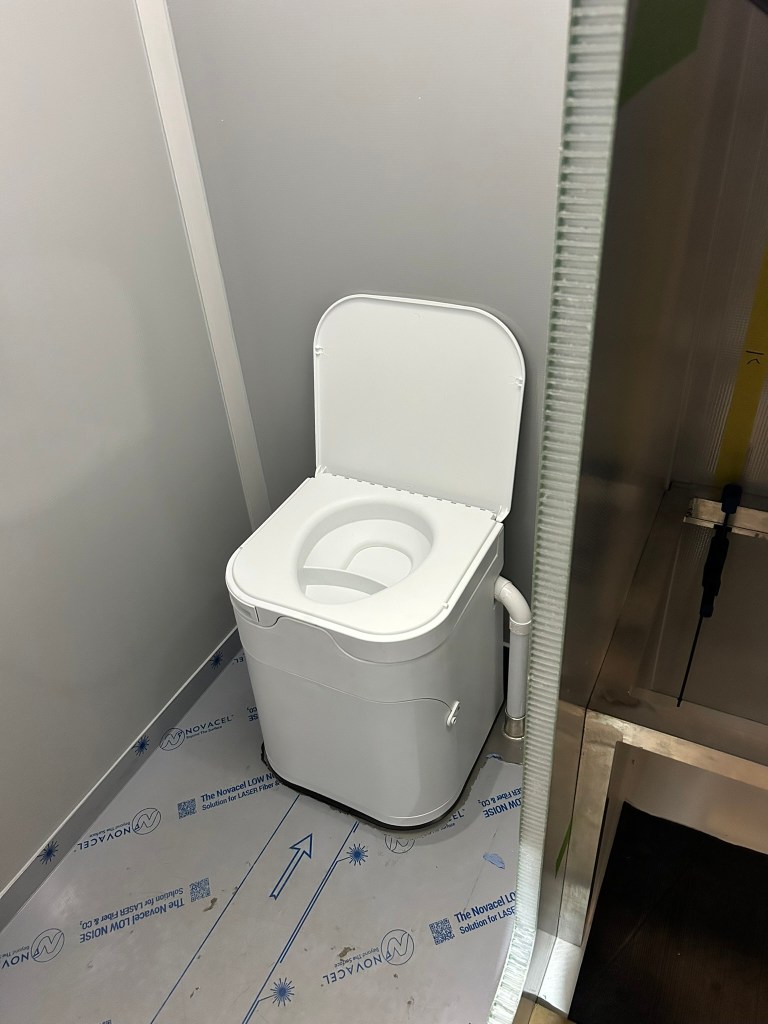
We turned our attention to the wet room. The shower tray was fabricated by a specialist to our detailed designs and arrived within a week of ordering it. We had already bought the composting toilet and James set it all out to decide where to cut the holes for the pipework to the extractor fan and black water tank. The holes were cut and steel pipework was welded on to prevent any leaks from going underneath the tray. The toilet was carefully positioned and the waste pipes fed into the holes. It looked good


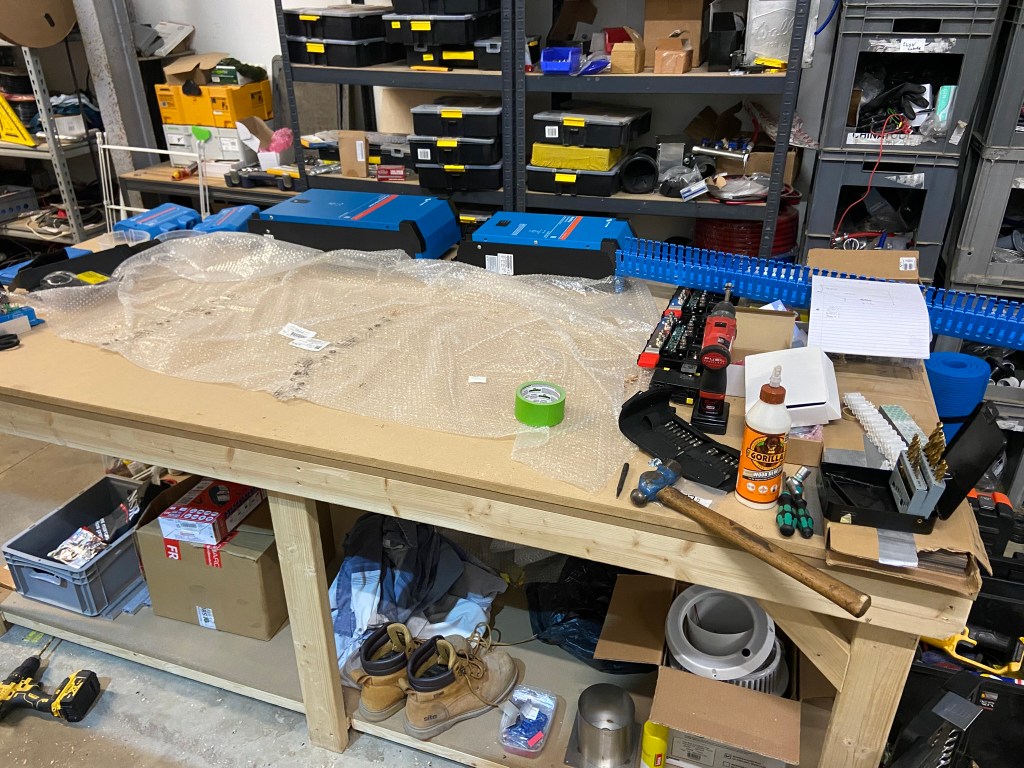
Throughout the fit-out many things went in and out multiple times to check dimensions, wiring, plumbing and the like before they were finally permanently installed. The fridge was the first thing to go in for a test run.
We also spent a great deal of time designing fine and intricate details that would really matter in the end result but which could not necessarily be anticipated in advance. We regularly made little scale models of things, trying to work out angles and clearances. These little models were testing out how the shower panel would attach to the walls
So, what next? Excitingly we were ready to start making the first of the cabinets.
Most overland trucks are fitted out with plywood cabinets or something similar. I’m not a fan of that, all too often they look shabby and swollen within the first few months. Henry´s interior, however, is beautiful and stood the test of 3 years in Africa looking just as good at the end as it did at the start. My brief for the inside of the UniMog was clear – make it look like Henry, just on a bigger scale.
James had built Henry’s insides from scratch so knew what we wanted to achieve and between me, him and Lewis we considered, rejected and weighed up a number of options as to how to achieve it.
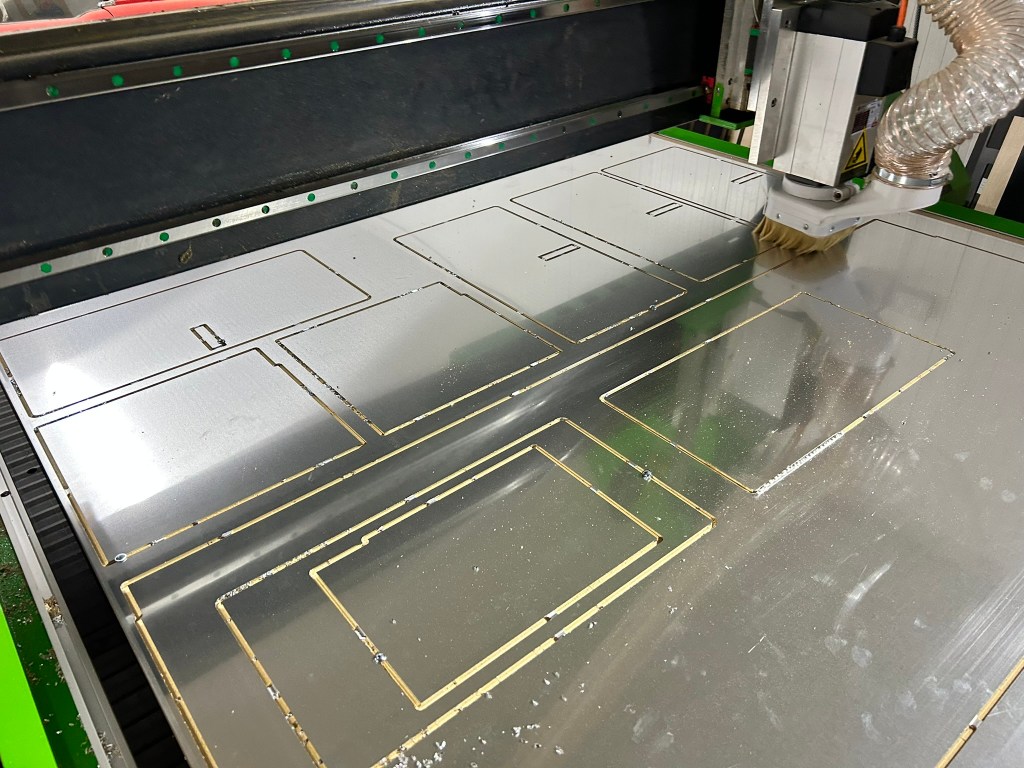
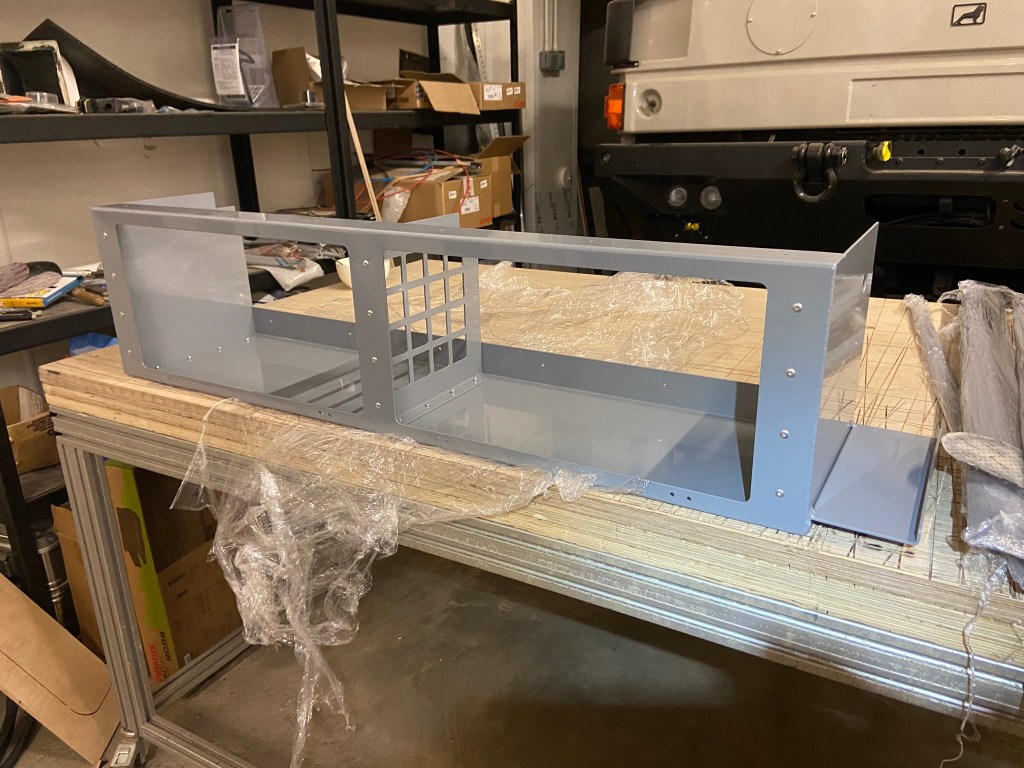
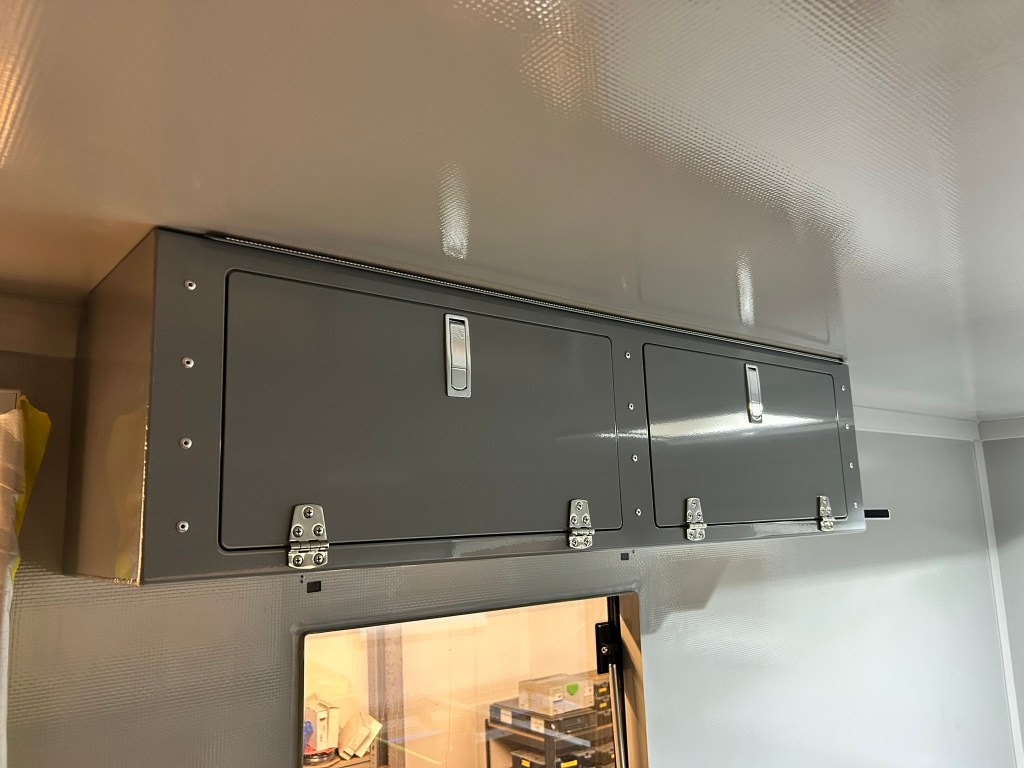
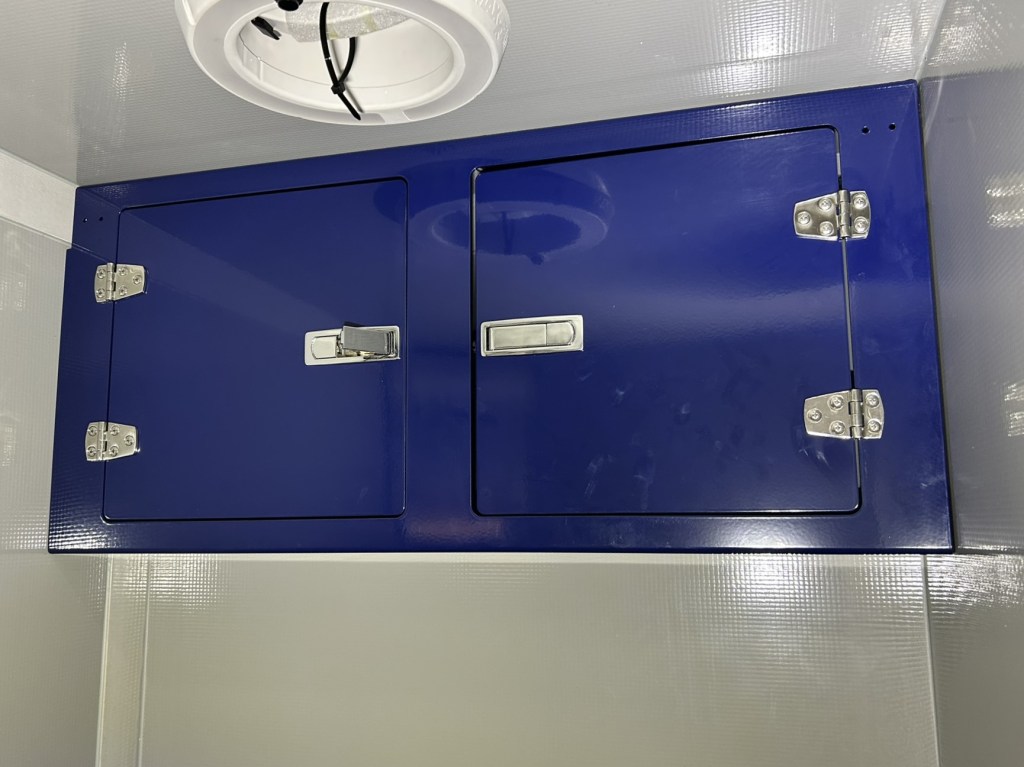
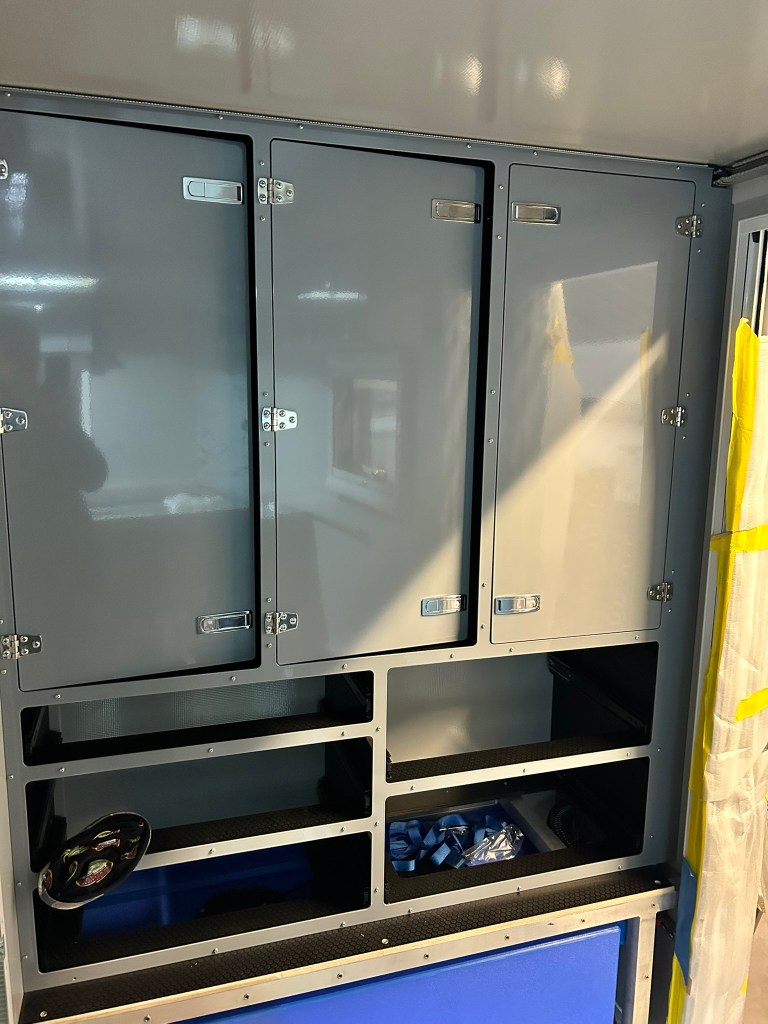
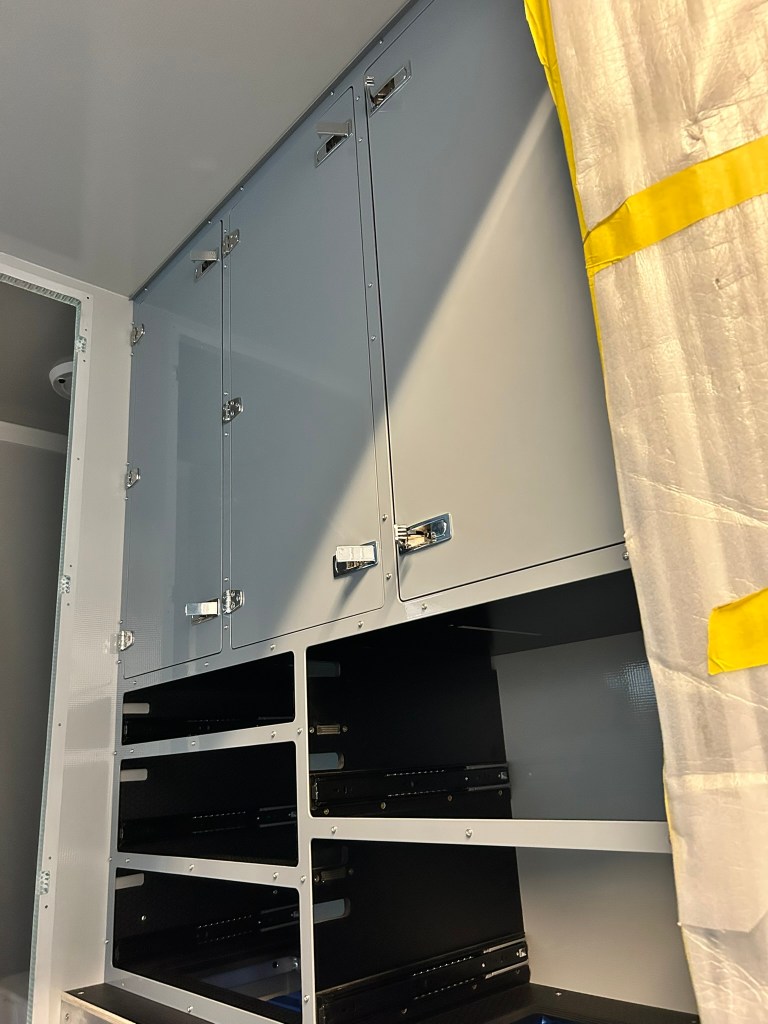
The final plan was to make the high level units out of aluminium sheets and bend them into shape. For the kitchen unit and the large storage unit, the carcasses would be made out of wood with aluminium front panels and shelves. So all we would see would be aluminium.
It was a good plan but it took a gargantuan effort to make it happen – not least because James would not compromise on quality or detail in any way.
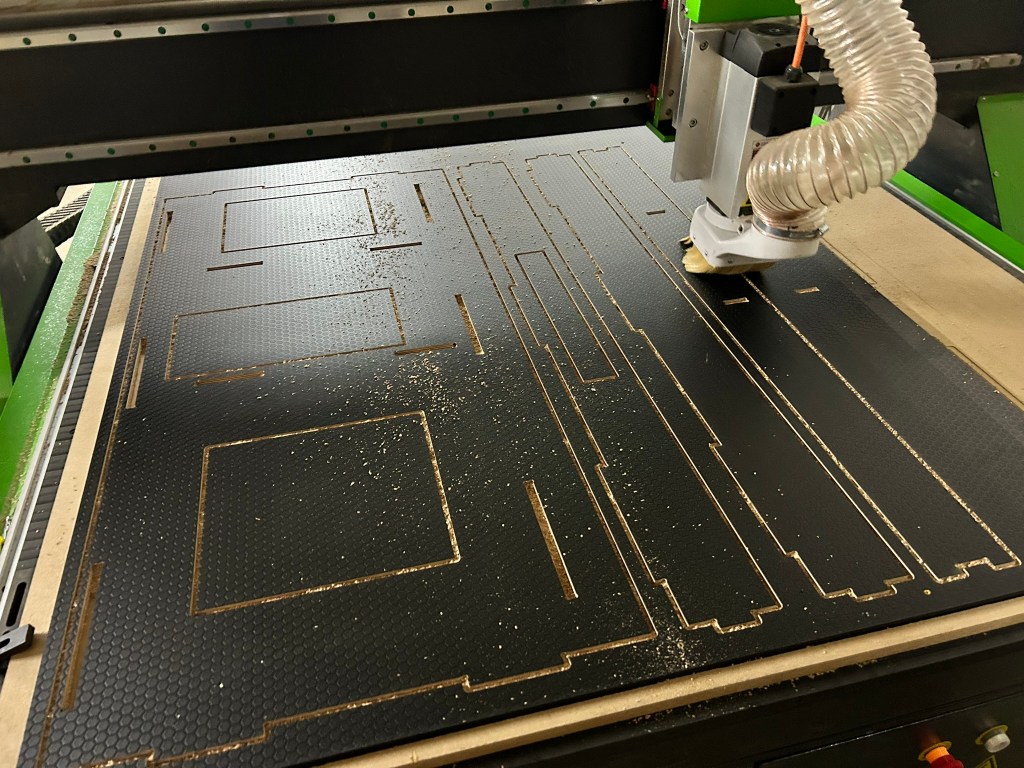
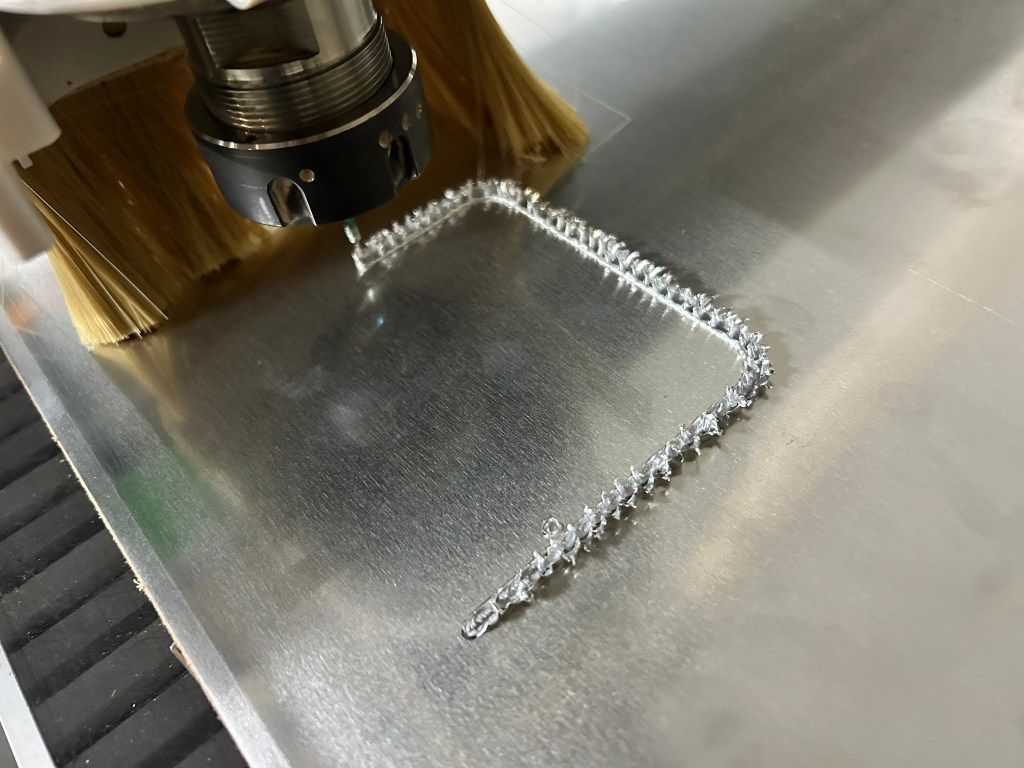
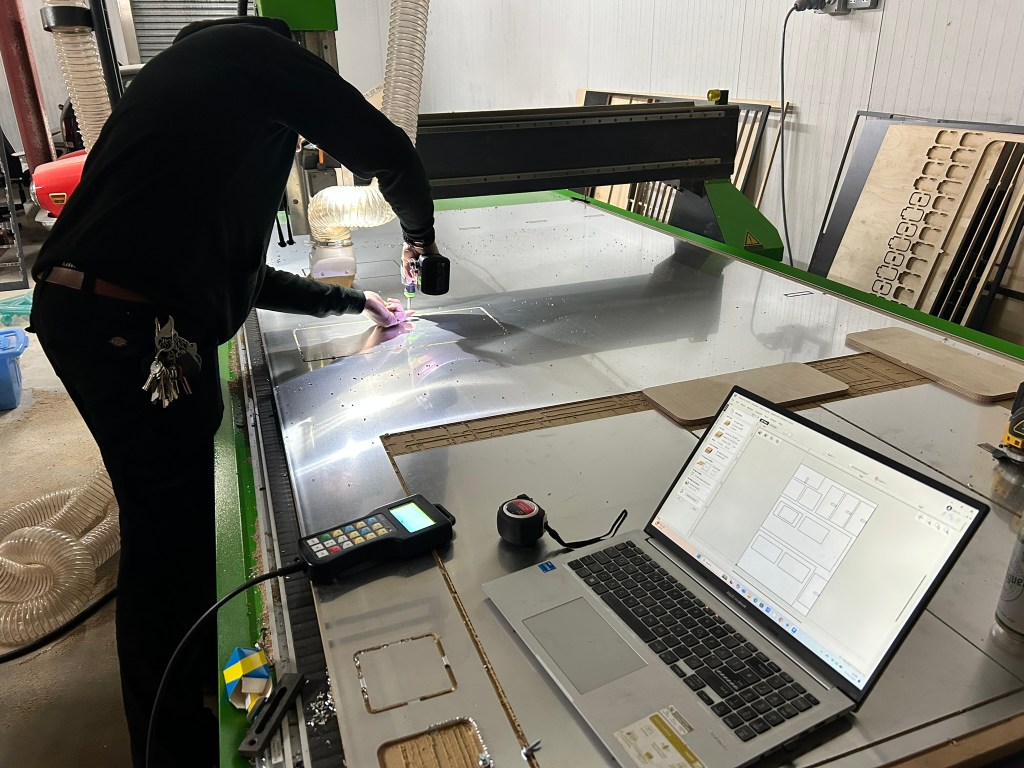
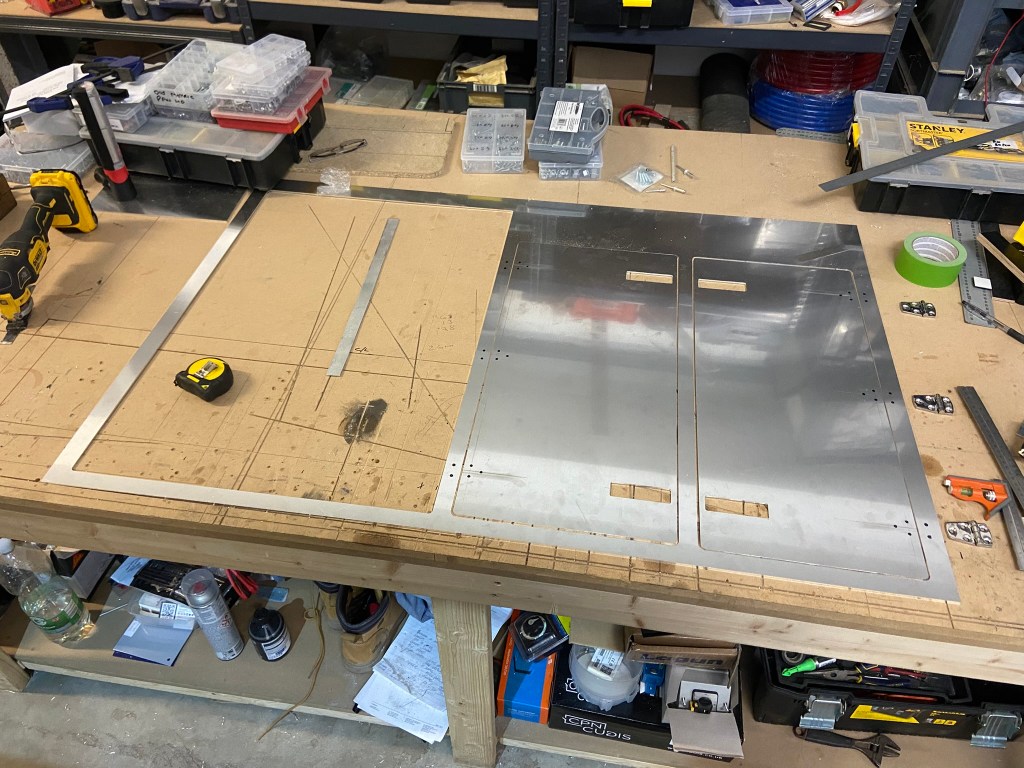
First step – make the wooden cabinets. James and I sketched out what we wanted them to look like – size, number of drawers and cupboards. Lewis then drew our sketches up on the computer. Once we had approved them he did the detailed programming for the CNC machine. All that took over a week as the tiniest detail such as where the hinges and catches would go had to be considered and worked into the design before anything was cut.
After what seemed like an age the CNC machine was programmed, the boards fixed down and off we went
It was fascinating to watch!
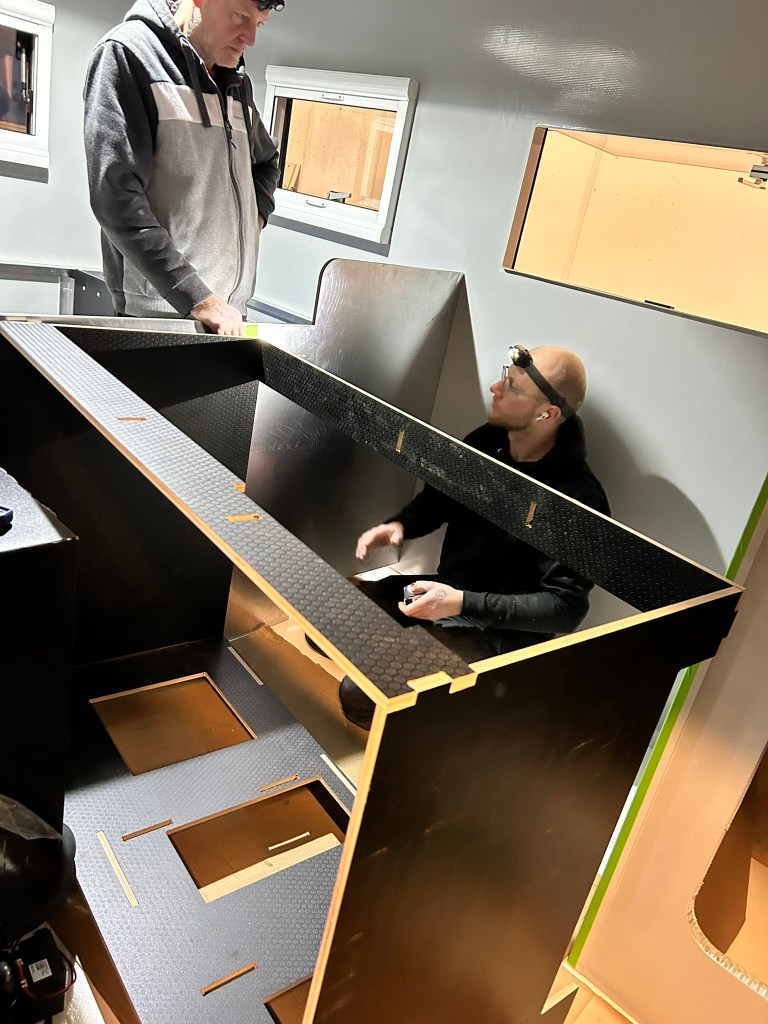
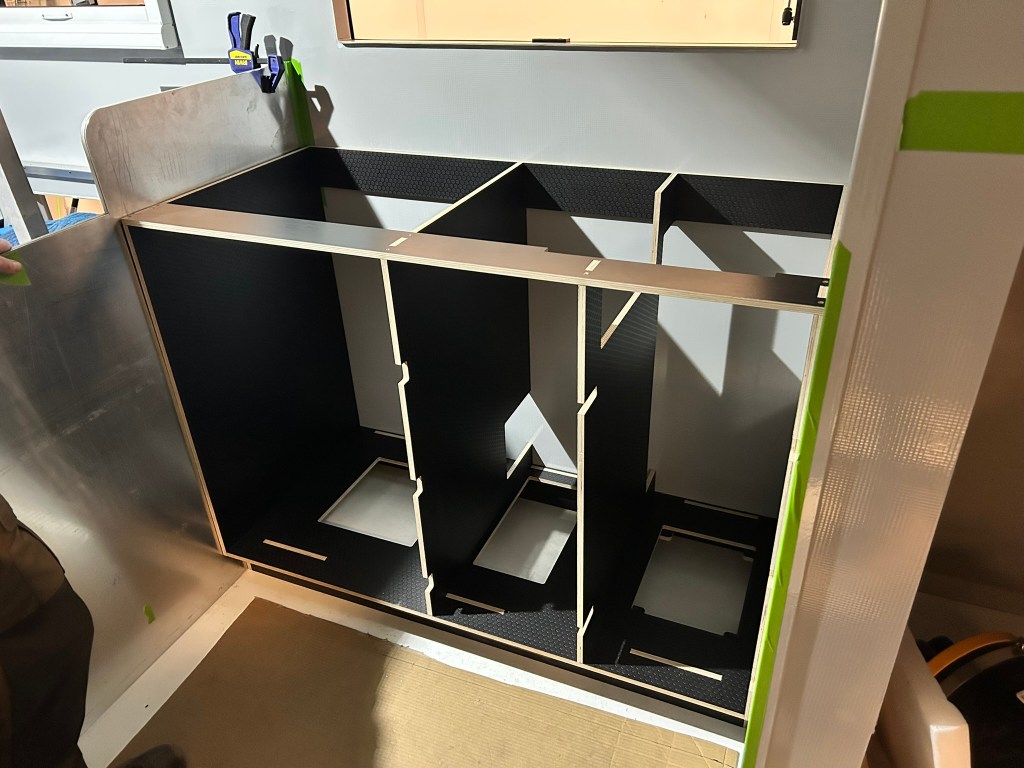
Once cut it was still two day’s work at least for James to smooth off the edges, build the units and then glue and screw them into place
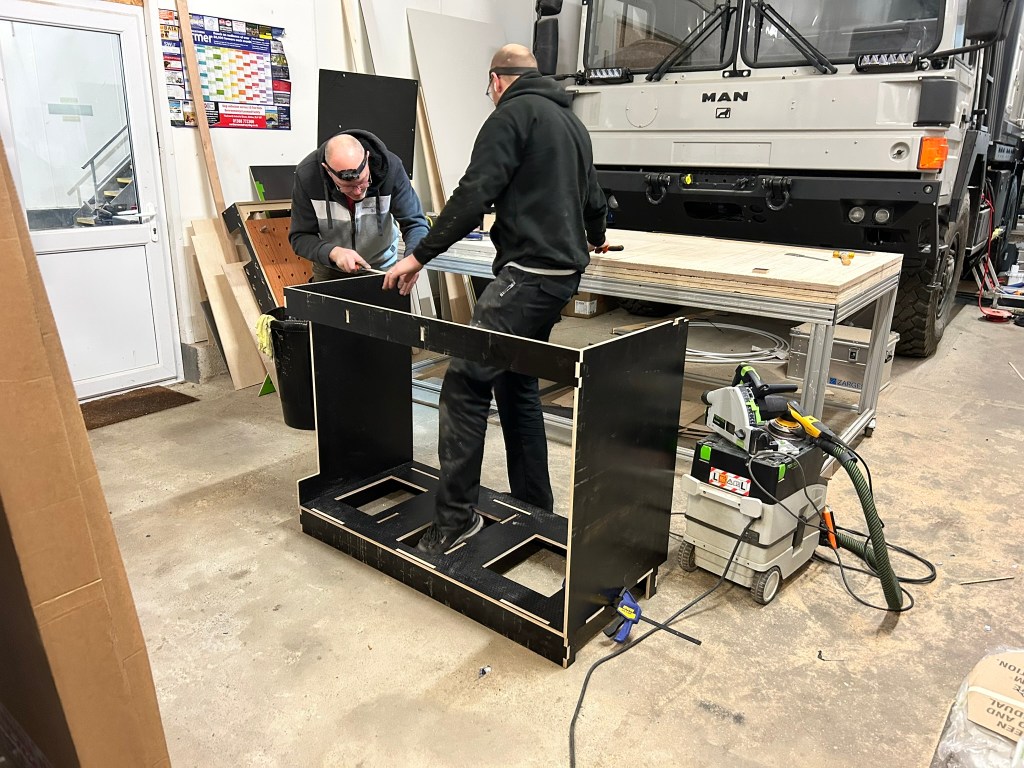


We had had a piece of corian worktop cut and bought a sink a few weeks before so tested them out – they were a perfect fit. I then set about staining the cut edges black to match the rest
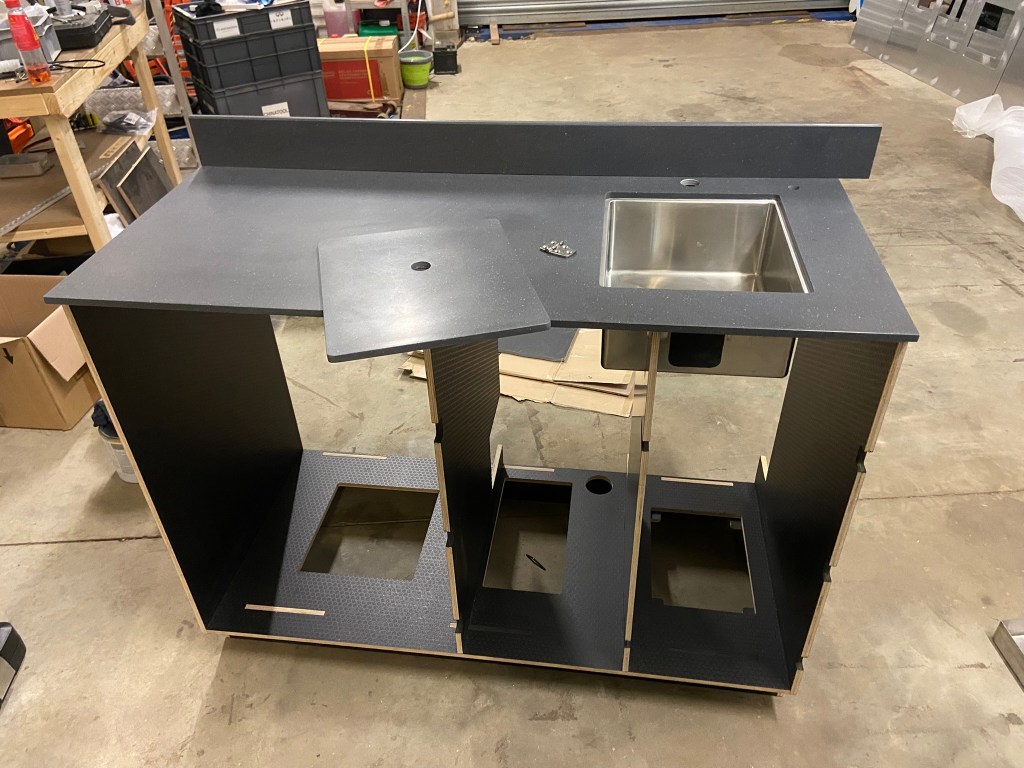
It took a bit of jiggling, cutting and smoothing
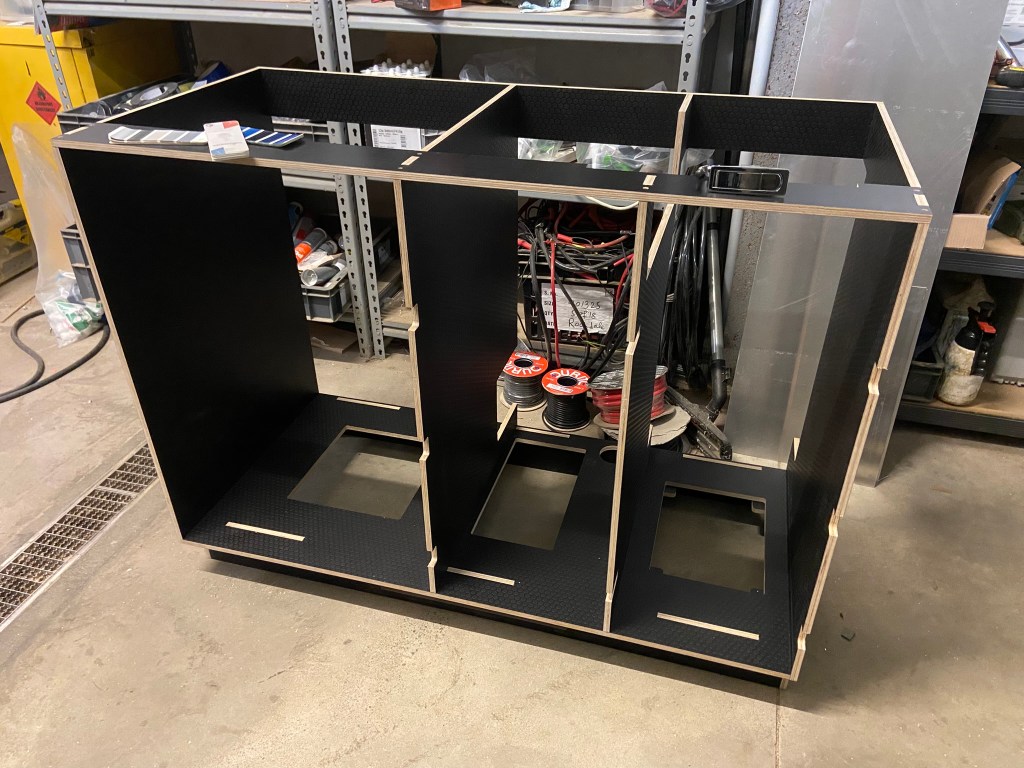
But eventually both cabinets fit like a glove…


But, as ever, this was just a dry run and it all came out again for the next step – the aluminium
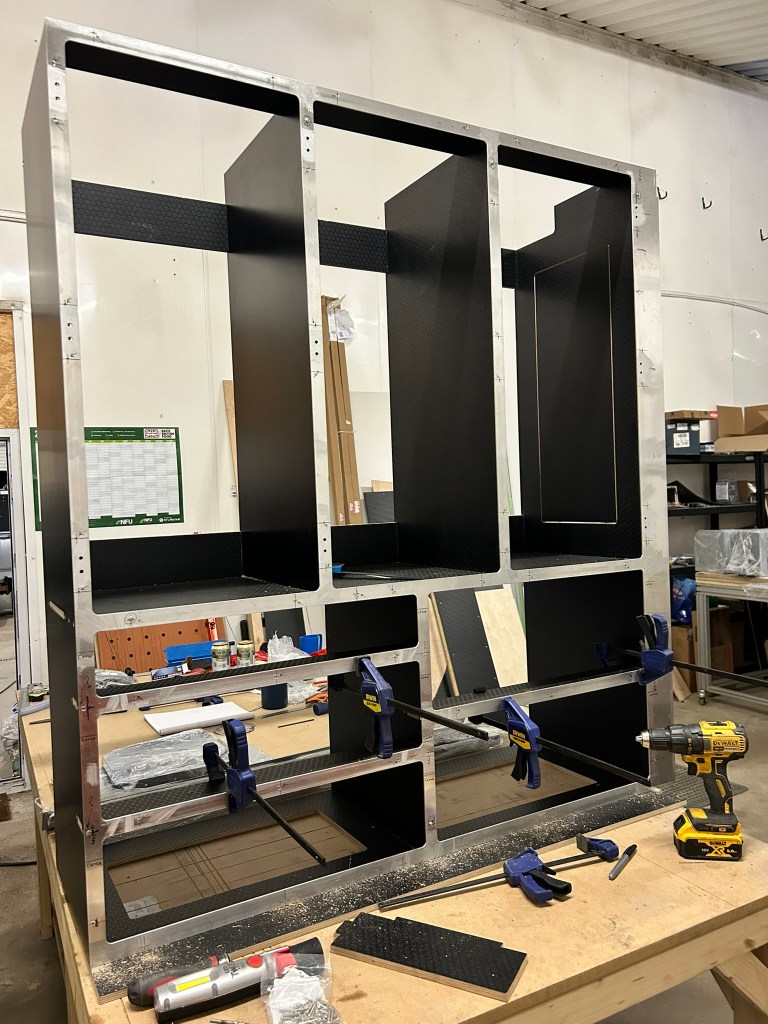
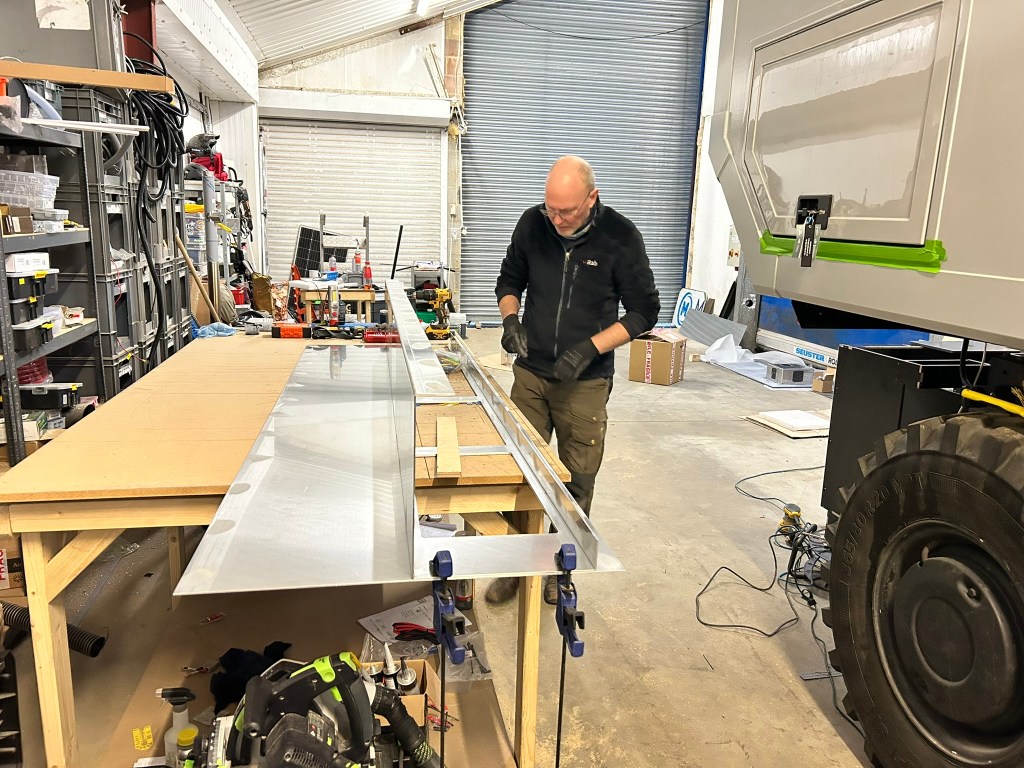
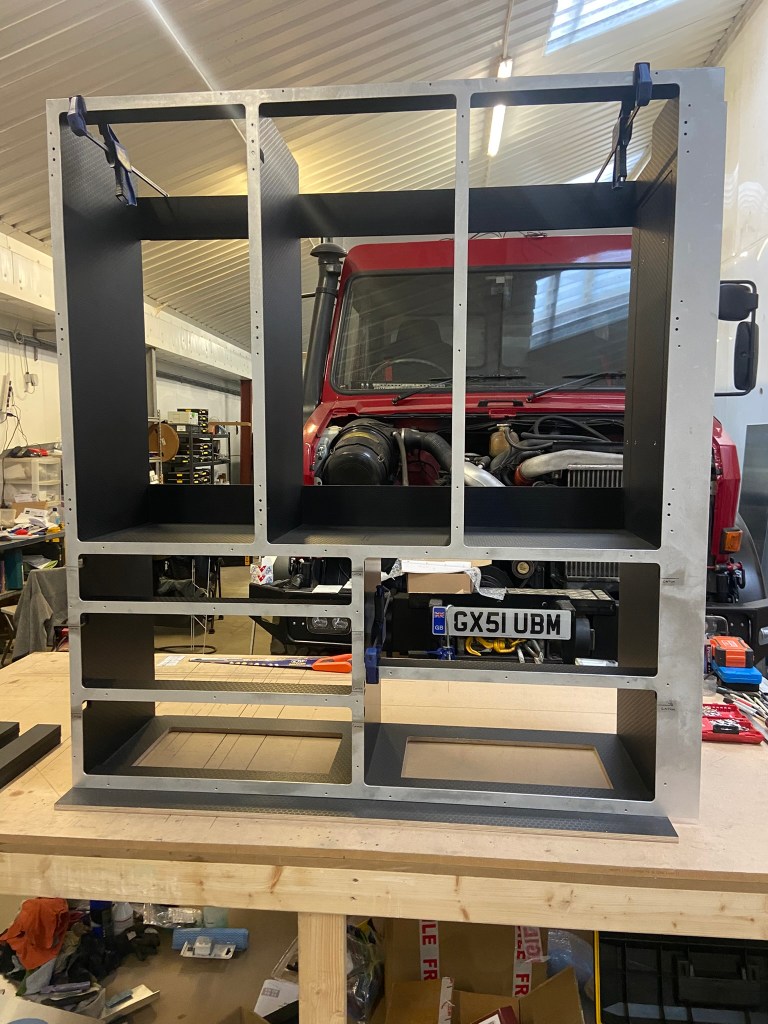
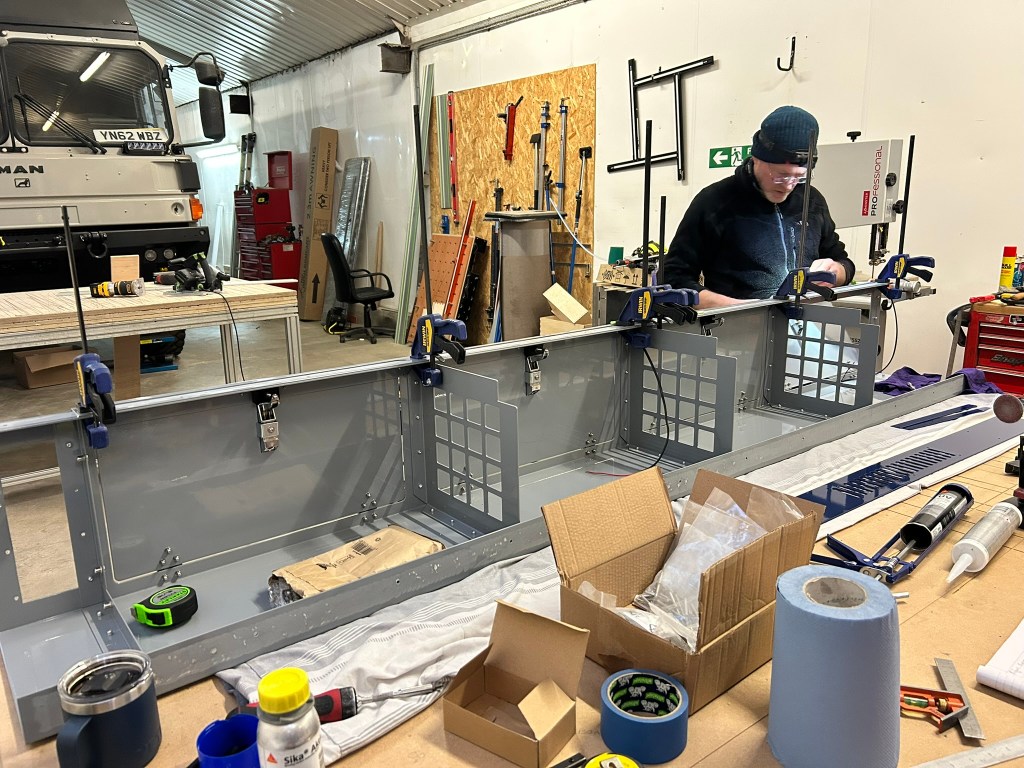
Weeks and weeks and weeks of work went into this. The high level units were designed and cut. Lewis hadn’t tried cutting aluminium of this thickness before and the first attempt didn’t go entirely smoothly…
But after a bit of work and a change of blade we were on our way

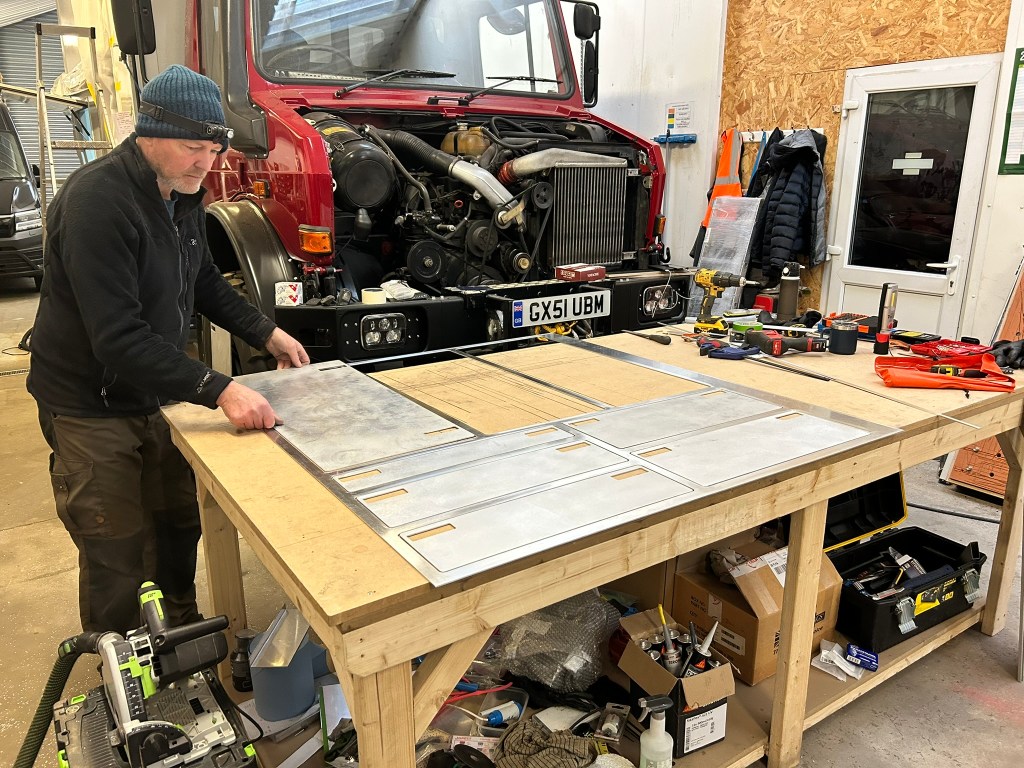
The panels were dressed, filed and prepped and the doors were tested to make sure they were a perfect fit


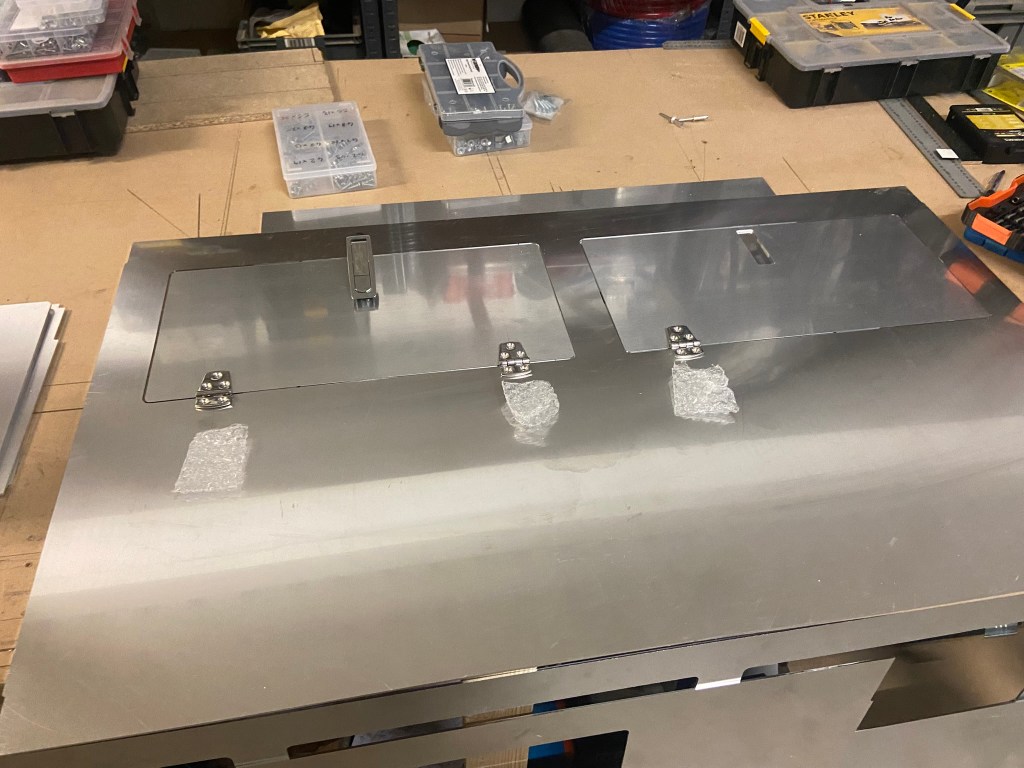
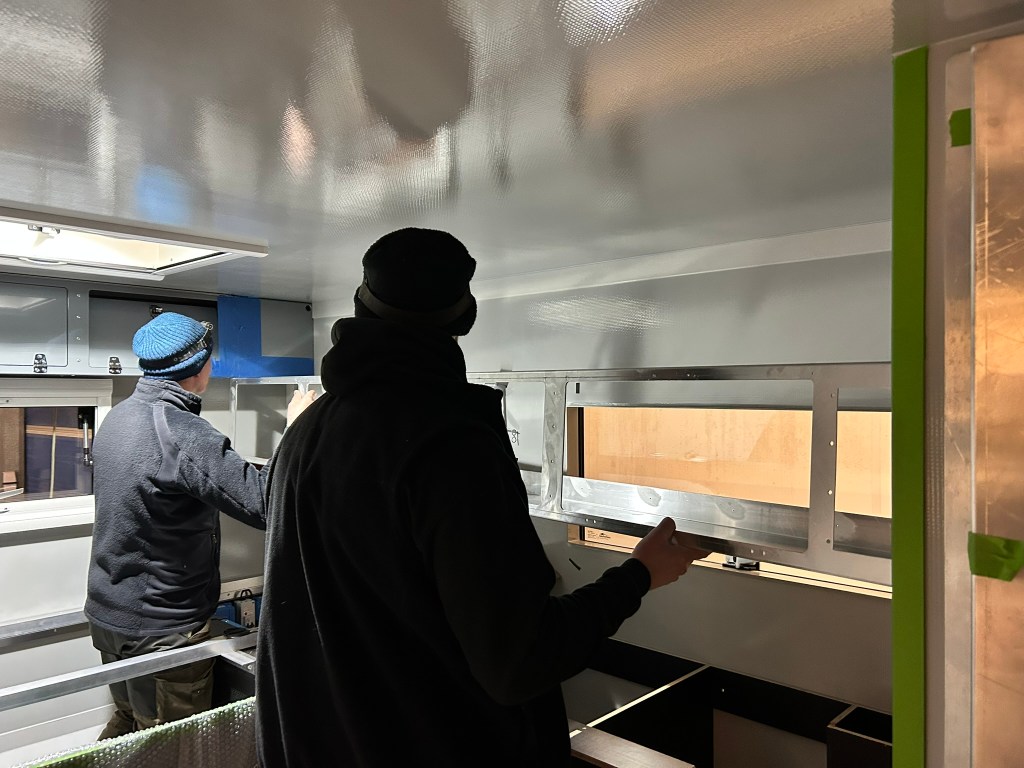
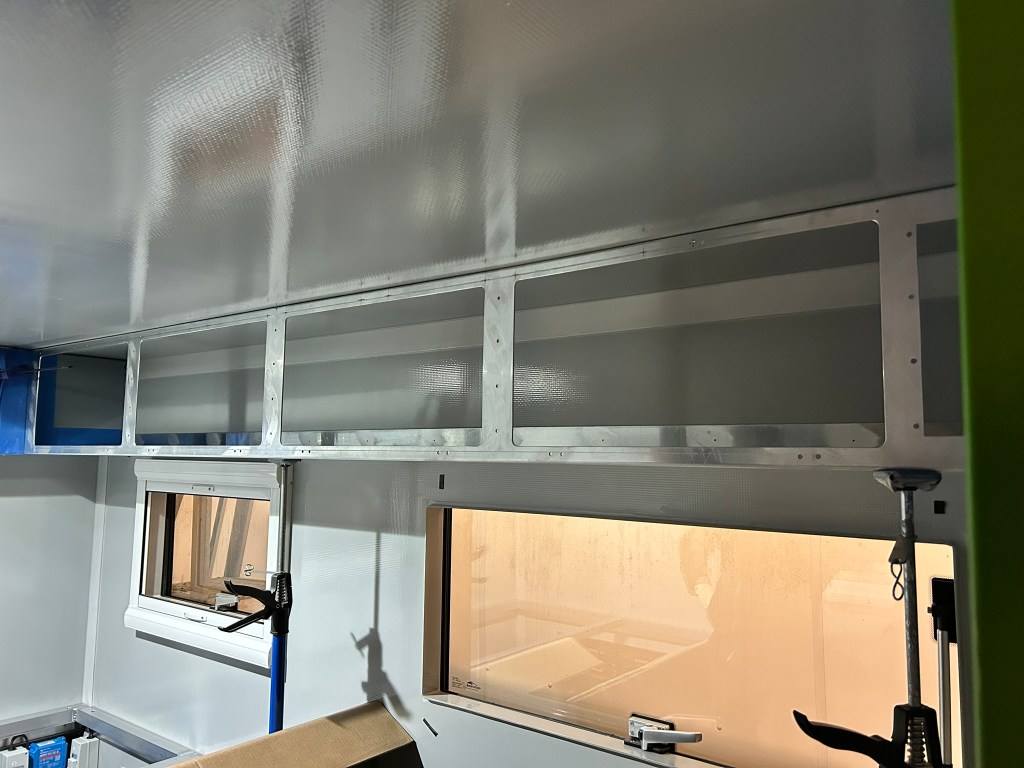
The high level units were then sent to the fabricators to bend into shape (the largest was bent the wrong way the first time so had to be redone from scratch, that was not a good time)

They were then returned to us for James to design, measure and drill where the hinges and catches would go.
The fronts panels of the kitchen and the large storage unit went through the same process except they didn’t need bending so James was able to do all of the work himself at the workshop.
Painstaking, detailed, precise work that needed to be perfect in order for the end results to look right


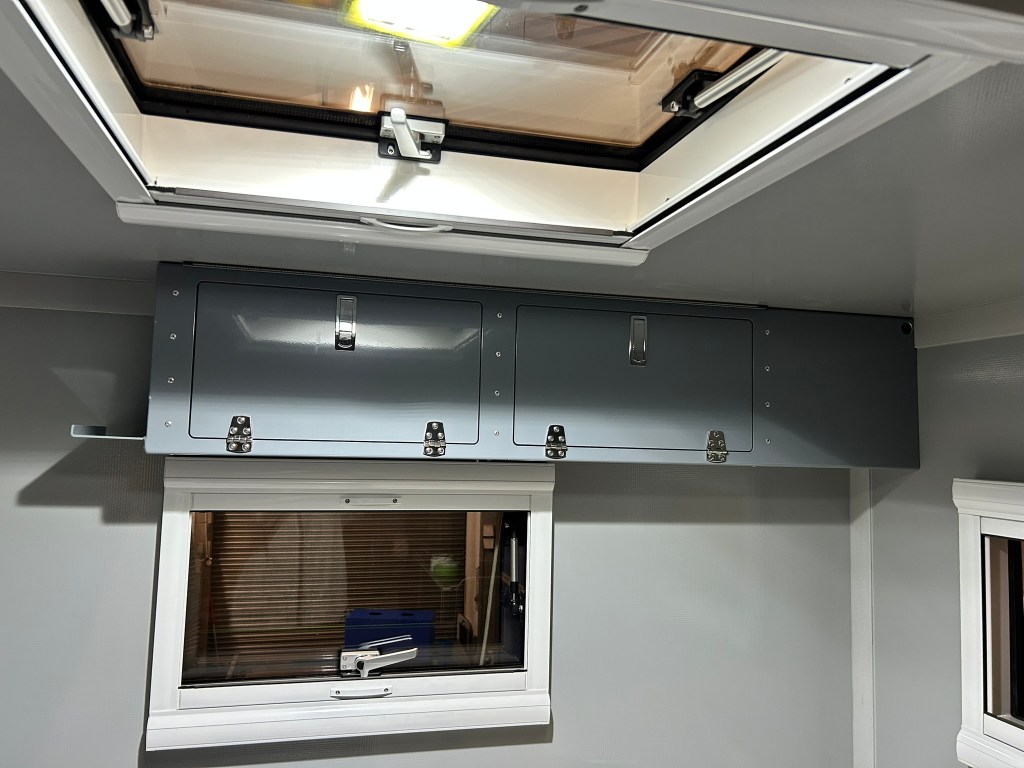
Even then it all had to come out again and be sent to the powder coaters – it took us a few days to decide on colours, the grey was easy but the blue took some thinking about
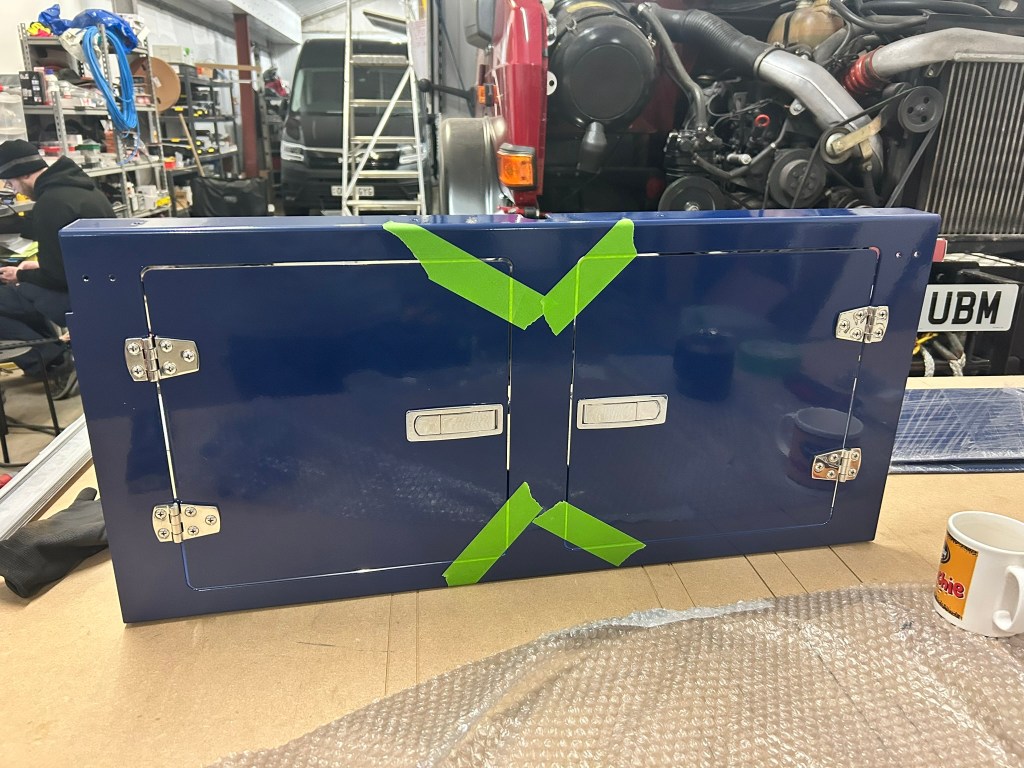


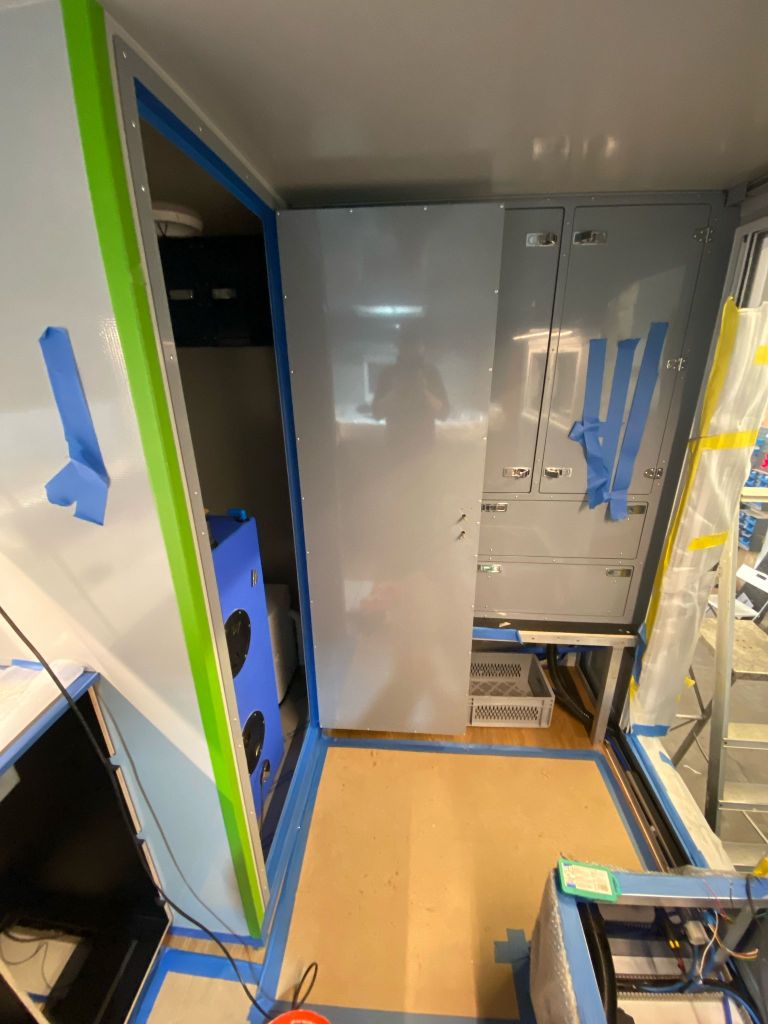
It took James in total around a week to build all the units once they were back, fitting the doors, hinges and catches. Then they had to be carefully carried in and bonded and fixed in place. But by the time they were in we were starting to get more than a little excited, the inside of our UniMog was starting to look as special as the outside…


We had also made an aluminium panel to finish the bed frame off which really looked the part

It felt as though we were almost there but in fact it would be another month before we finished.
There were so many little jobs that needed to be done and these were far less motivating as it didn’t feel as though major changes were happening and yet it was all taking up time.

The boiler was installed under the seat frame alongside the heater
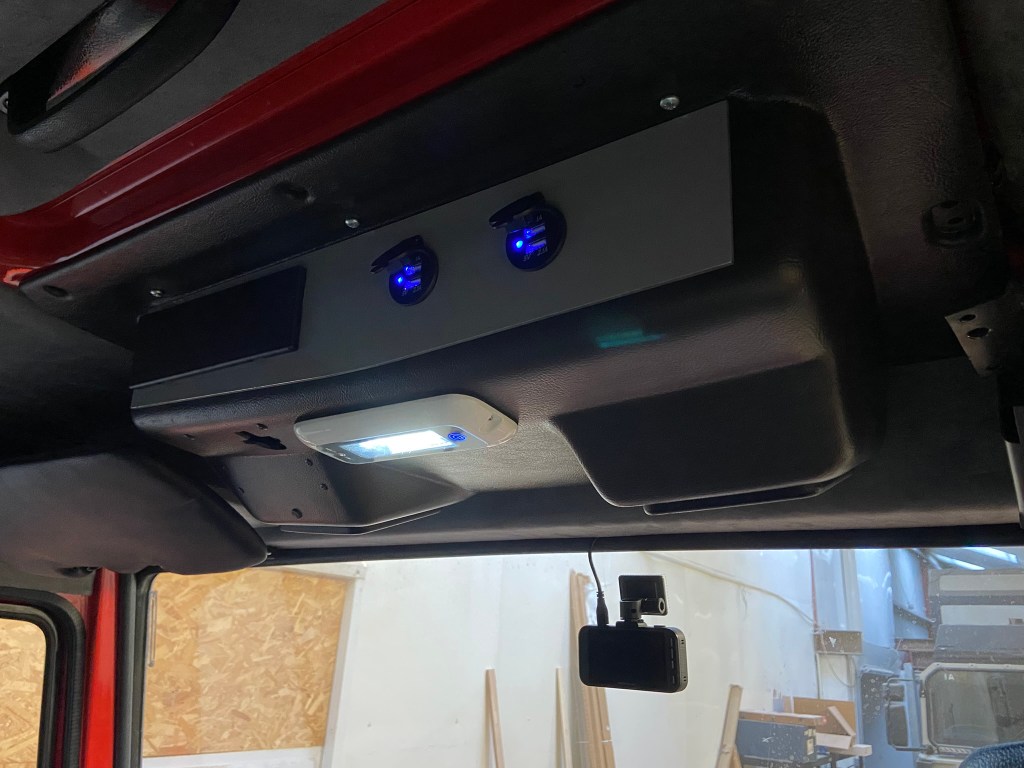
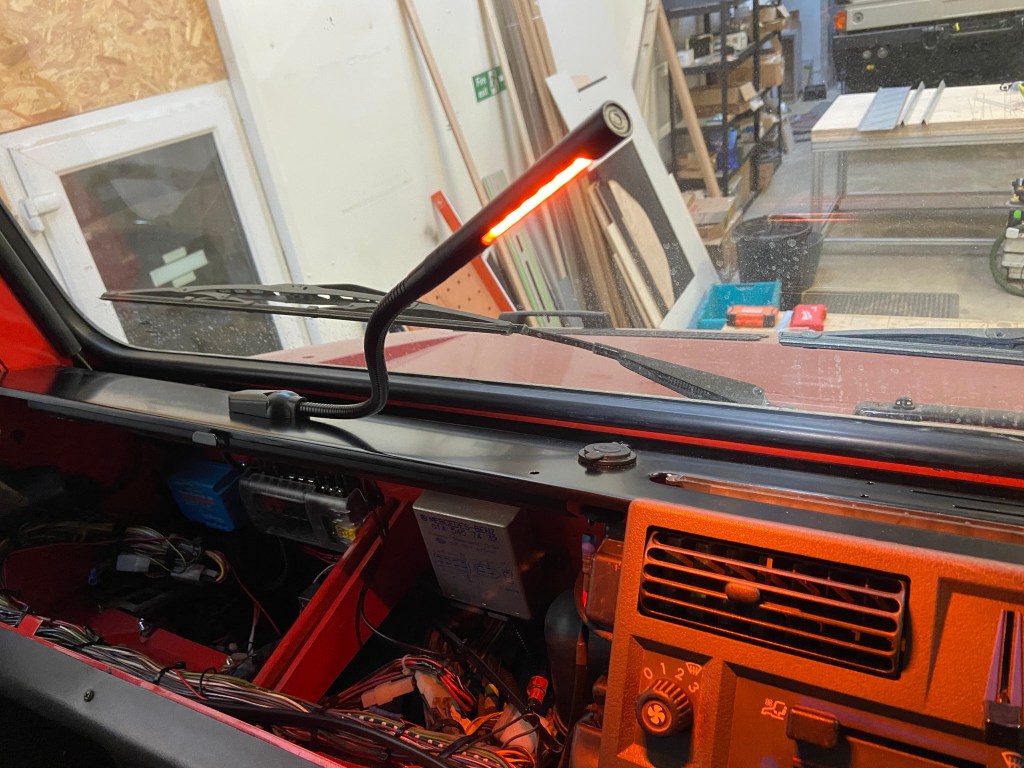
Inside the cab, power points and map lights were installed
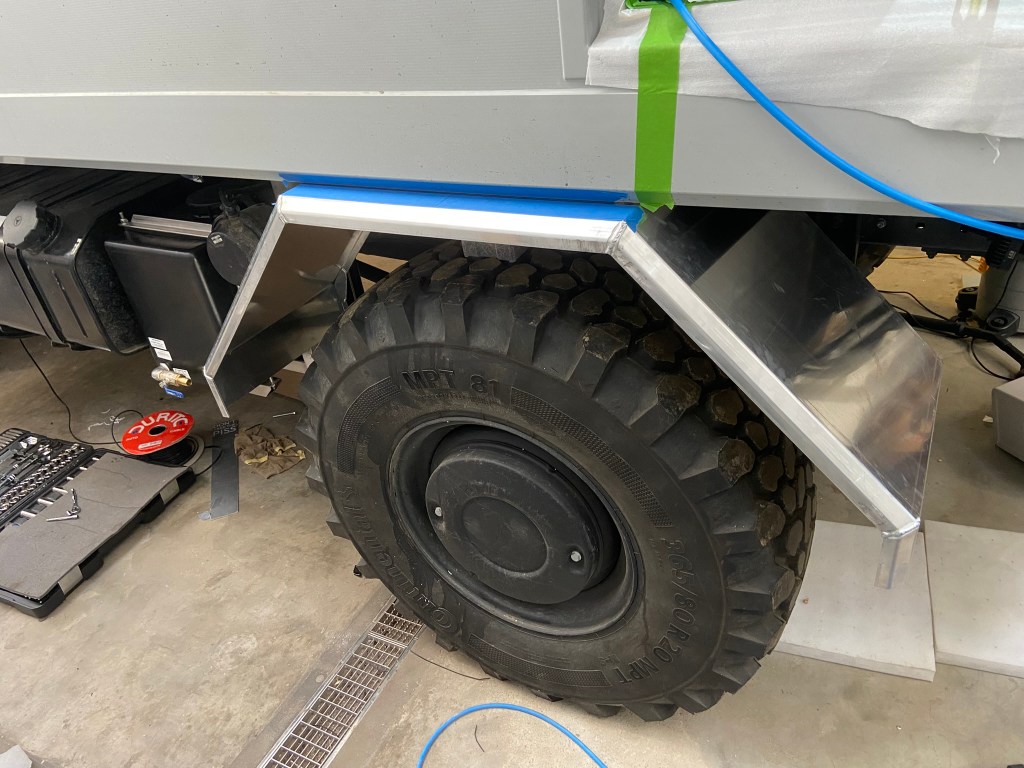
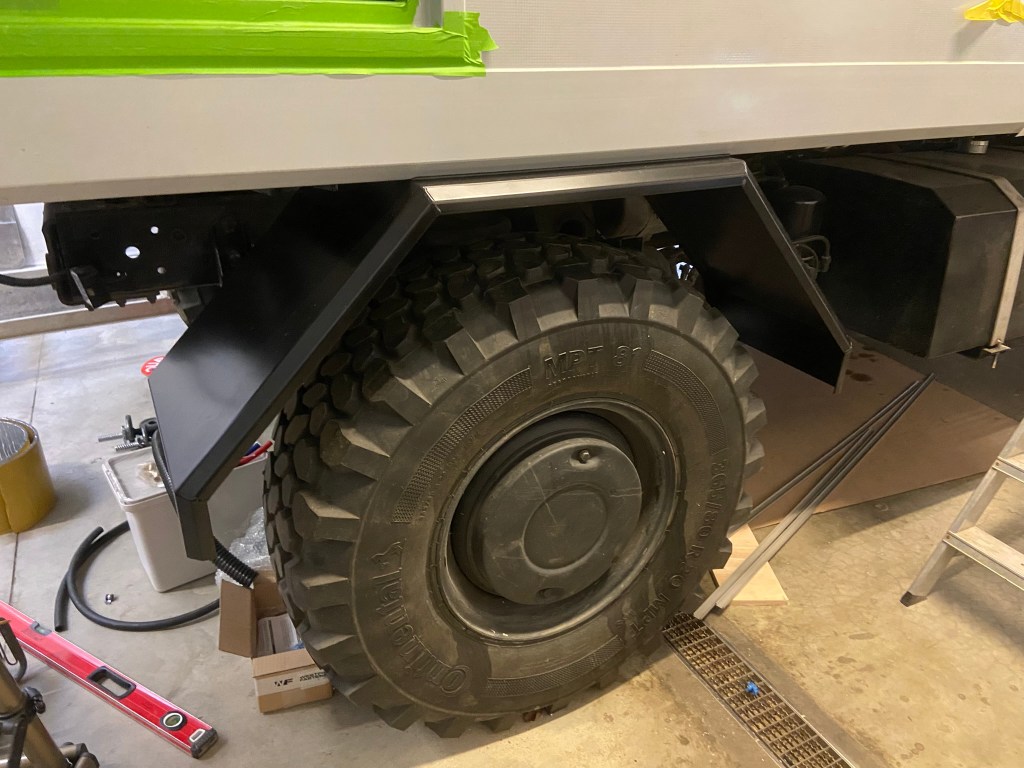
New rear mud guards had to be fabricated and powder-coated – nothing off-the-shelf would fit under the box
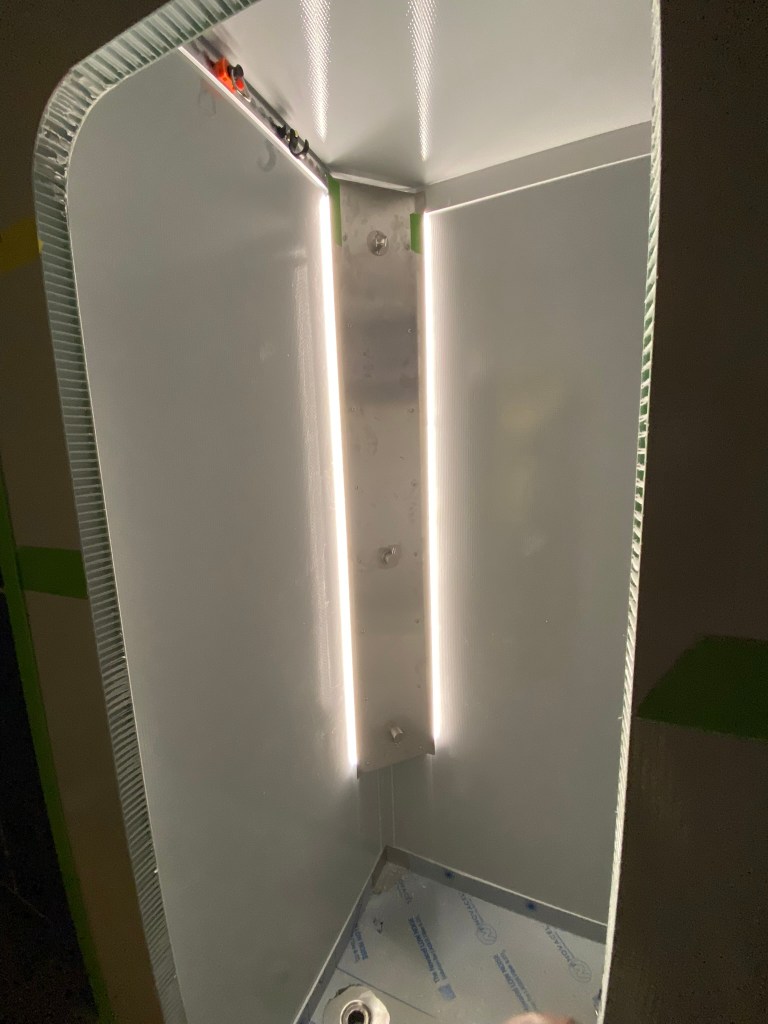
The shower was installed along with lights down each side


And James even hand-made a brushed stainless steel panel for all our switches


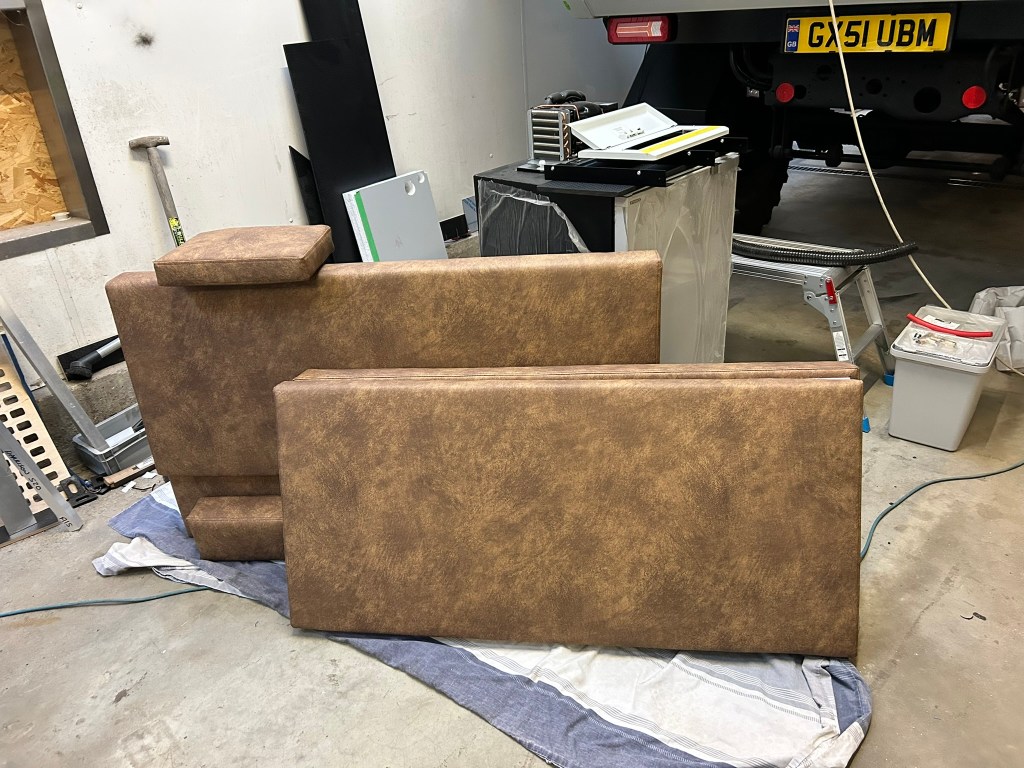
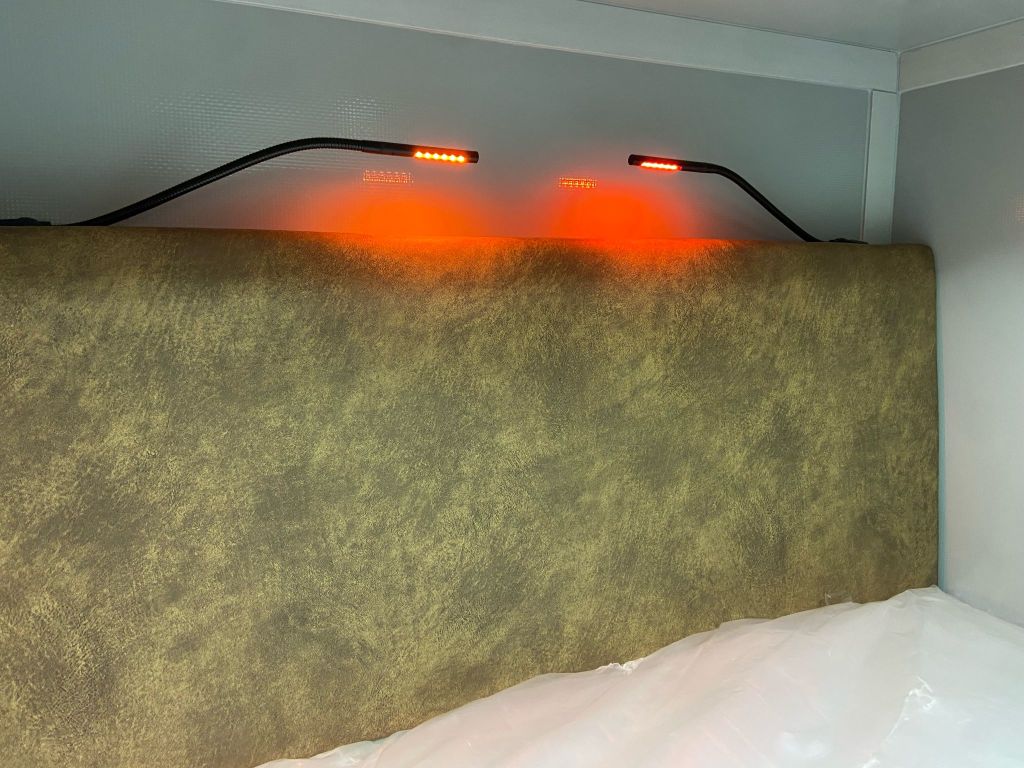
The headboard and seat base were made out of wood then professionally upholstered by a local company who I found online. They did a fantastic job and pulled out all the stops to meet our timescales.
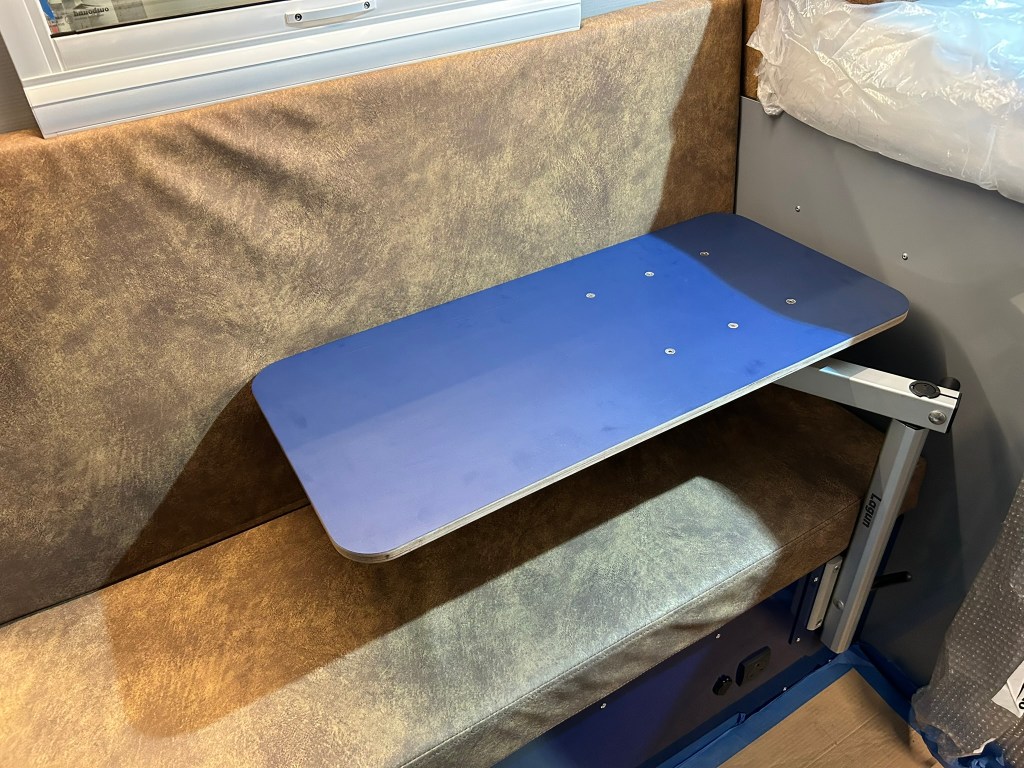
The seat base was designed to pull out by 150mm to enable us to have a deeper place to relax on cold or wet evenings whilst not taking up too much of our space the rest of the time.
The headboard was finished off with reading lights and a very clever table that can be swivelled in all directions completed the seating area

The sink worktop and taps were fitted along with a vent for the fridge
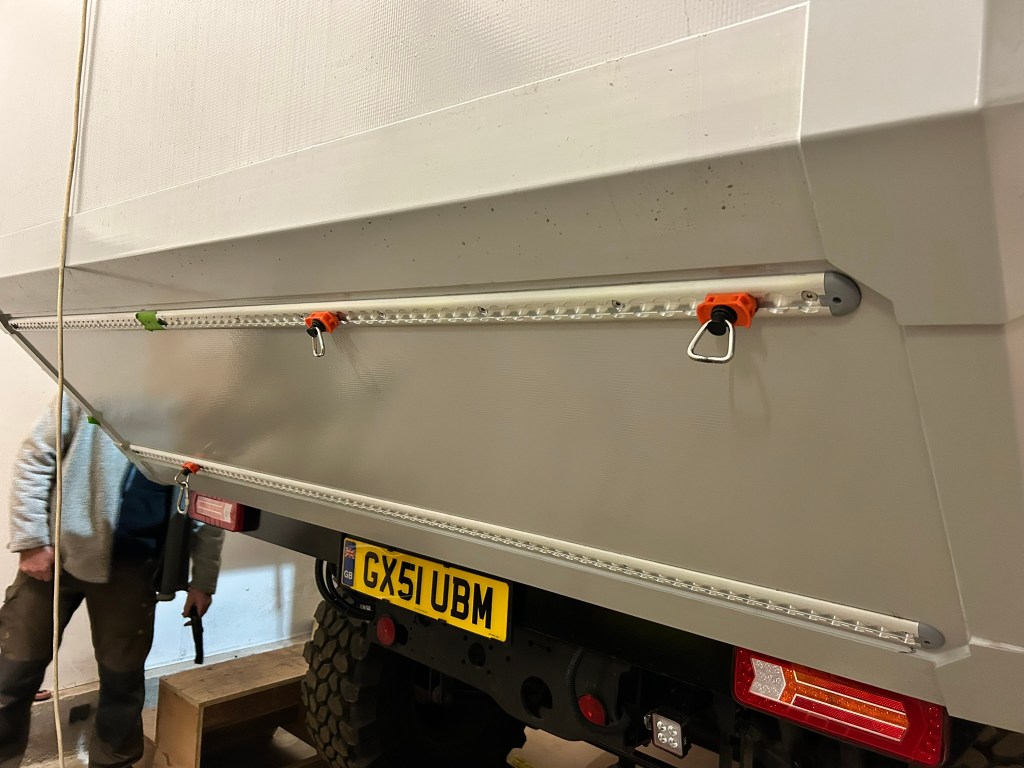
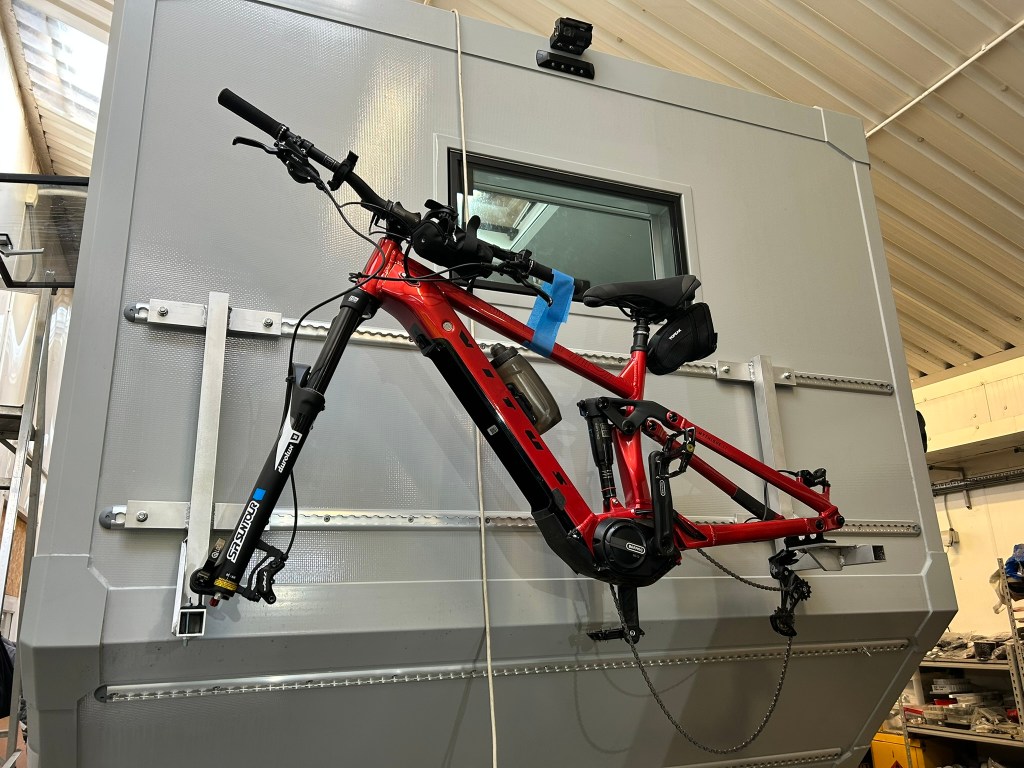
And it took a whole day to fit cargo rail to the rear chamfer and another two days to design, fabricate and install the carrier for James’ eBike
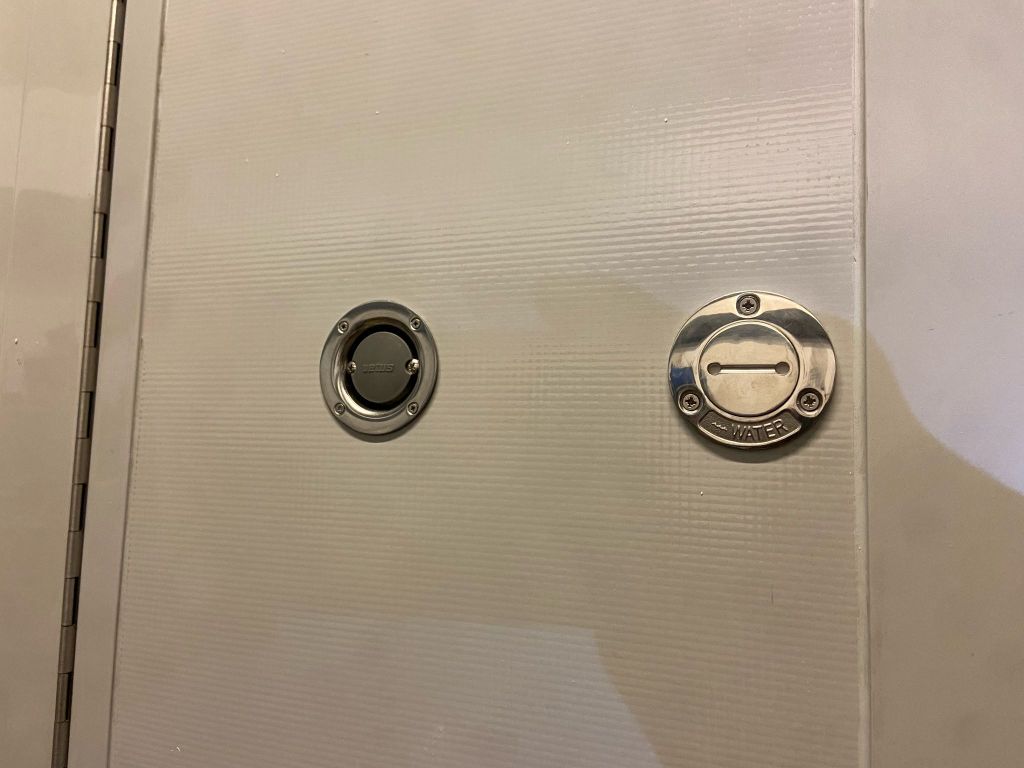
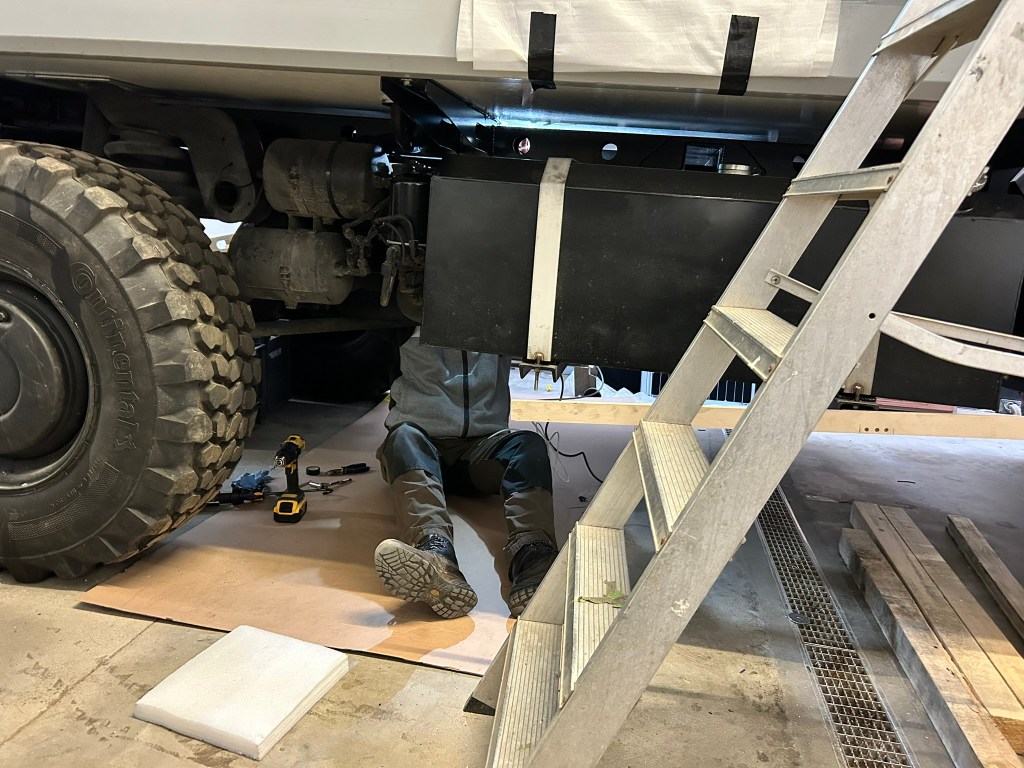
Our 217 litre fresh water tank was made to order, a frame made for it and the whole thing installed with pipework to the two showers, taps and boiler along with various water filters. A connector and valve were sunk into the side of the box for filling up from outside
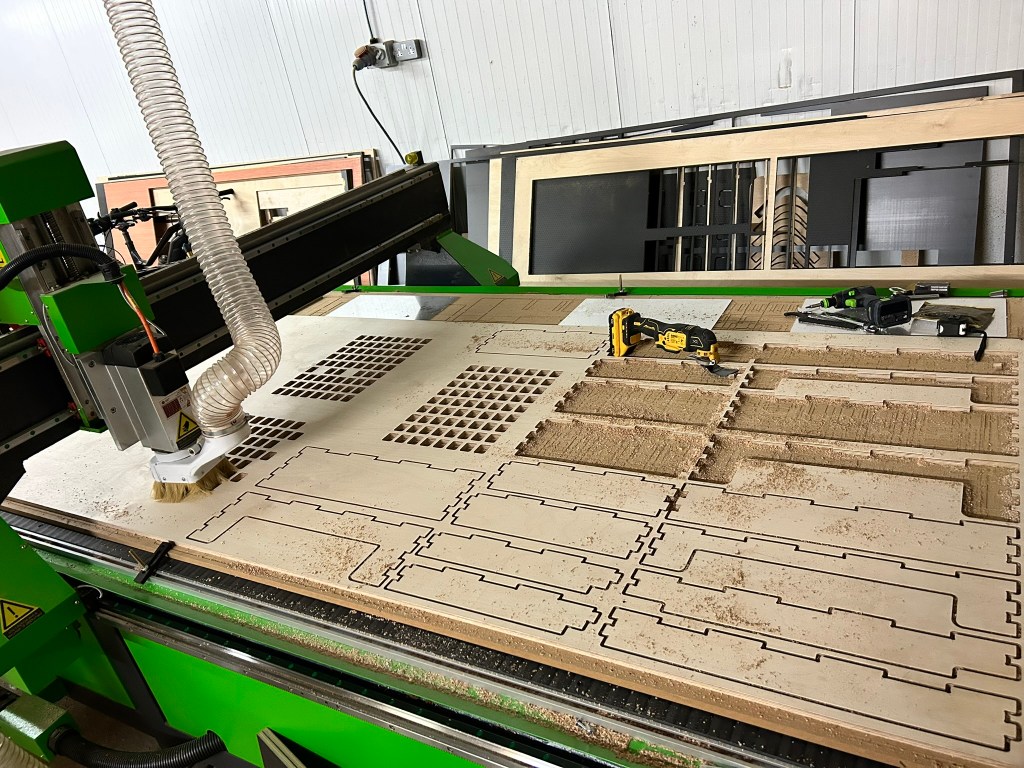

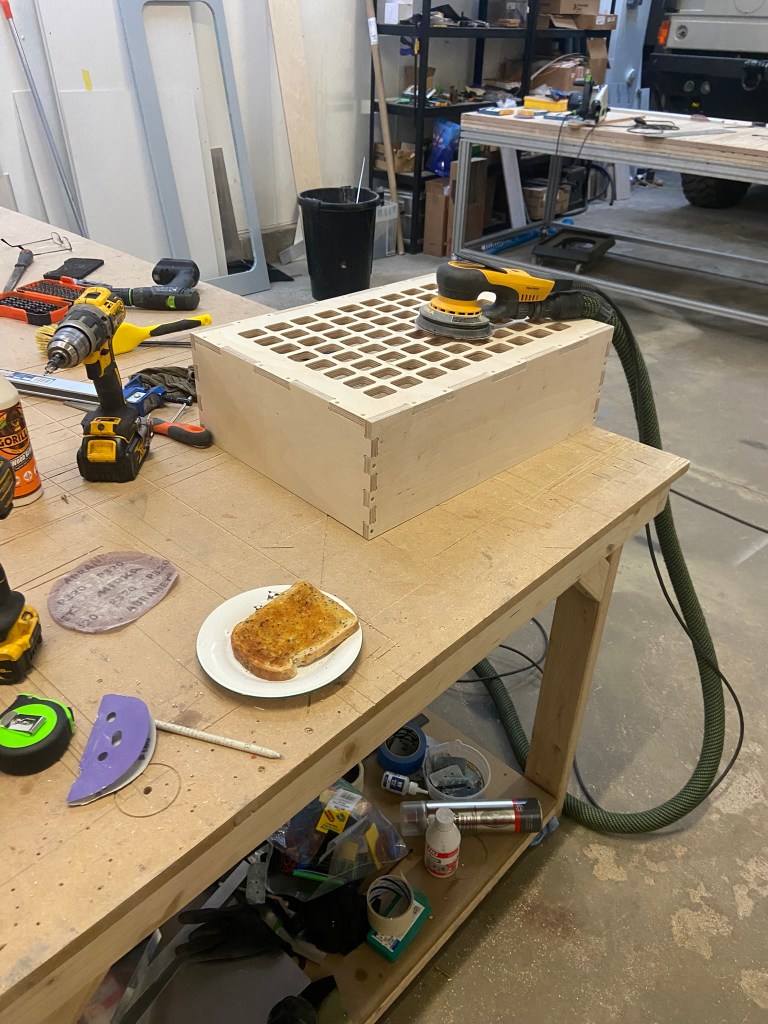
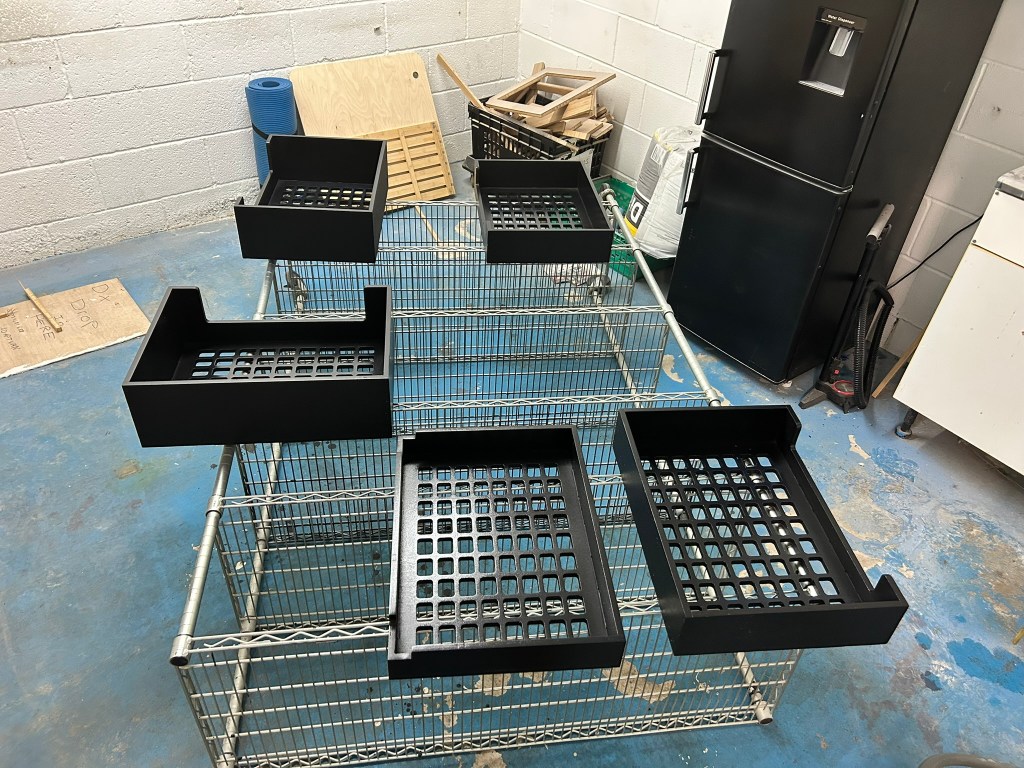
Drawers were designed for the large storage unit, cut on the CNC machine, finished by hand then painted black
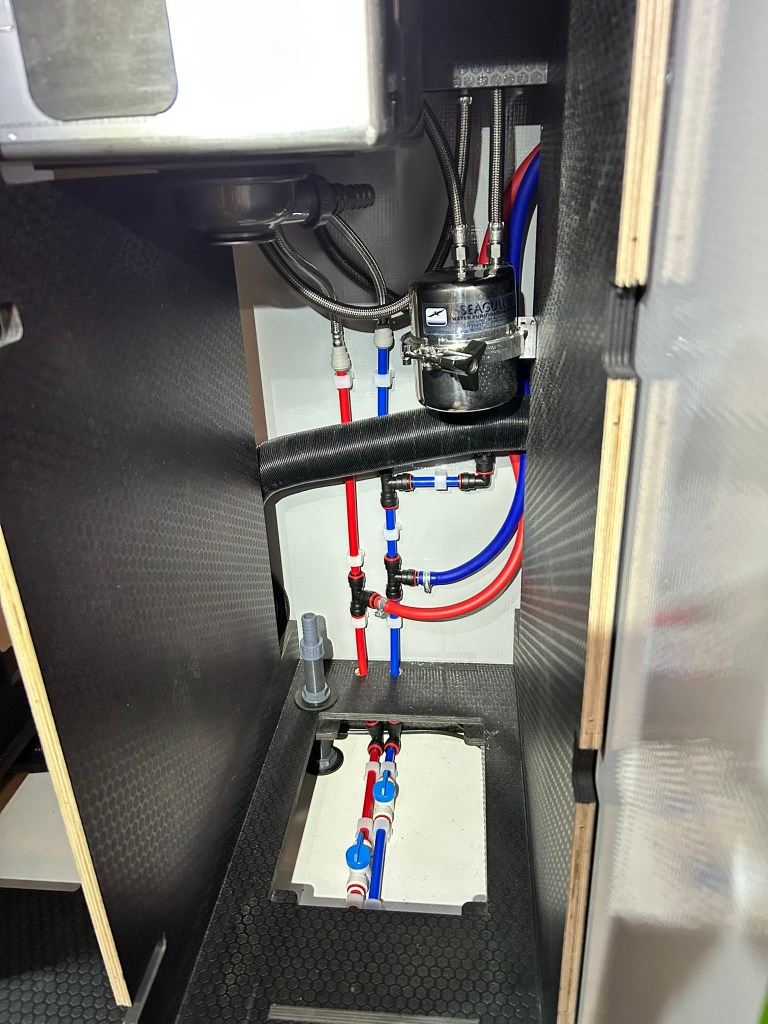

It took almost a week to get all the plumbing done, meticulously laying and connecting the pipework from the water tank to the inside shower, to the sink and round to the outside shower – at which point James had to climb into the garage through the hatch in order to finish off connecting up the valve

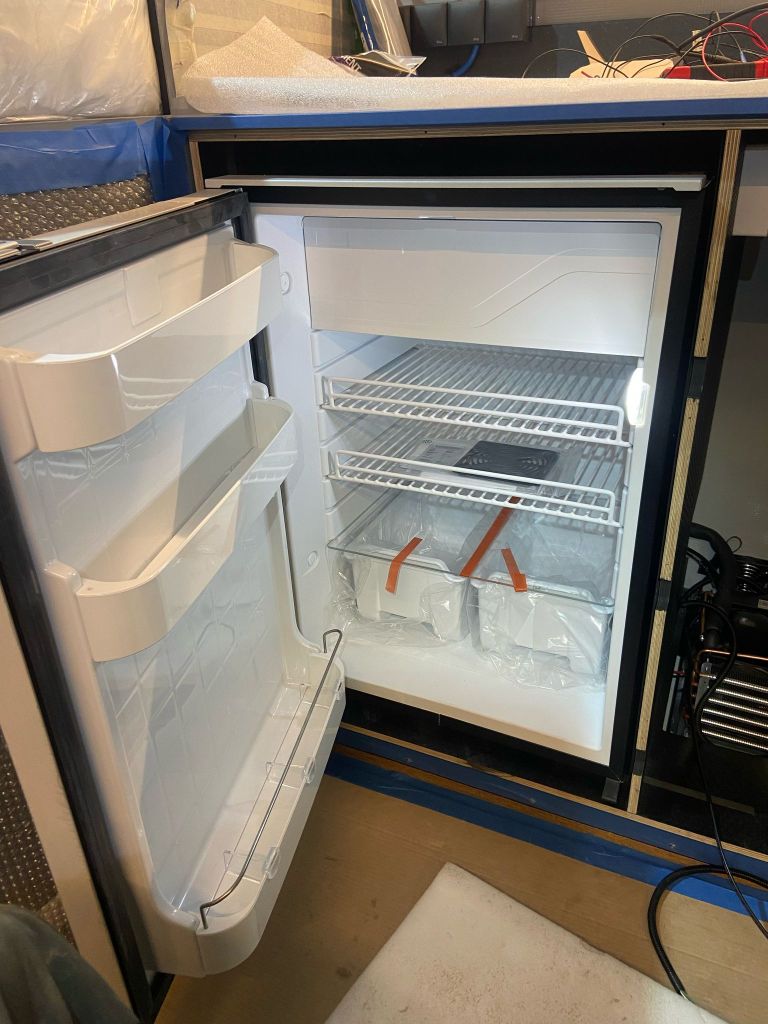
The fridge went in without a hitch
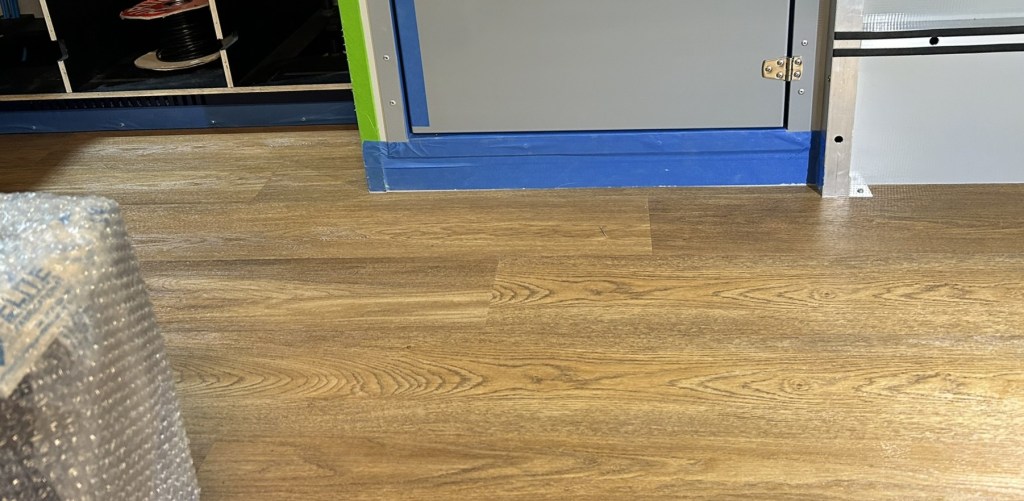
It only took a couple of hours for a local flooring contractor to lay the oak-effect laminate floor
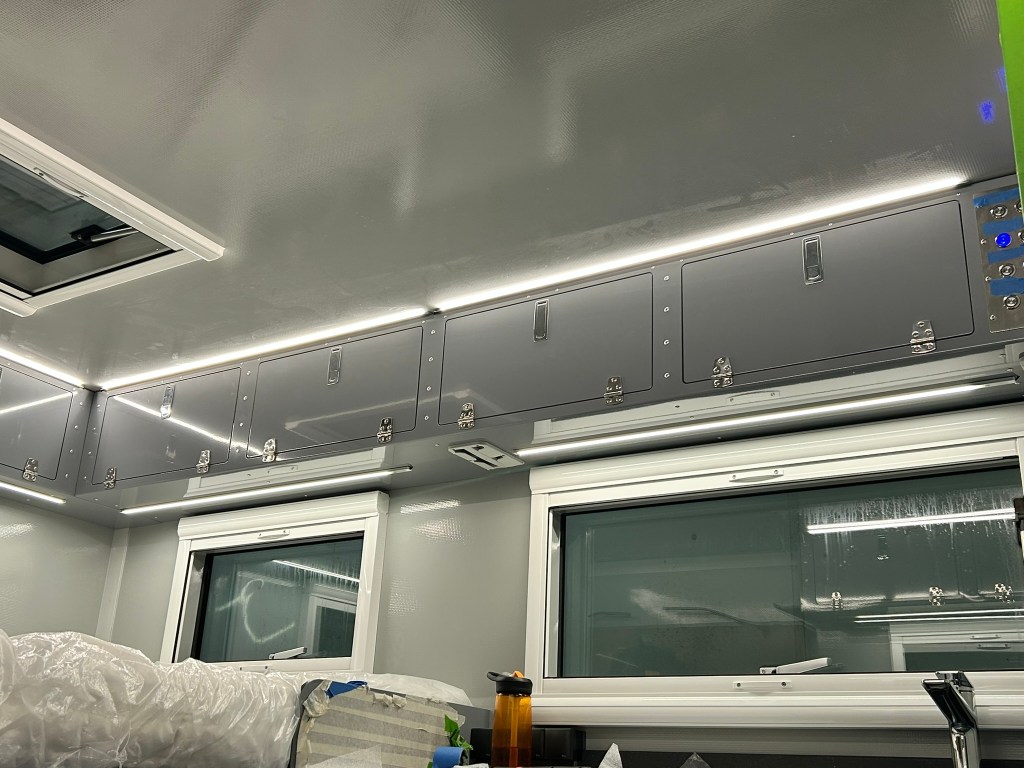
And the uplighters and downlights wired through the high level units added a touch of class
There were some larger jobs still to do as well.
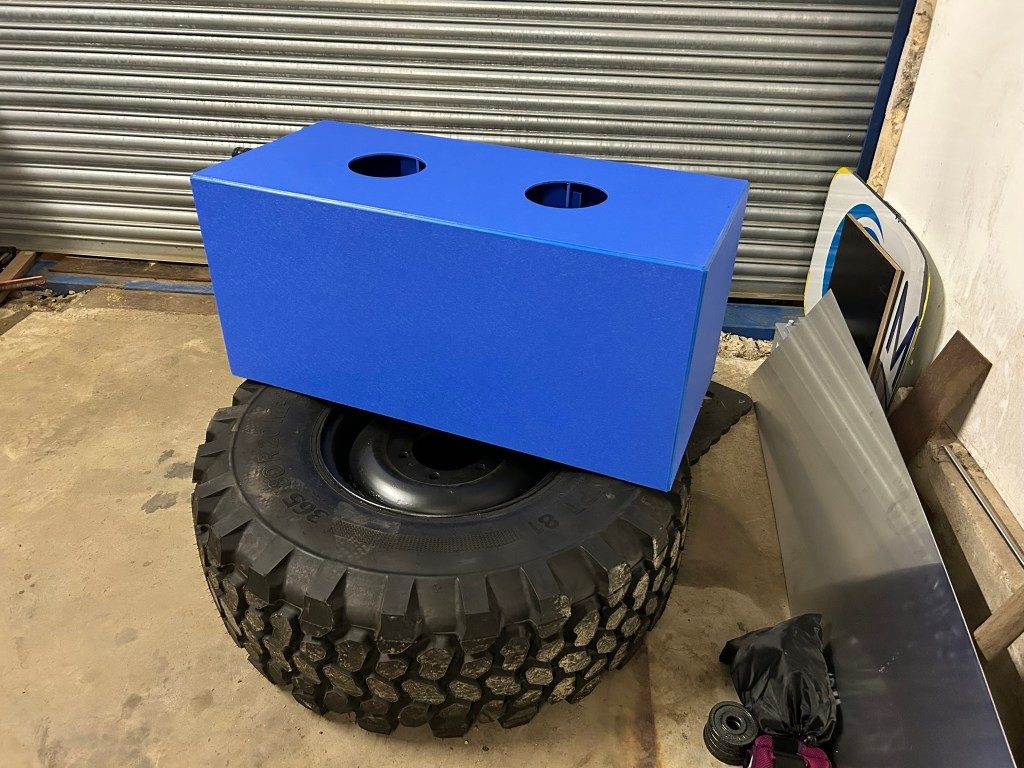
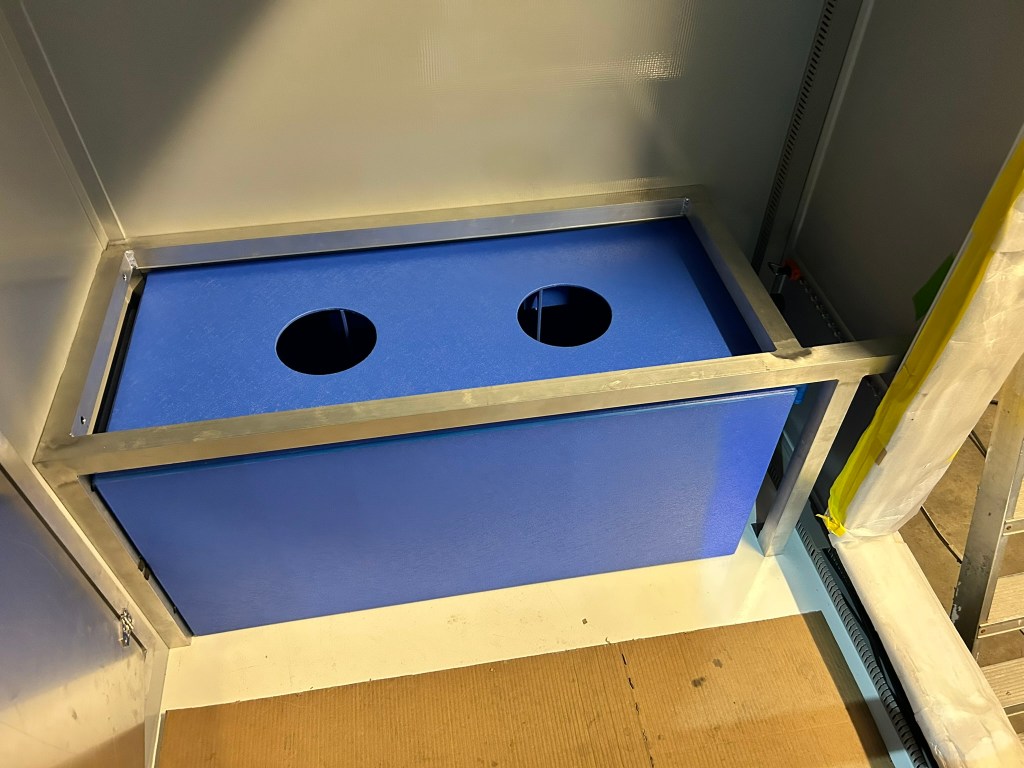
We needed an external grey water tank for the sink and shower and a black water tank for the toilet

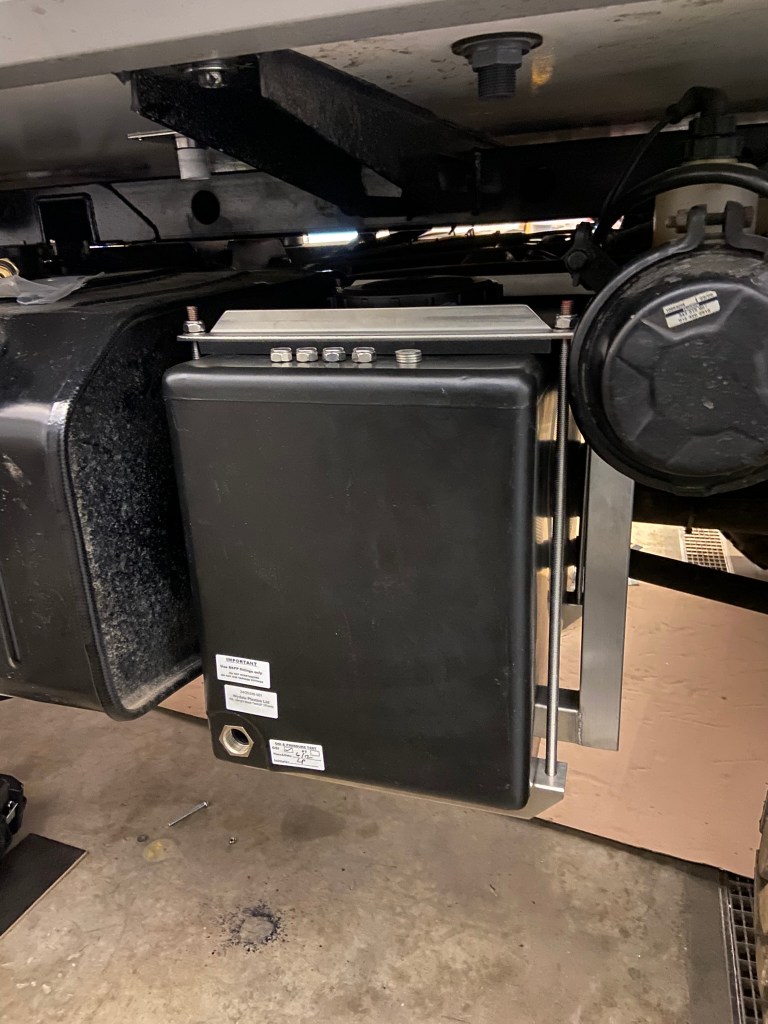
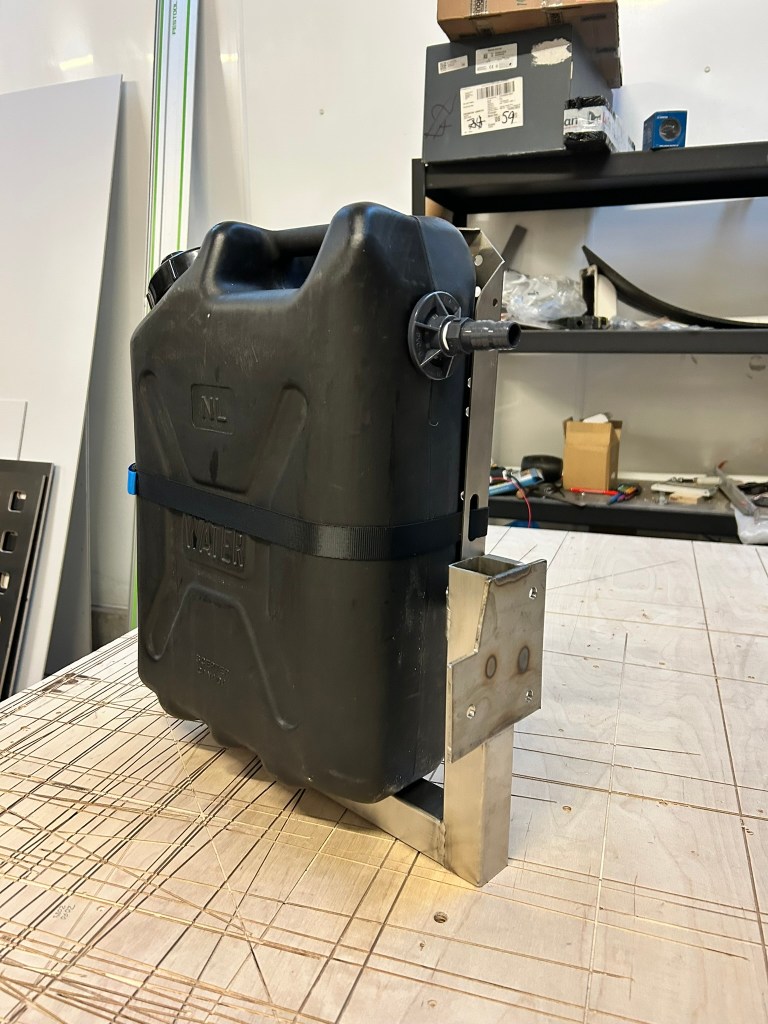
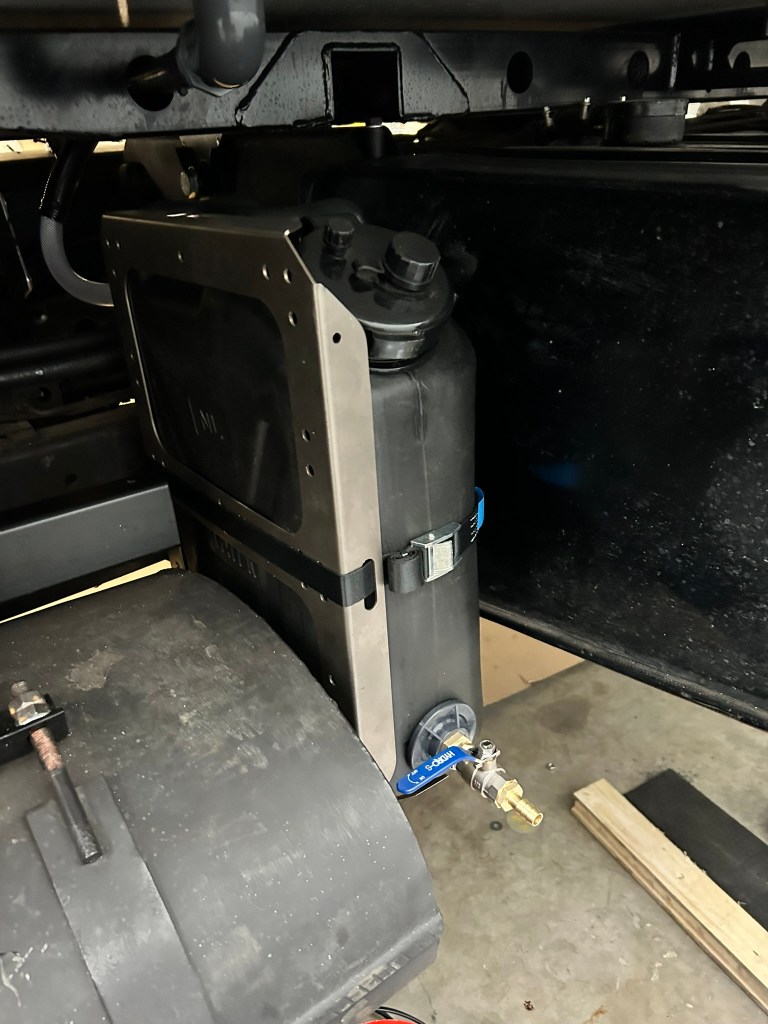
The black water tank was a 20L jerry can and for the grey water we bought an off-the-shelf 50L tank. But both needed intricate brackets making to hold them in place.
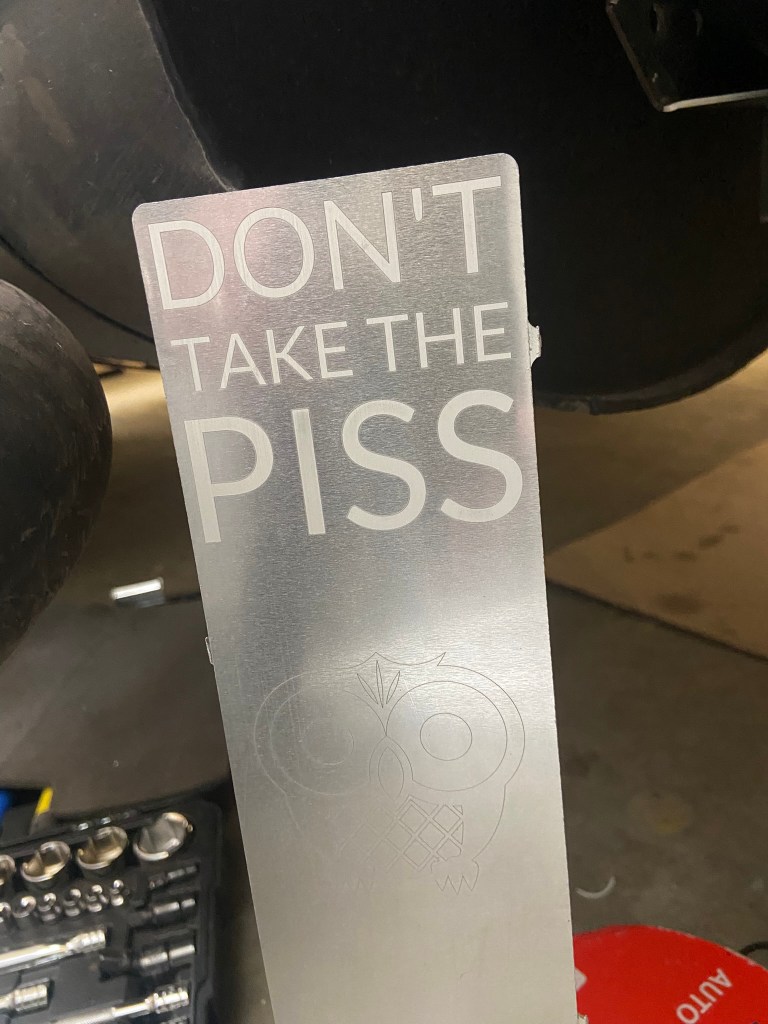
Lewis’s brother has a business doing laser engraving and offered to make us a warning sign for people not to steel the black water jerry can thinking it was fuel!
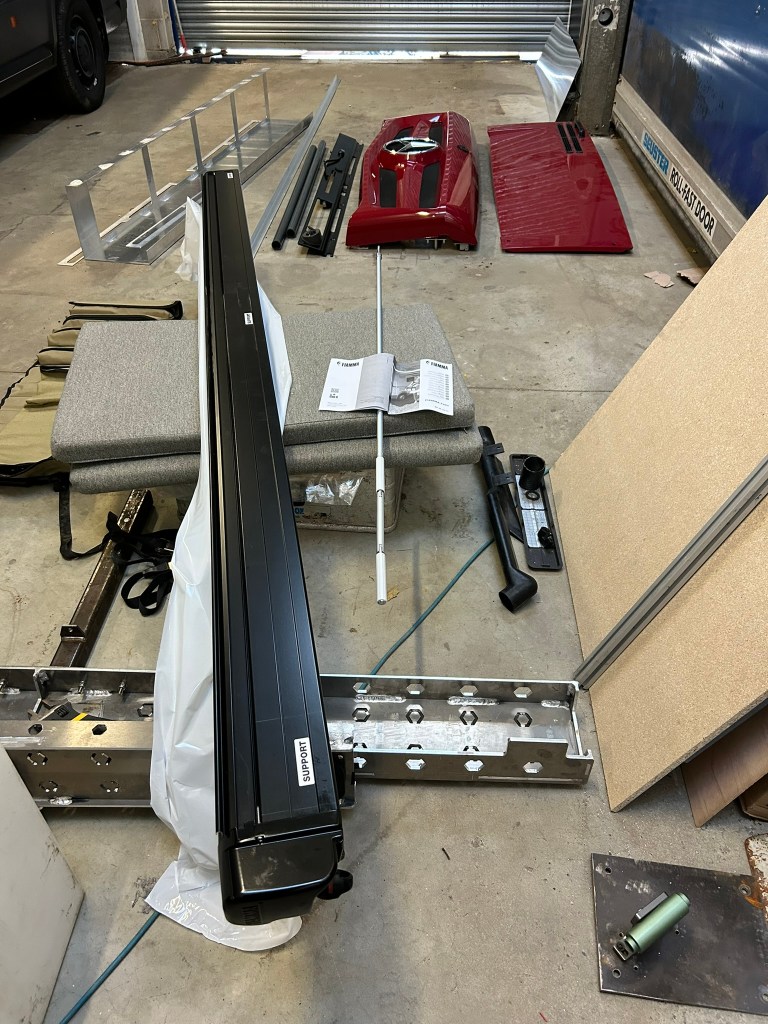
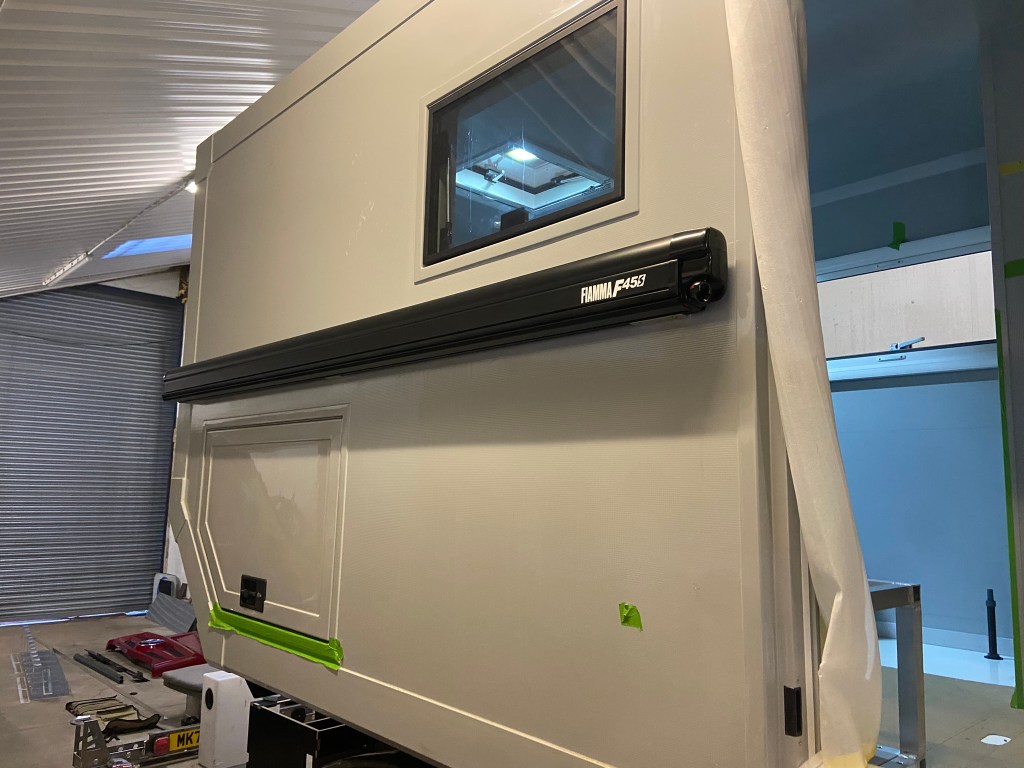
We had ordered a large awning for the side and it took another day to fit the brackets and get it secured on
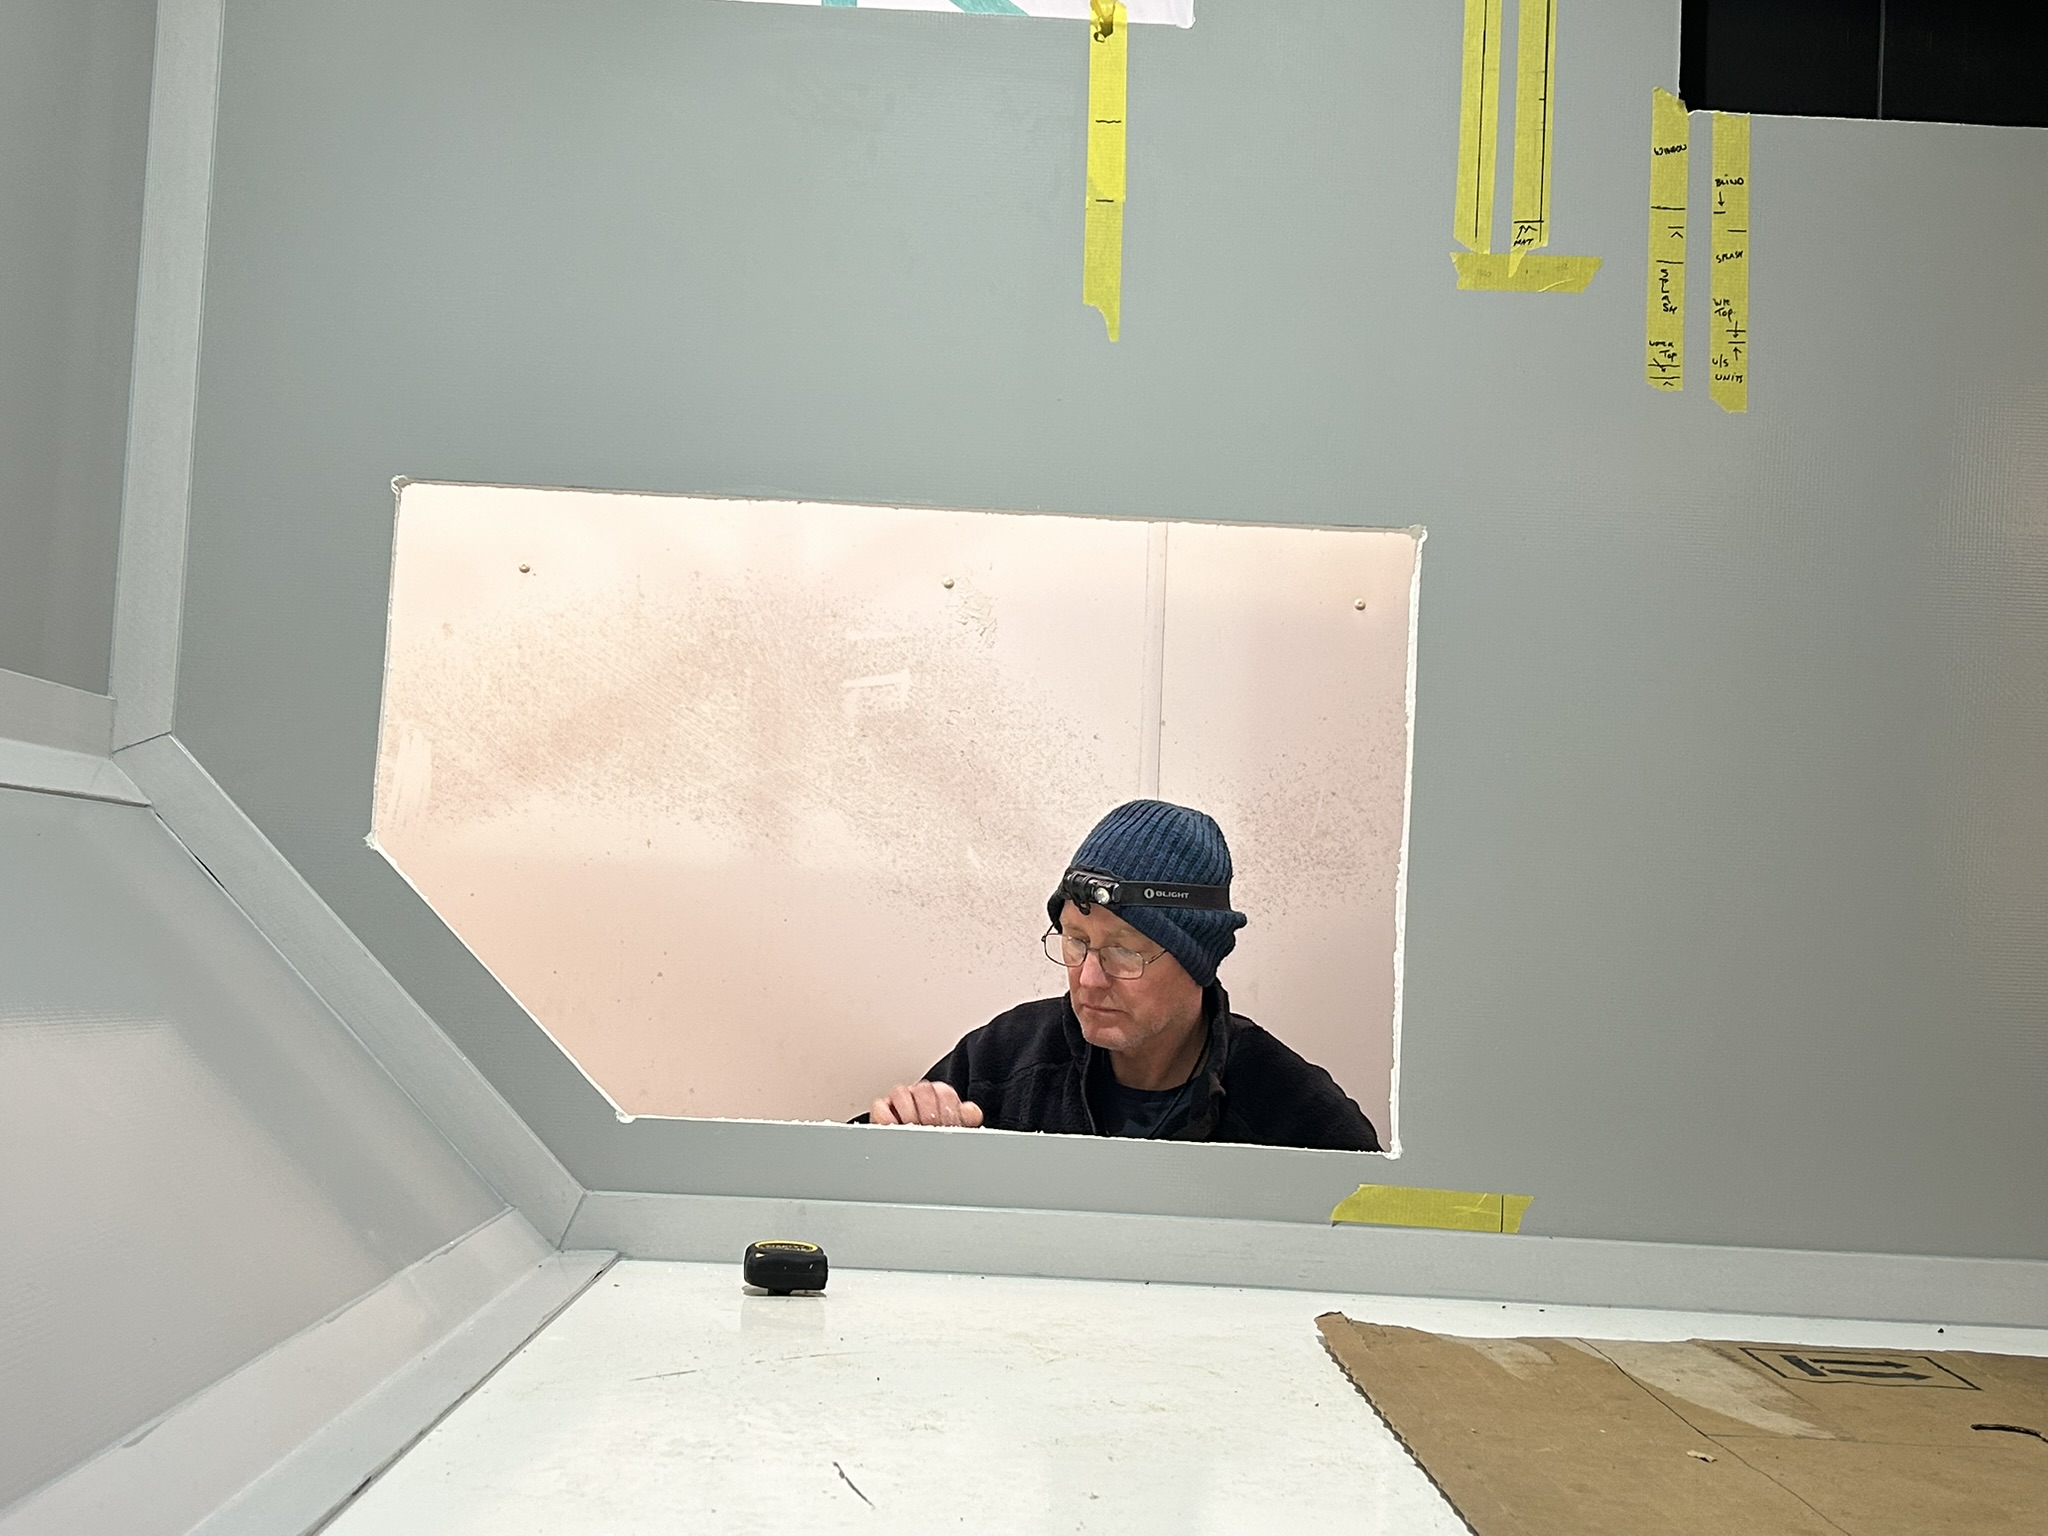
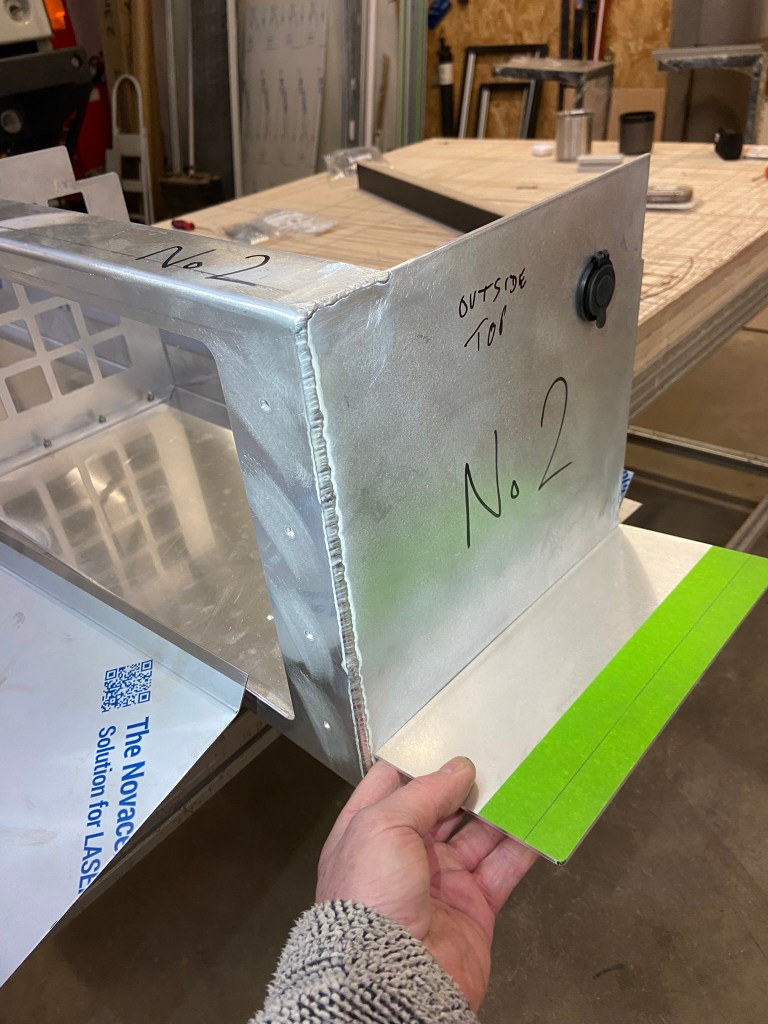
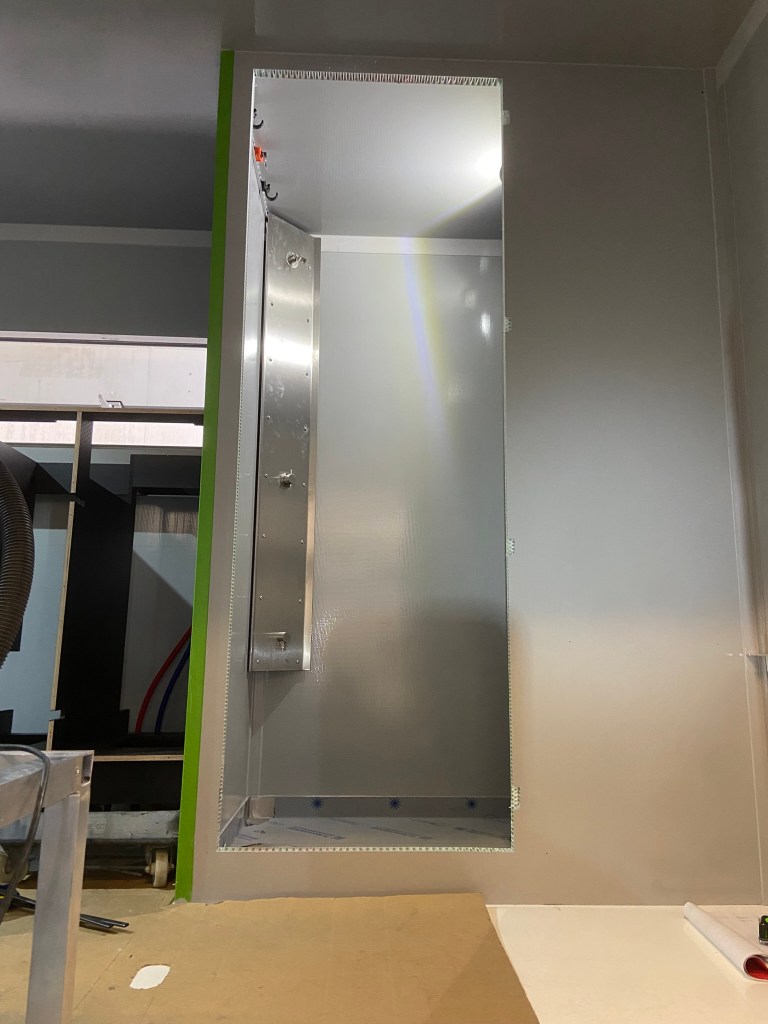
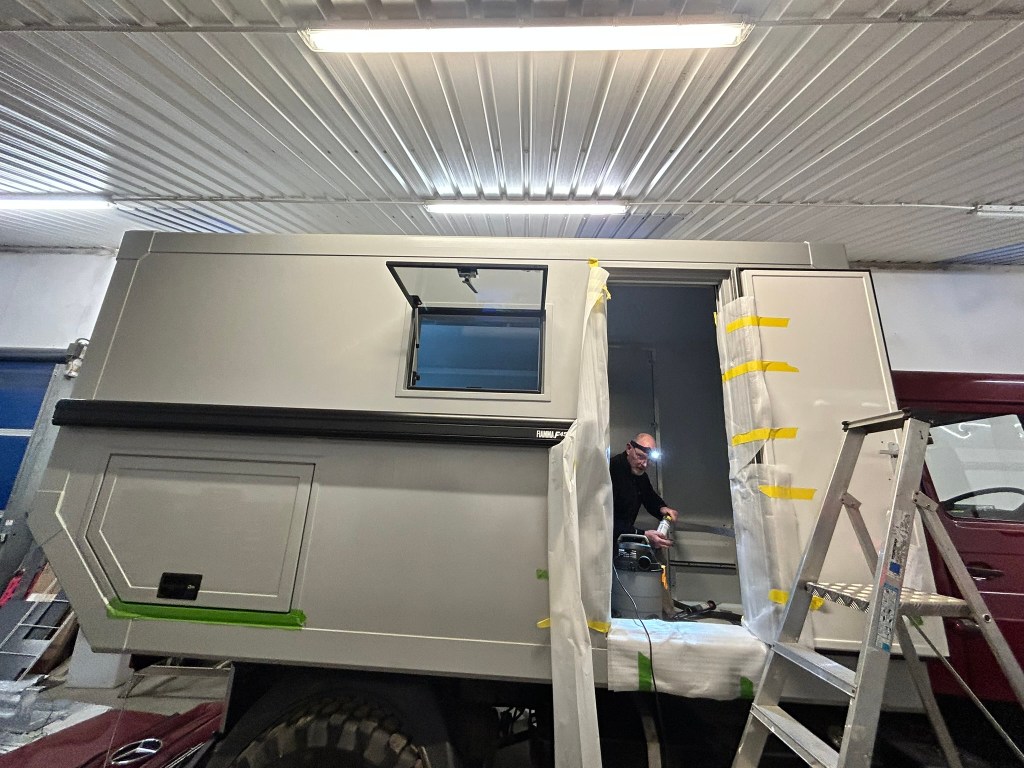
We had spent months trying to source a suitable door for the wet room but strangely there were no good options available. So in the end we had one fabricated by the same people who had bent the high level units for us and made the mud guards – Kevin and the team from Elite Enclosures were brilliant

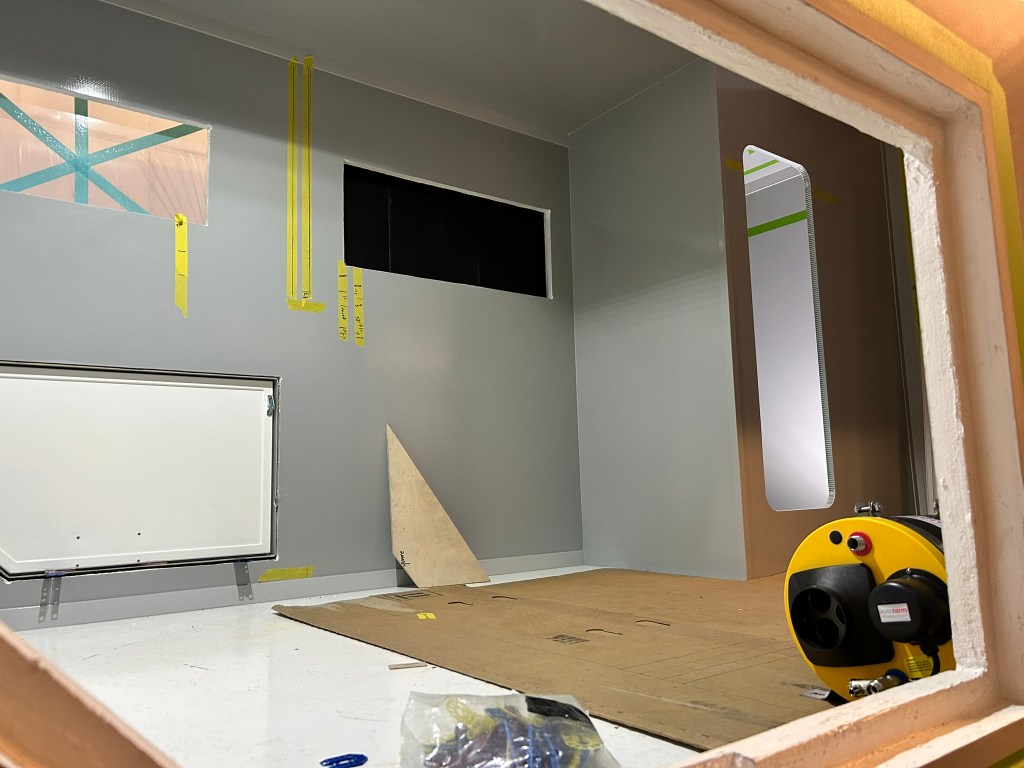
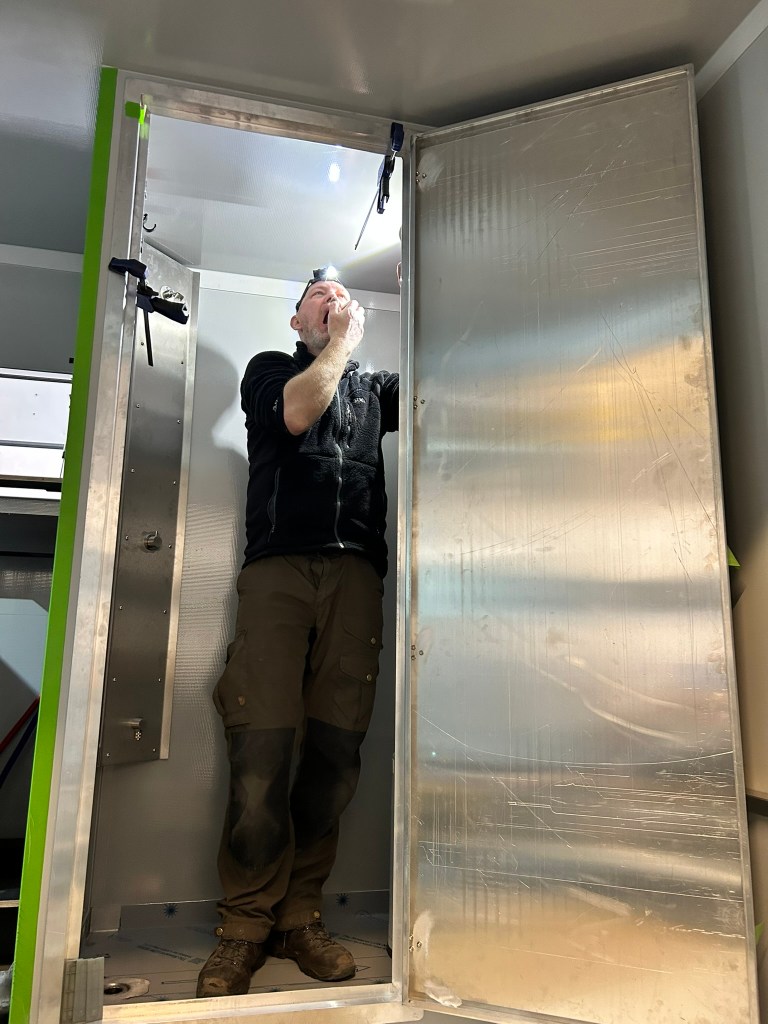
We had asked Off-Grid Custom to make a hole in the wet room wall that was only big enough to get in and out as we did not know at that stage what the dimensions of the door needed to be. So once the new door arrived James set about making the hole the right size – another job I was glad we had his steady hand to get done!


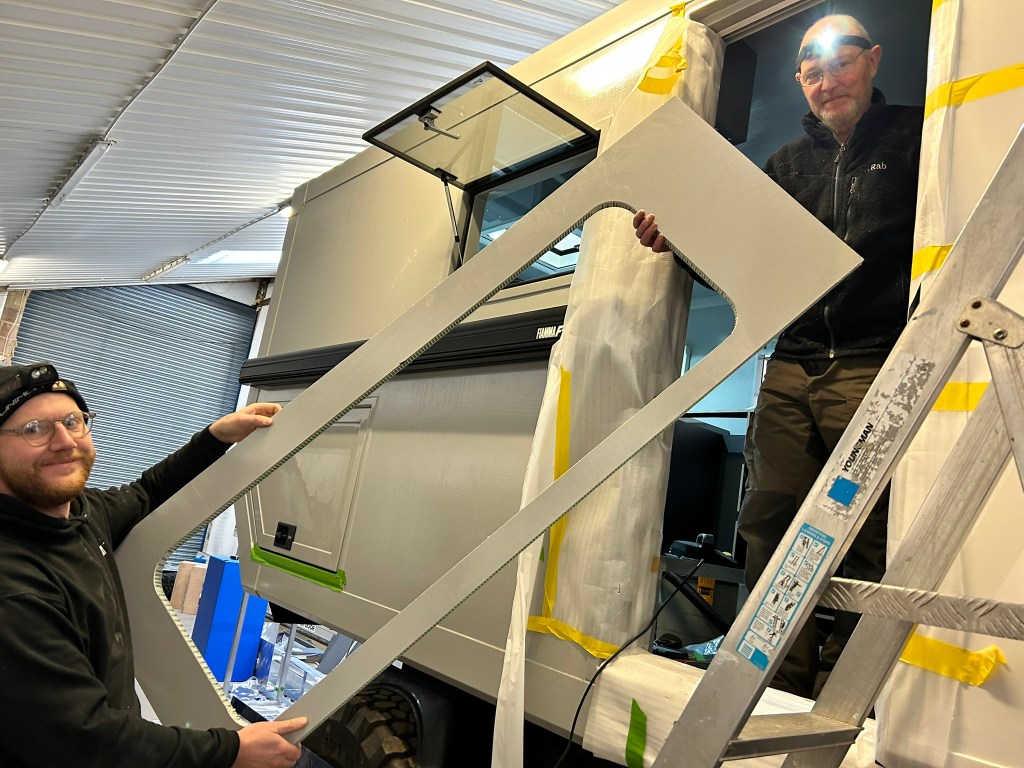
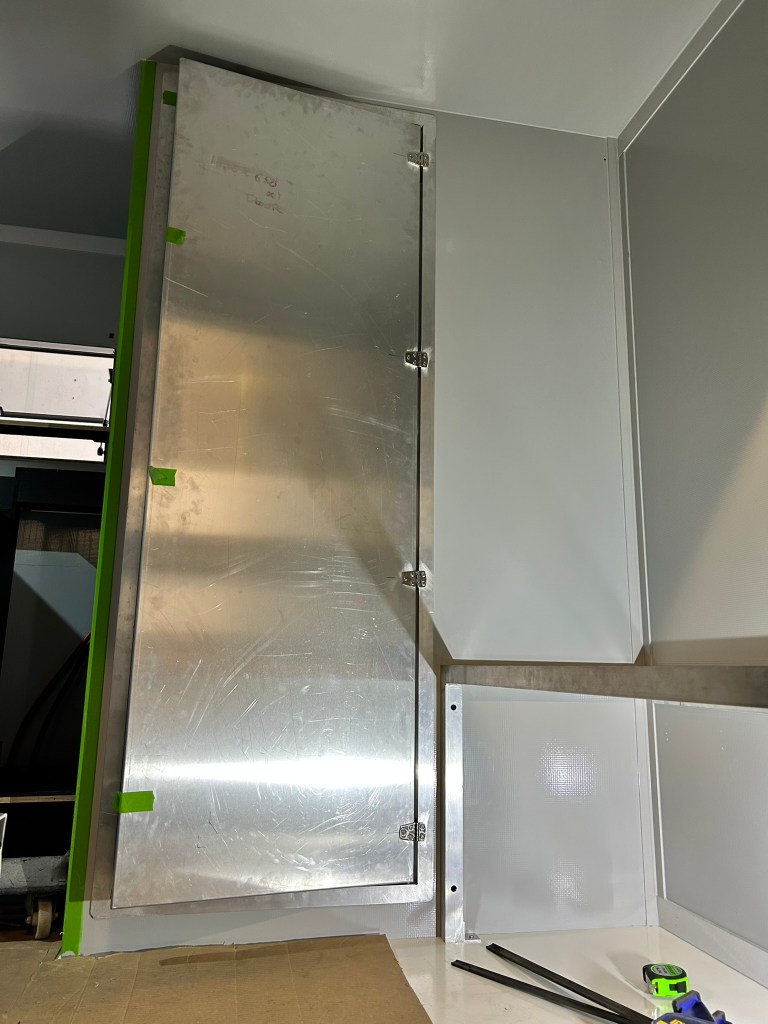
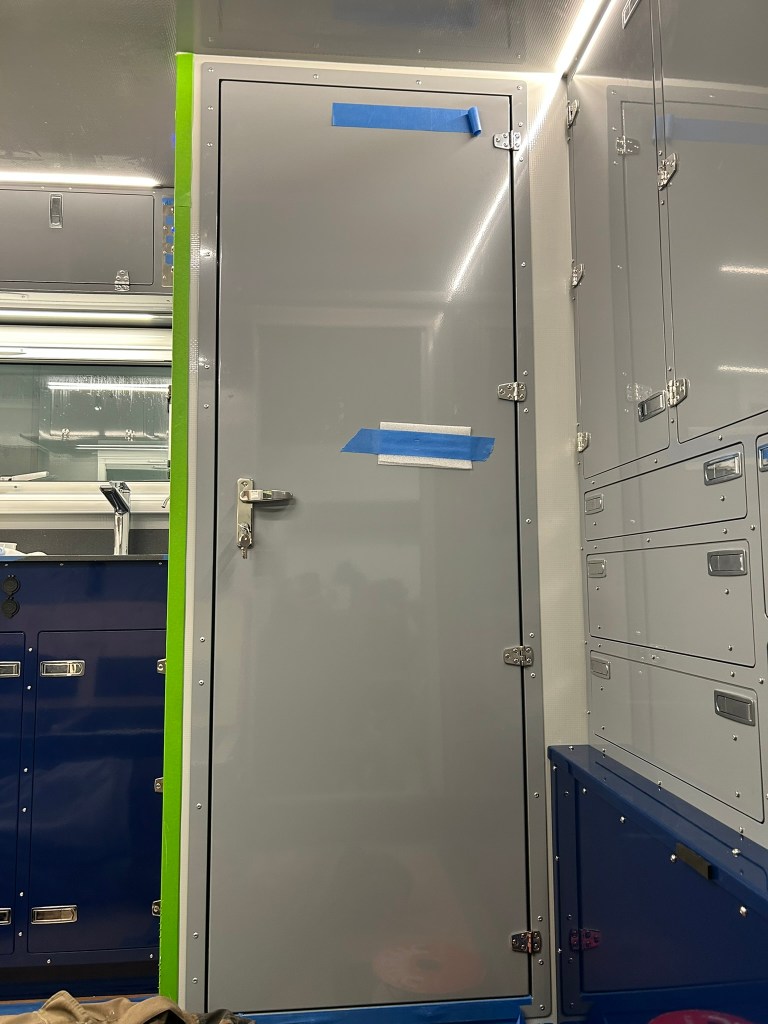
The door fitted beautifully and once that too had been powder coated, filled with insulation and a fancy door handle and lock fitted it was looking good

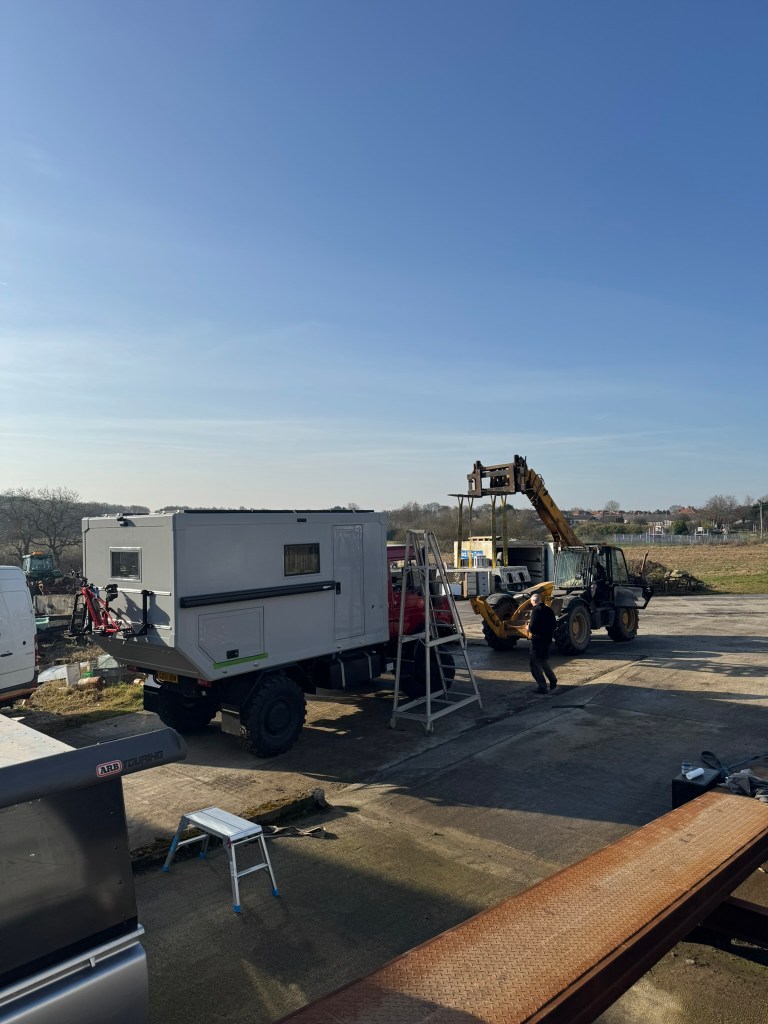
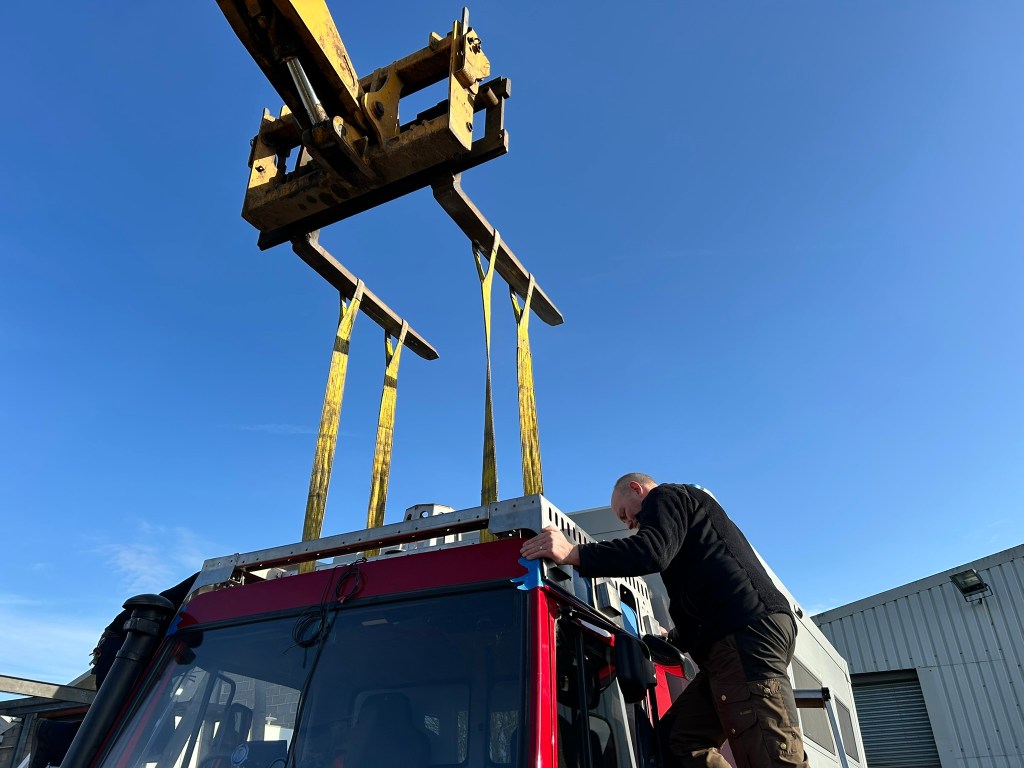
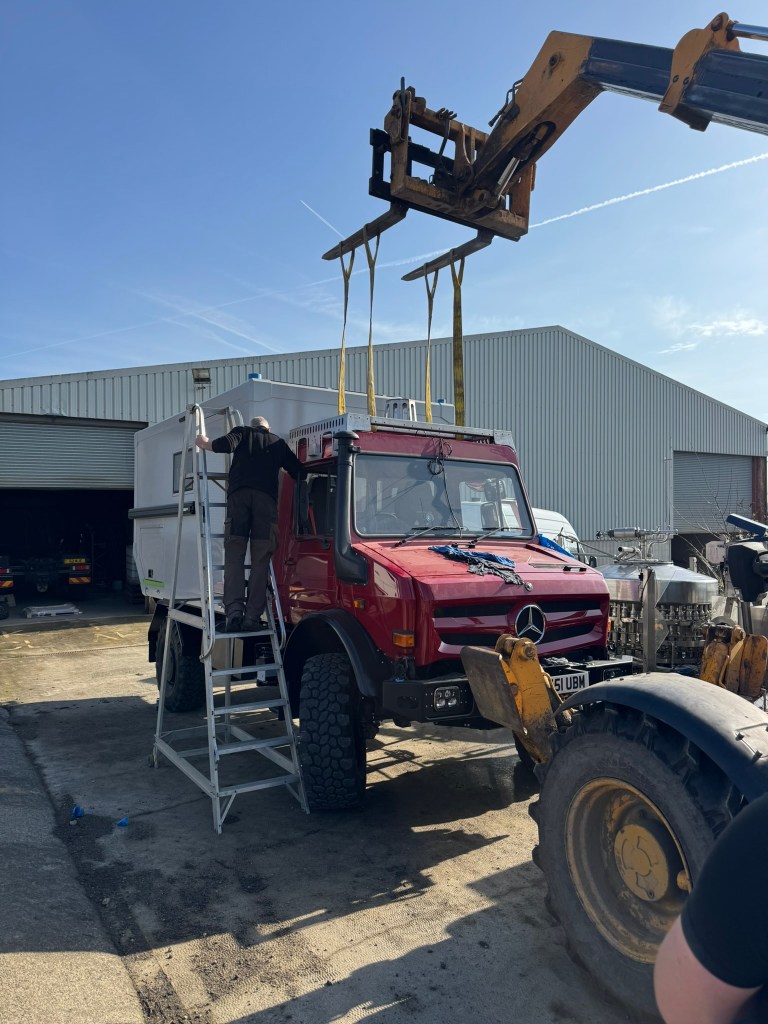
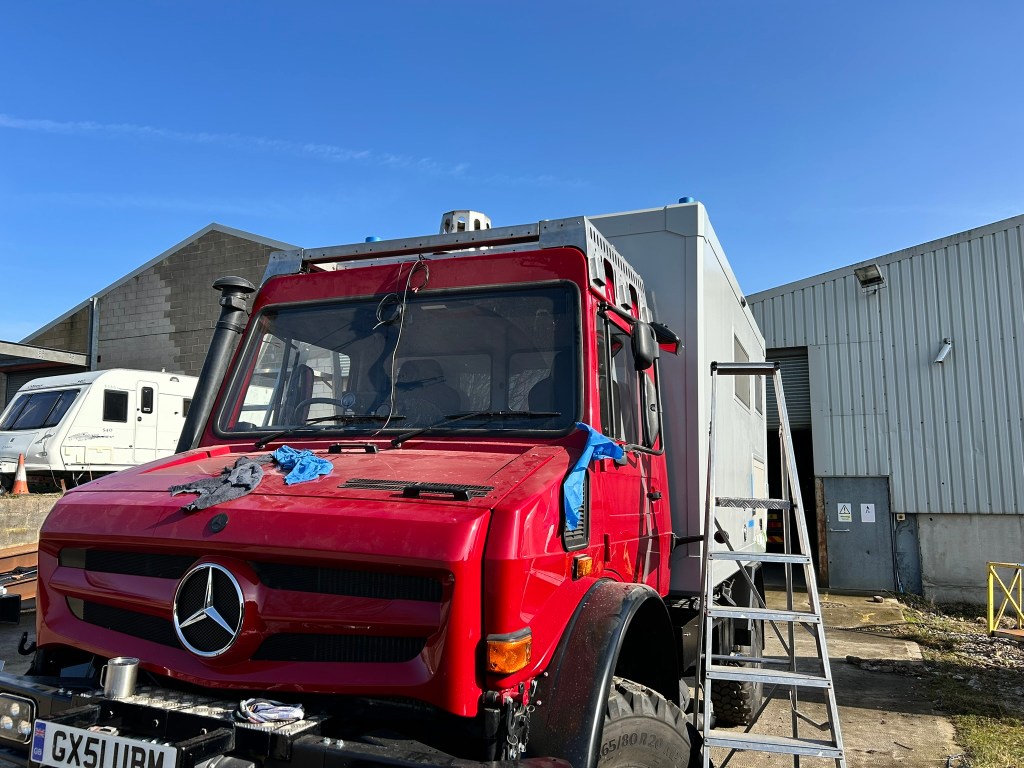
One major job that we did very near the end was to put the UniMog’s hat on. Like Henry, he needed a roof rack but this one had just one very important purpose – to carry the large and heavy spare wheel.
After 14 weeks inside, never seeing daylight, it was quite emotional seeing him coming out – even if just temporarily
The roof rack had been designed to our specifications by a UniMog specialist near the Lake District called AC Price

They had scanned the roof of a UniMog of the same model as ours to make sure it was a perfect fit and when we had collected it a few weeks ago we were impressed with the workmanship

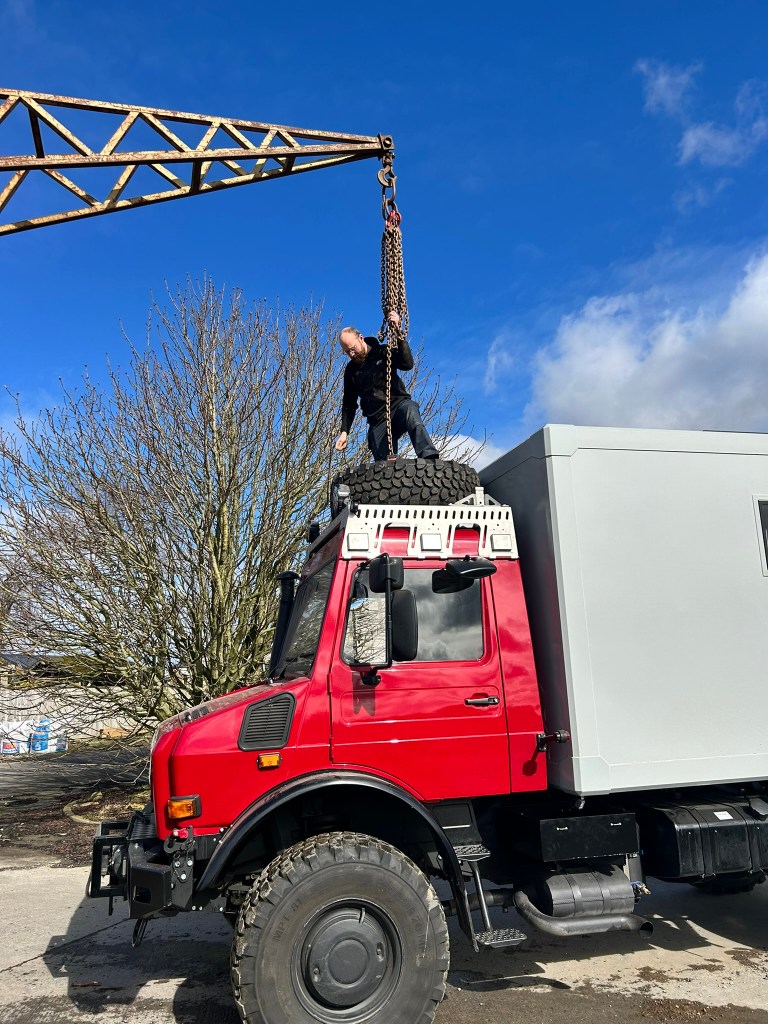
It was lifted by crane and carefully positioned


James and Lewis then spent an hour bolting it on
Before finally the tyre itself was put in place

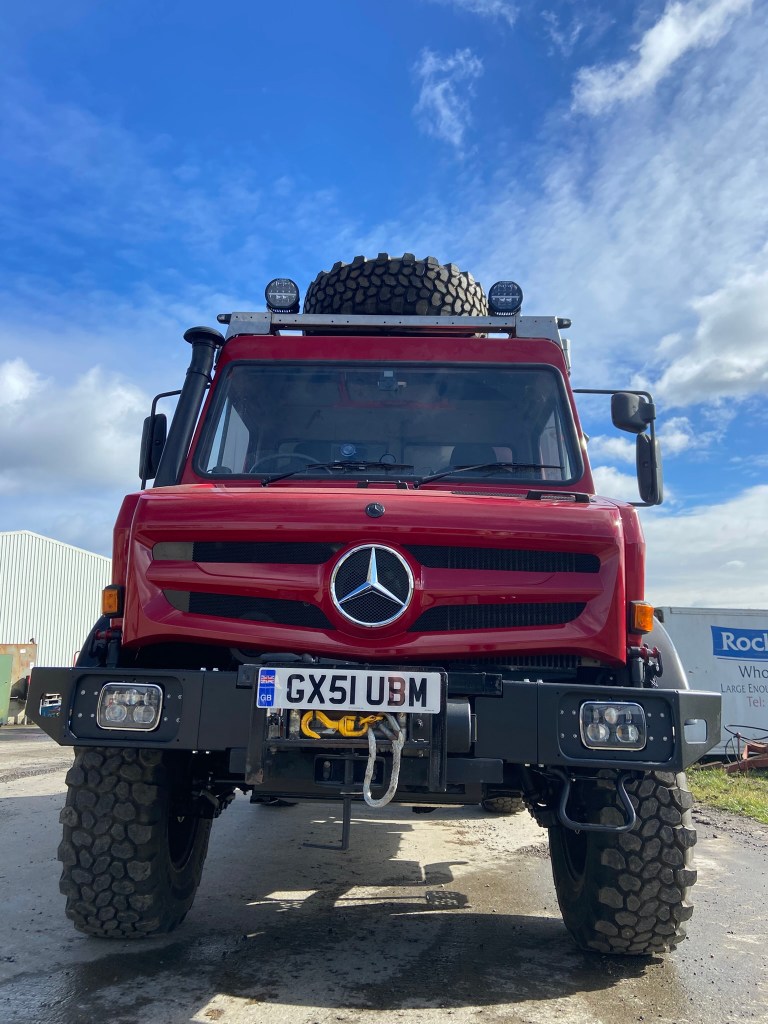
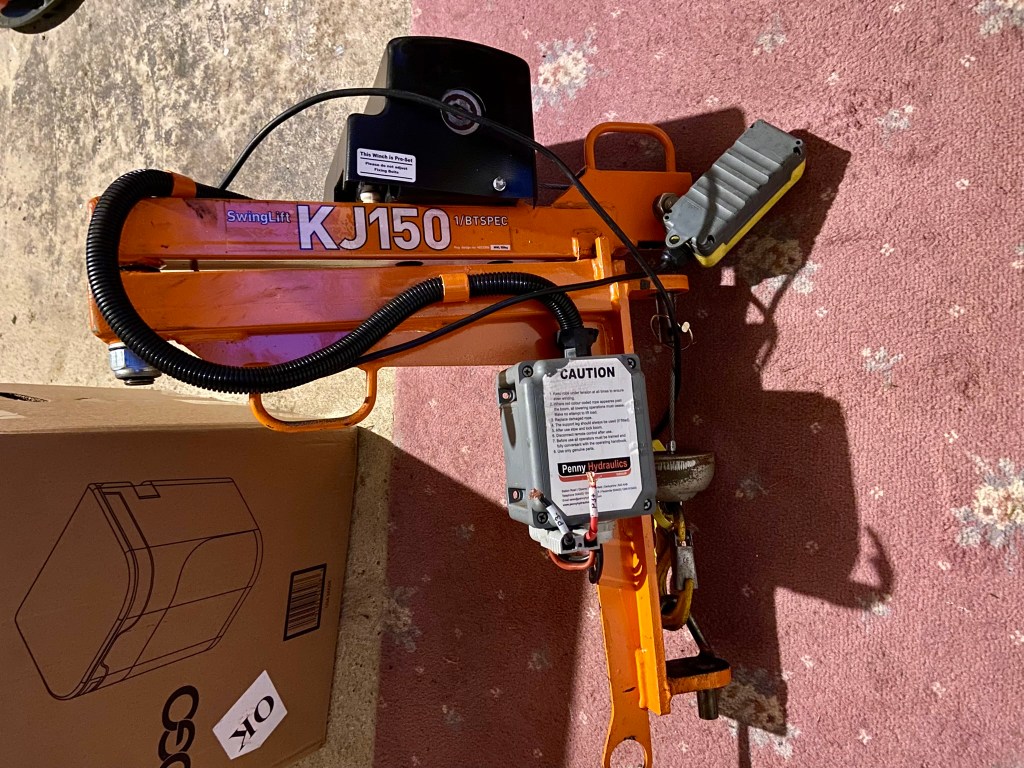
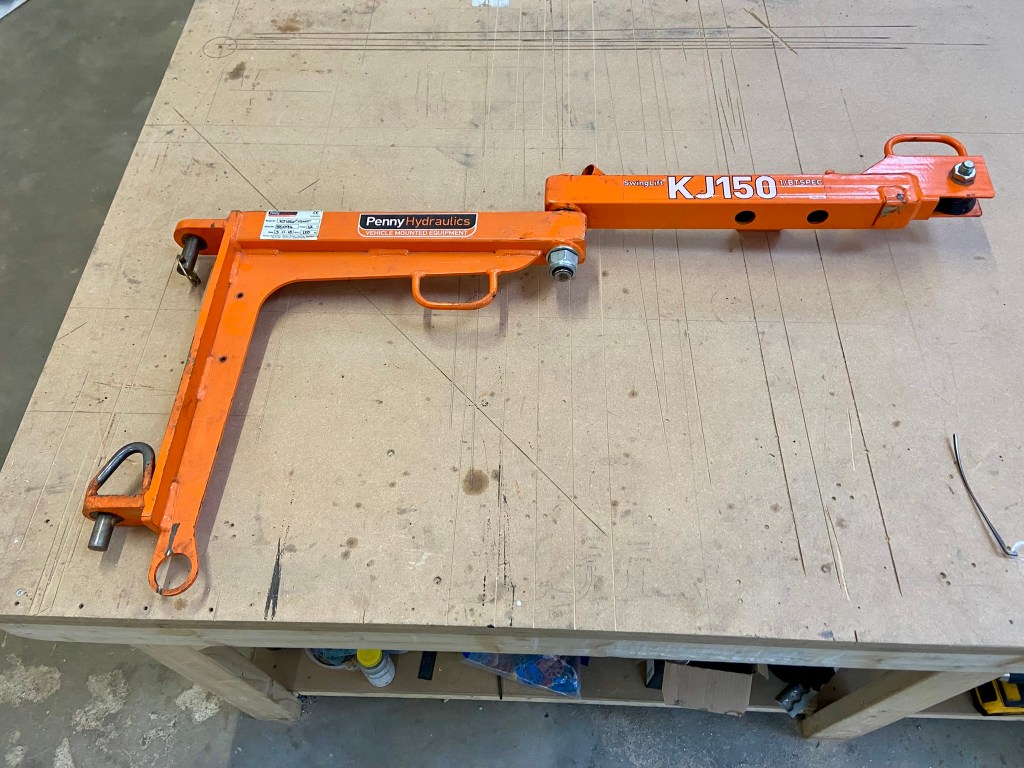
The finishing touches were a hand-crane for us to lift the tyre on and off which James stripped, tidied up and finally had powder coated in black
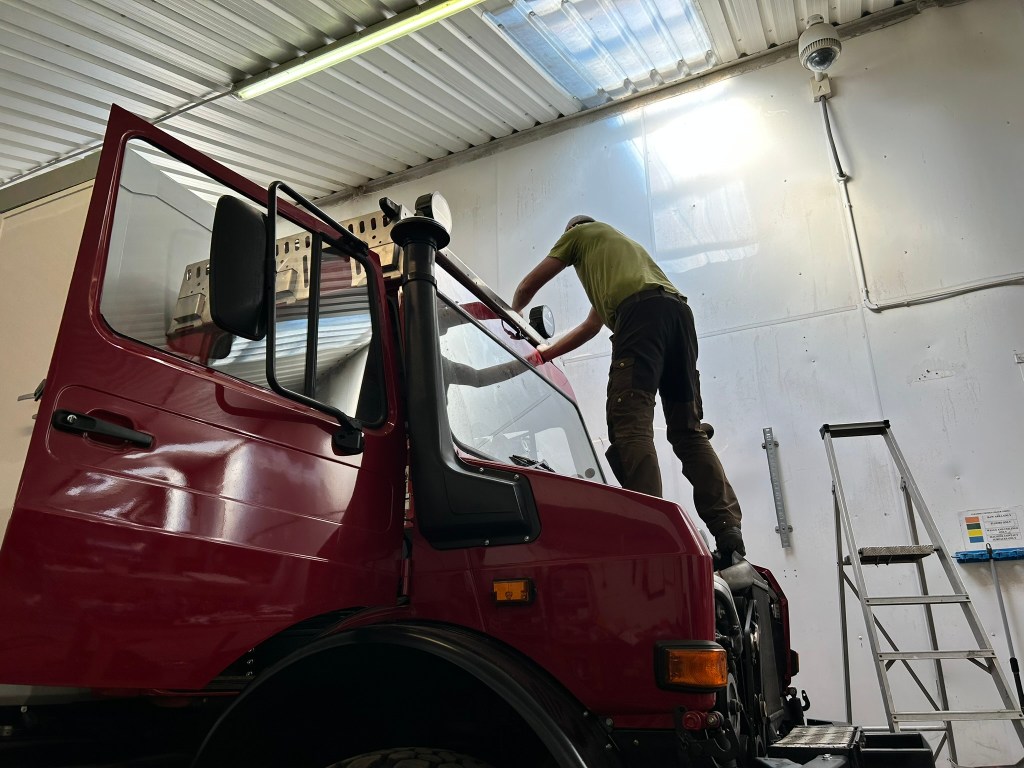
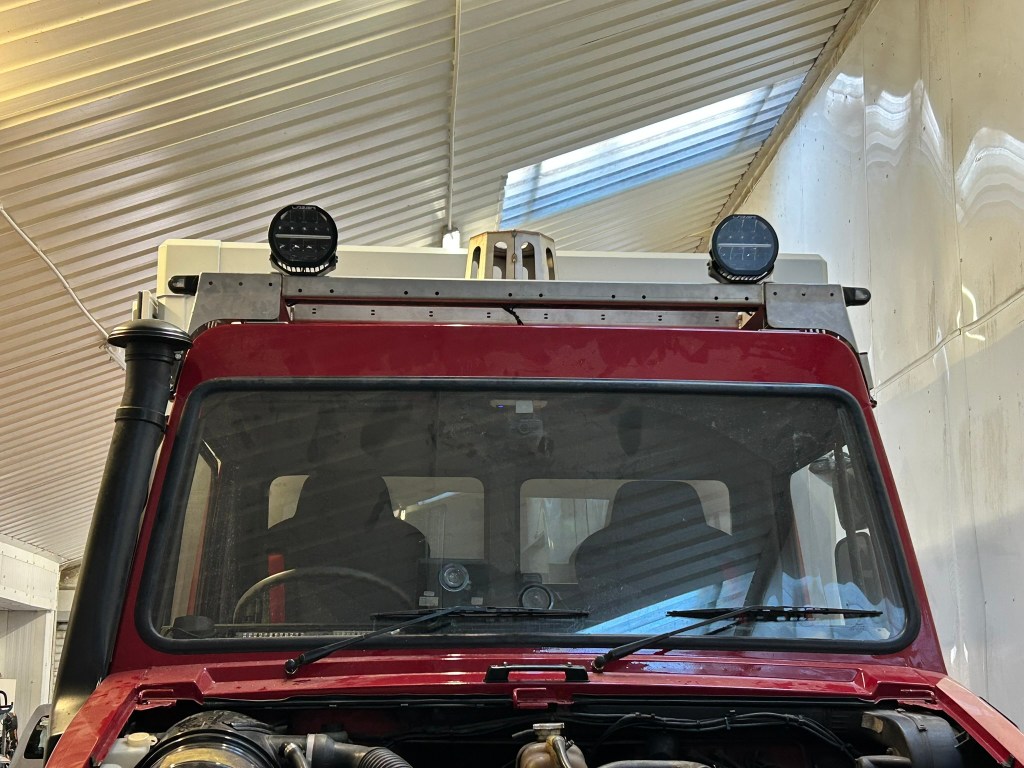
And the spot lights on the top
The last two weeks of the build were the most frustrating of all and we were both getting a bit down. We had been working twelve hour days, seven days a week, never seeing daylight, for what seemed like an eternity and at every stage it felt as though we were nearly done
But somehow we never were and there was always an endless list of tasks still to do
The shelves were in and we had even started loading up some of our things into the drawers and cupboards but still we were stuck in the workshop


One thing we couldn’t leave without were a set of stairs to get in and out of the box – with a floor height of 1.4 meters above ground level, these were one of the most important things to get sorted. But also one of the hardest. We had expected to be able to simply buy a set but there was nothing on the market that fitted our requirements.
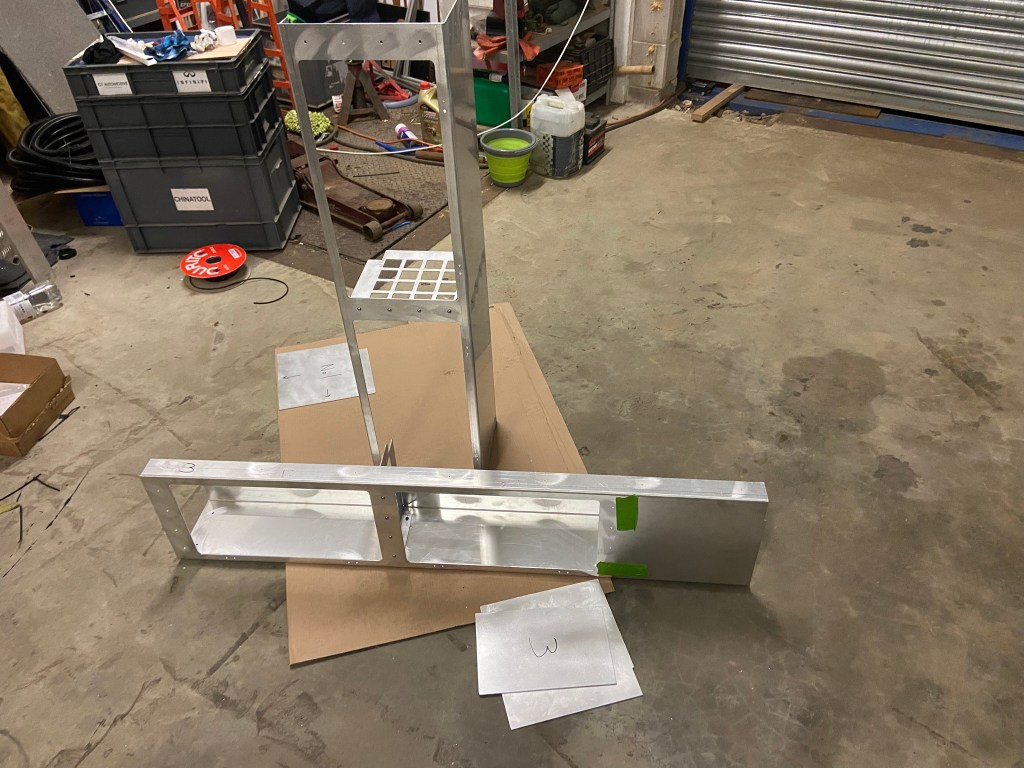
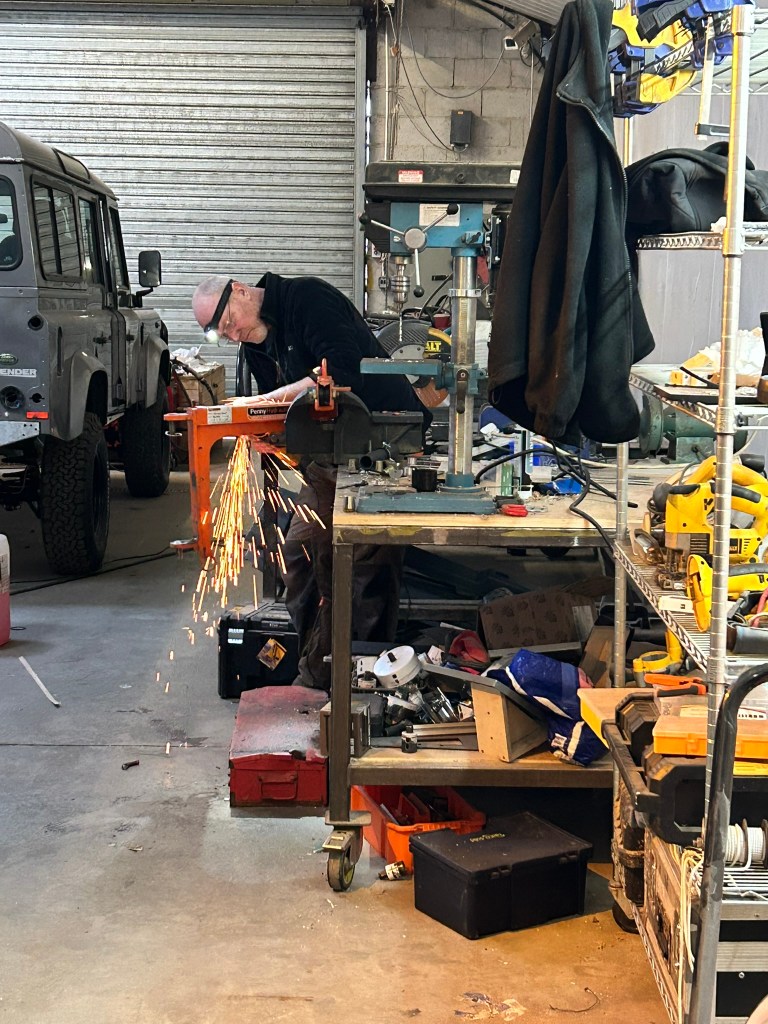
So James decided to design and build our own from scratch. He sketched out his ideas on paper then discussed the practicalities with our welder and fabricator. The steps were cut out of checker plate and bent. The rails were made out of aluminium box section and plates were cut to bolt them all together


The concept was for them to fold flat so that we could mount them flush on the back of the truck whilst moving
By the time they were done they were perfect…


Finally, finally, finally. We had not quite finished all the little jobs but the UniMog was complete enough for us to leave the workshop and remind ourselves what the rest of the world looked like!
Lewis set up his computer to programme the solar system and get everything talking to everything else
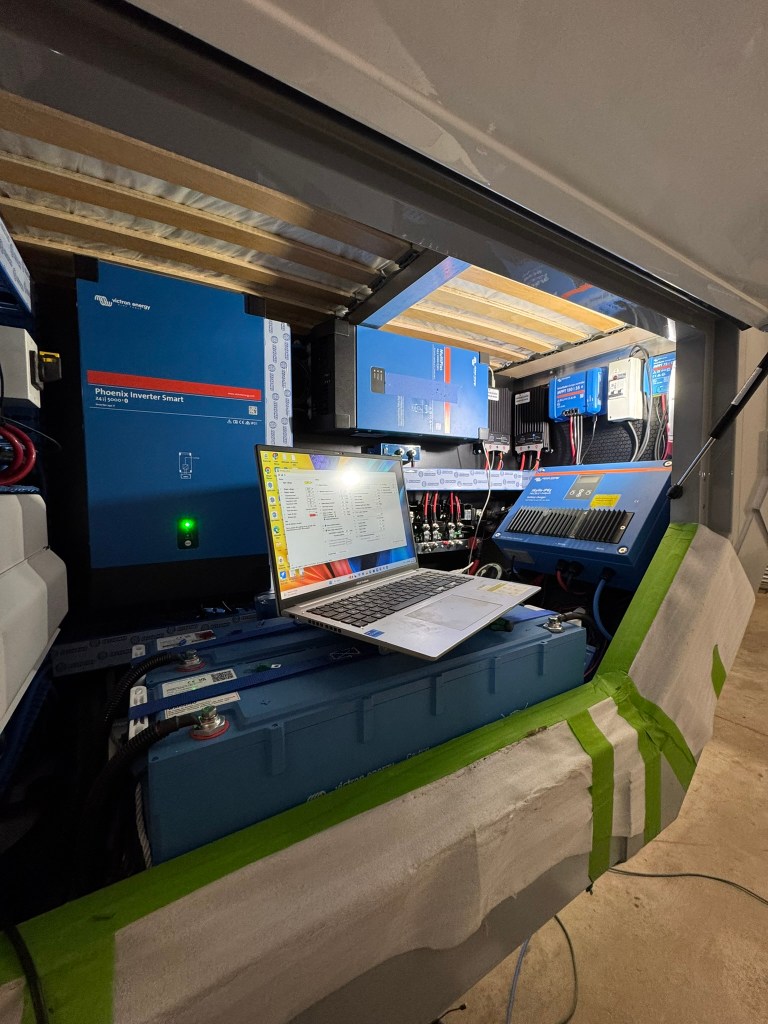
And as the control screen flicked into life it was a momentus moment – the UniMog lives!

We spent a happy afternoon over the pit in the adjacent workshop coating the chassis with Lanoguard to protect against rust

And then stood back to admire our work

If we had thought he was looking smart when he came out of the paintshop it was nothing compared to how he was looking now.
We had created something unique, something that would turn heads inside and out, something that we could indeed be proud to call home.
Hardly able to believe the time had come, the UniMog backed out of the workshop for the last time and disappeared over the horizon – on to our next adventure….

4 responses to “The Fit-Out in Photos”
Wow! just Wow! – I see lots of similarities between Henry and the new build on the ‘Mog, lots more room and lots of things to play with !
looking forward to seeing how in all beds in and how you load all your equipment and daily living items.
onward and upwards !
LikeLike
Lots more room means lots more stuff unfortunately! We’re still working it all out, trying to get the right set-up.
Next stop the Scottish Highlands to test it all out…
LikeLike
Unbelievable! You guys deserve a OSCAR!!! Can’t wait to see the Mog!!!
LikeLike
Can’t wait to show it off to you!
LikeLike